









Carolyn J. Braden • 4 Minute Read
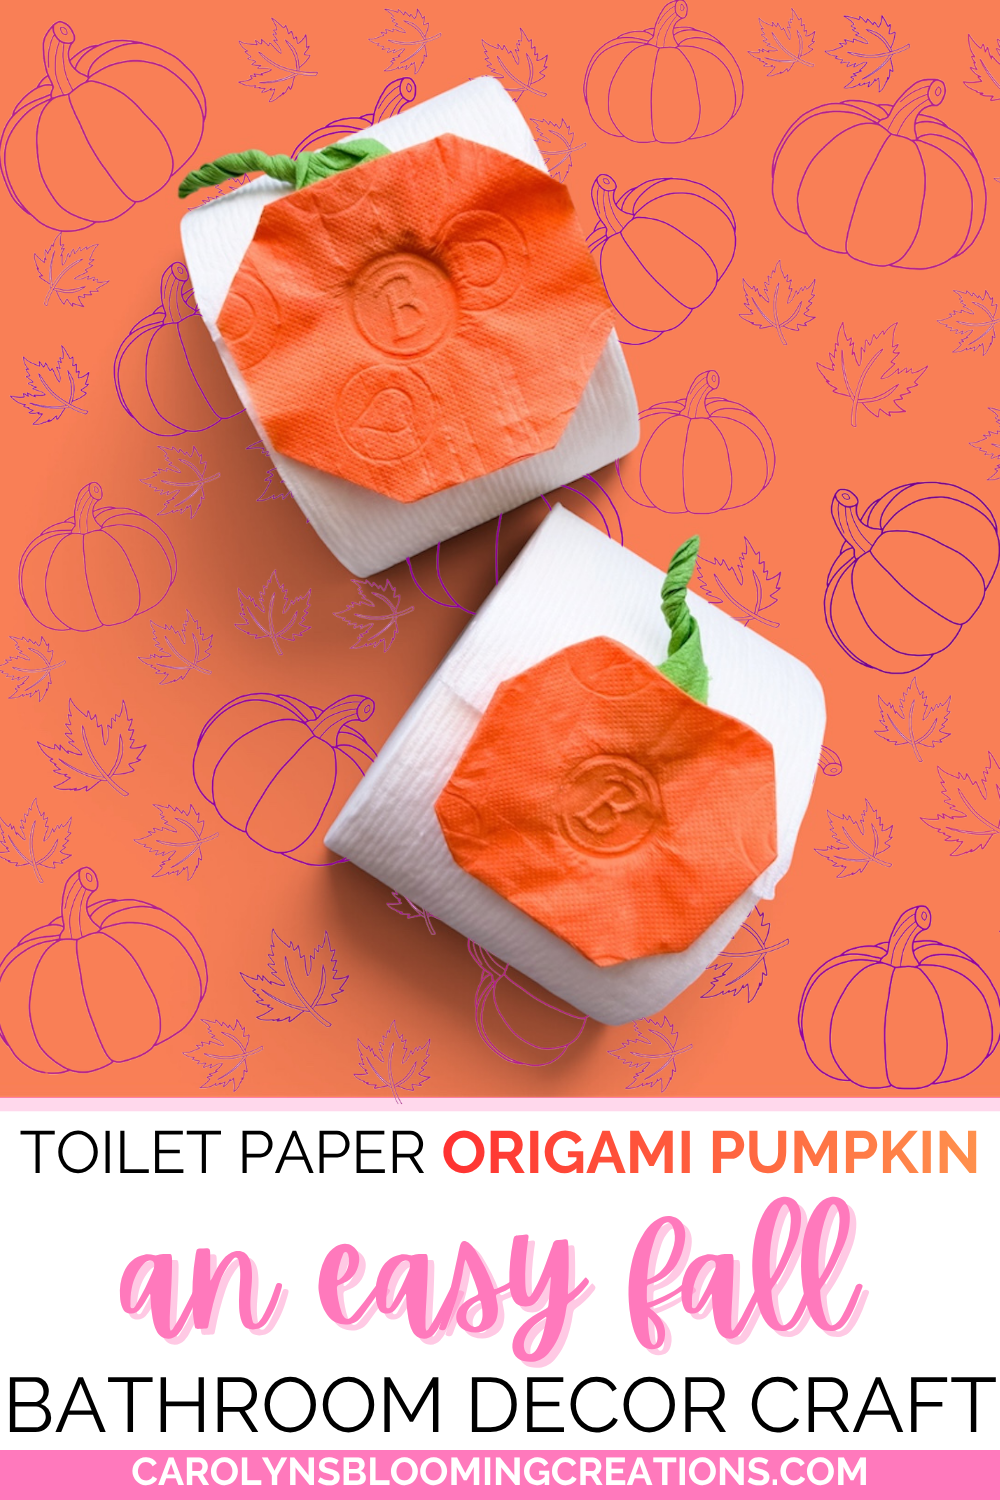
Toilet Paper Origami Pumpkin: Easy Fall Bathroom Decor DIY
Sometimes I get the itch to start making fall crafts before I have any idea what I actually want to make. This was one of those times!
I already had a few toilet paper origami crafts and toilet paper stamping tutorials on my website, and after even reading a book about toilet paper origami, I knew there had to be another cute idea hiding in those rolls of toilet paper.
Then inspiration struck!
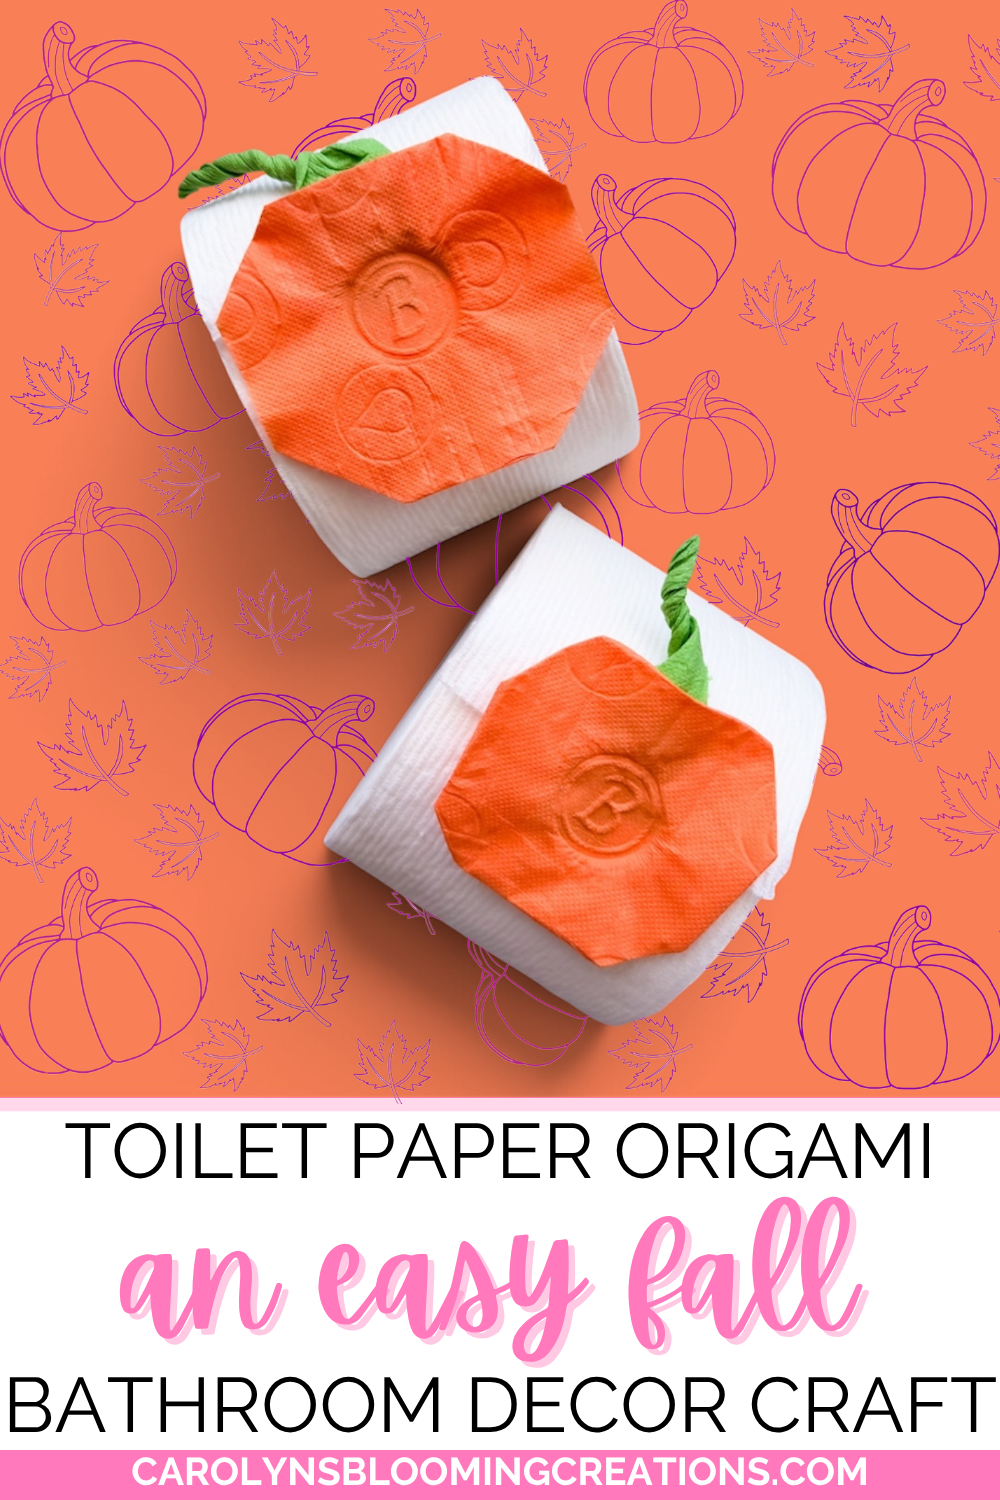
I took the basic idea of rolling wool when I was working on one of my needle felting crafts, gave it a fall twist, and married it with a curved pumpkin shape. The result? A ridiculously cute toilet paper origami pumpkin that is attached right to a basic roll of toilet paper.
And because I couldn't resist adding another creative touch, I stamped the center of the pumpkin with a little toilet paper stamp!
The finished pumpkin is such a fun little piece of fall bathroom decor. Tuck the decorated toilet paper roll into a guest bathroom, place it in a toilet tank basket, or add it to a bathroom display for a tiny seasonal surprise.
And I have a feeling your guests are going to wonder, “How did you DO that?”
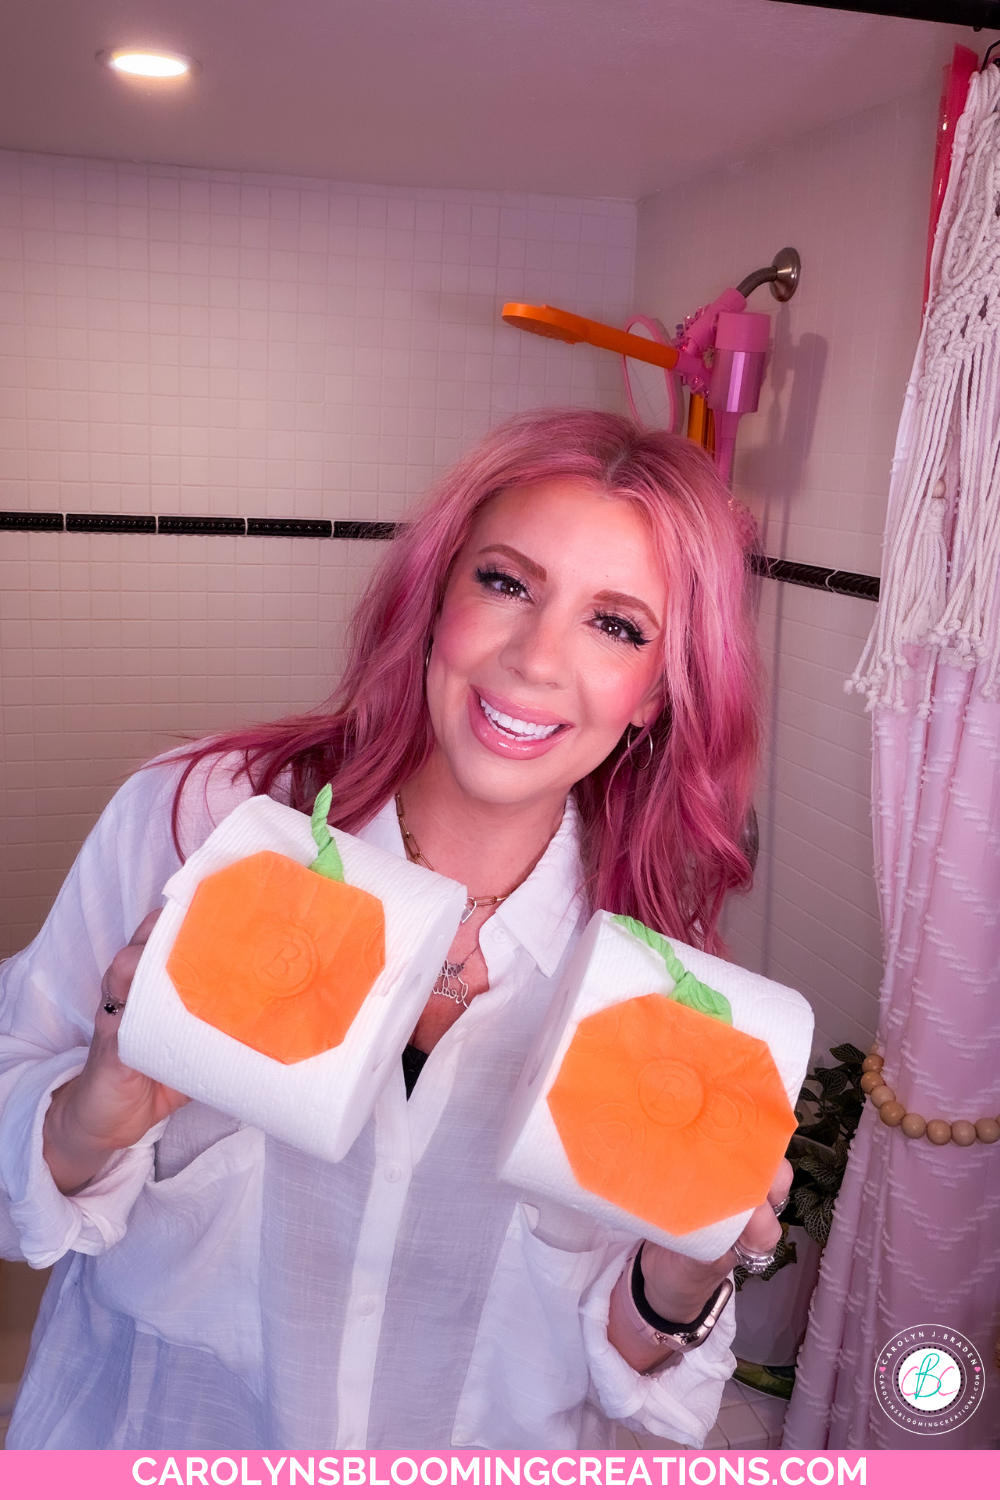
I made two different sized toilet paper pumpkins
🛍️Shop the Post
Support me as a creator and shop my links with no extra cost to you! See my creations come together via my Amazon Shop plus get buying links at affordable prices!
We also love shopping CVS ❤️ (the ExtraCare card savings stack helping you to save!) and here are some of our CVS finds to stock up on (especially when you get that 40% off coupon!) and love Walmart (Walmart+ gets you free shipping and delivery on many items) and Sam’s Club for extra savings on beauty, fashion and we love their furniture too!
🛠️We also love Lowe’s (see our Lowe’s storefront here) for all our home improvement projects and gardening loves (and animal lover loves too!).
📕Bookmark or pin this one by clicking the Pinterest SAVE button on the images in this article for creative magic in an instant.
👉More Product Loves❤️
You can also get the products I’ve featured and more of my product loves via my Target shop here or my CVS Store here (use your ExtraCare card to double up on savings!) or via my shop my store here or below:
🔗Links in this article go out to either the brand website, Amazon, CVS, Walmart, Sam’s Club, Target, or Lowe’s where we source our supplies based on discounts, budget and pricing.
Why You'll Love This Easy Fall Craft
This DIY toilet paper pumpkin is:
🎃 Easy to make
🍂 A fun fall craft for beginners
💰 Very budget-friendly
🧻 Made from toilet paper you can actually use
🛁 Perfect for fall bathroom decor
🧡 Easy to customize with different colors
🎨 A fun way to combine toilet paper origami and stamping
👀 Guaranteed to give your guests something to talk about!
DIY Toilet Paper Pumpkin Craft for Cute Fall Bathroom Decor
A Budget-Friendly Way to Start Fall Decorating
If you're like me and get excited about seasonal decorating but don't necessarily want to spend a fortune every time the calendar changes or add more “stuff” to your seasonal décor collections, this is such a fun little budget-friendly fall decorating idea that is FUNCTIONAL ART (art you can use!).
You're essentially taking something you already need in your home and giving it a temporary decorative makeover.
No expensive craft supplies.
No complicated equipment.
No giant craft stash required.
Just toilet paper, a little water, a stamp and a few minutes of creativity.
That's my kind of craft!
RELATED POST: See my toilet paper stamping tutorial here or below via my YouTube channel @carolynjbraden:
More Toilet Paper Origami Fun
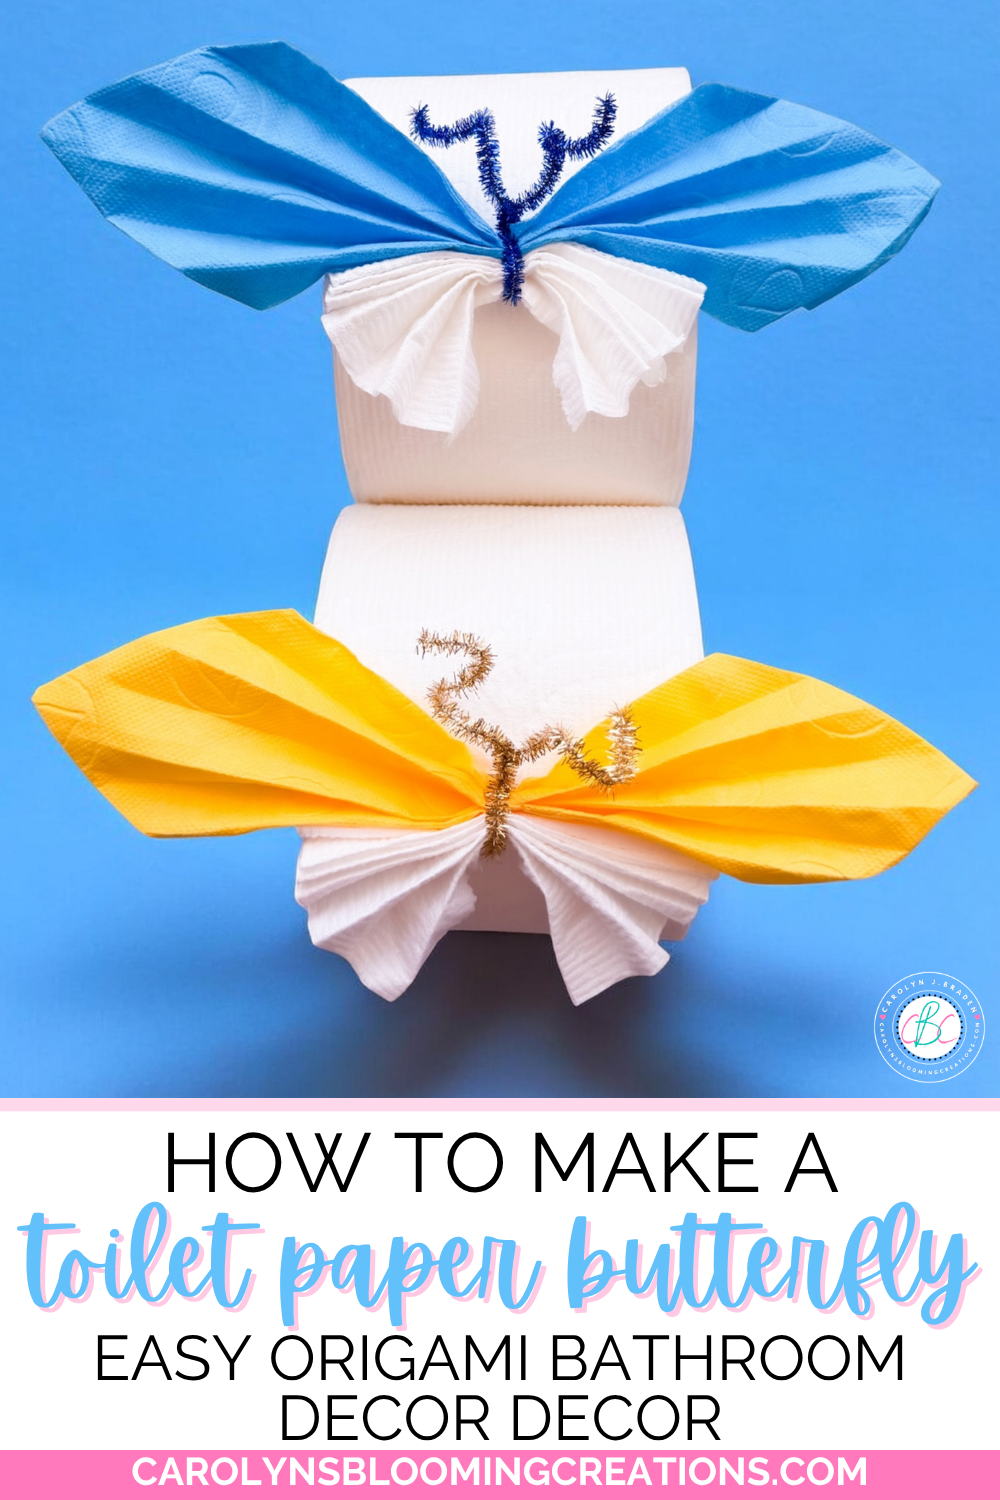
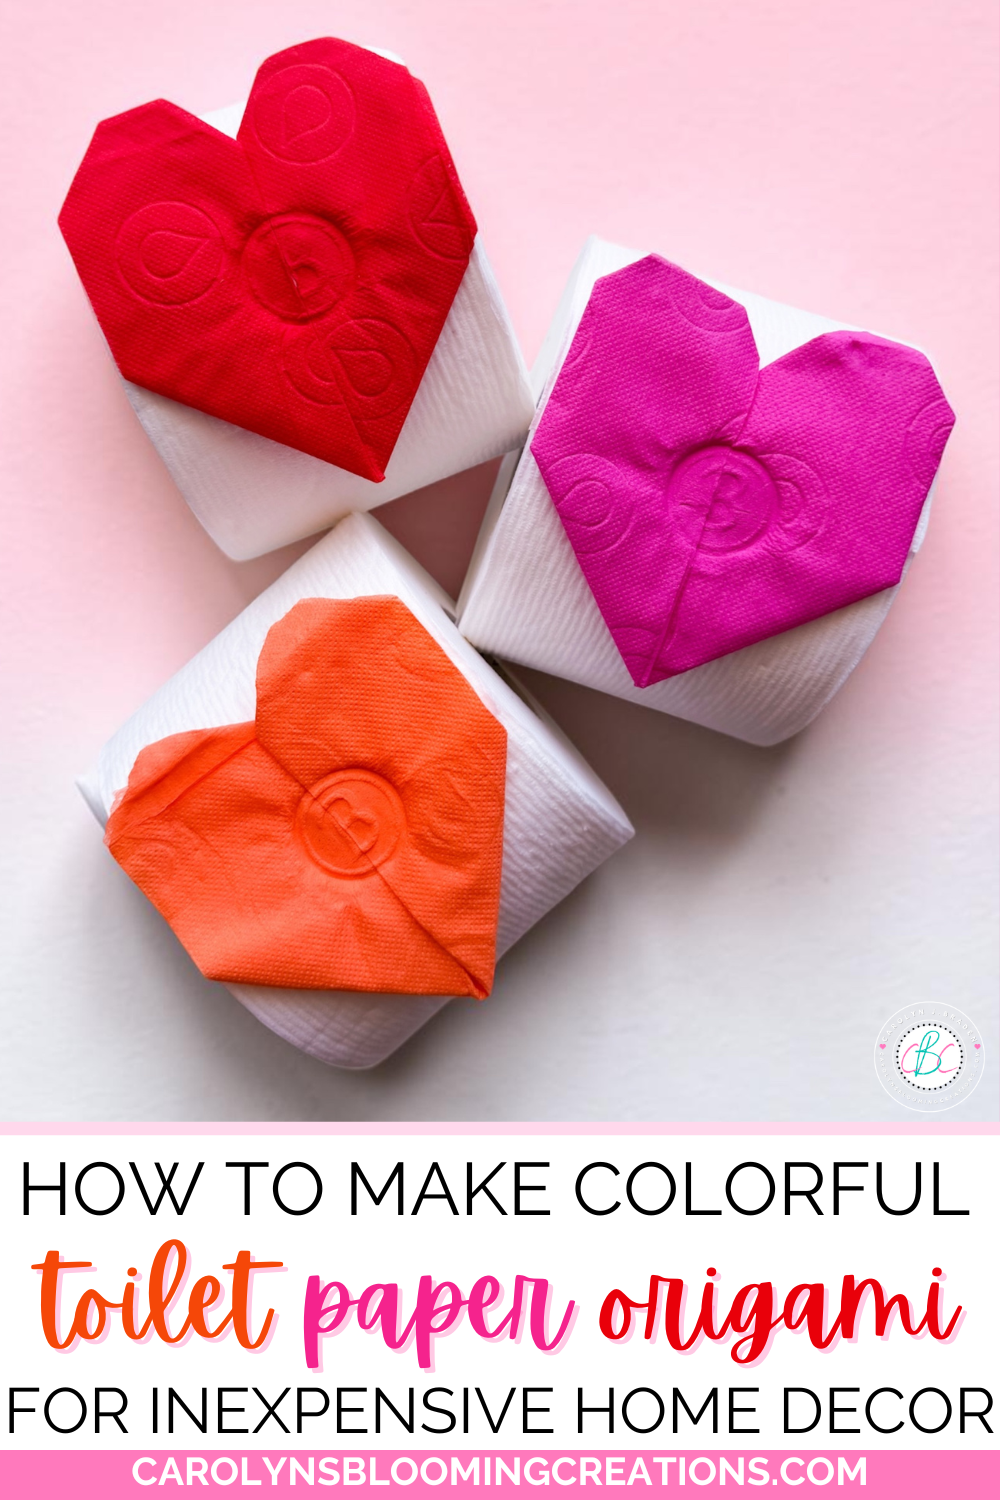
If you've discovered how much fun it is to transform an ordinary toilet paper roll into something decorative, be sure to check out my other toilet paper origami and toilet paper stamping projects!
I especially love my Toilet Paper Origami Heart, which would be absolutely adorable for Valentine's Day. It's another fun example of how a basic roll of toilet paper can become a surprisingly cute decorative detail.
[READ MY TOILET PAPER ORIGAMI HEART PROJECT]
And if you enjoyed the stamping technique used for this pumpkin, you can also check out my toilet paper bow tutorial, where I use a wax seal stamp to help create the design.
[READ MY TOILET PAPER BOW TUTORIAL]
I love creating these projects because they prove that sometimes the most unexpected supplies can become the starting point for a really fun DIY.
Easy Fall Craft: Make a Stamped Toilet Paper Origami Pumpkin
Make It Your Own
Orange is the obvious choice for a traditional pumpkin, but don't be afraid to get creative.
Try:
💗 Pink for a pretty, unexpected pumpkin
💜 Purple for a whimsical fall bathroom
💛 Yellow for a cheerful autumn display
🤍 White (maybe with a black stem…yes they make black toilet paper!) for a neutral farmhouse-inspired look
🧡 Orange for a classic pumpkin
🎃 Different colors together for a playful pumpkin patch
You could even coordinate your toilet paper pumpkins with the colors already in your bathroom.
You don't need a lot of supplies, and you don't need to be an origami expert. In fact, the slightly imperfect handmade look is part of the charm!
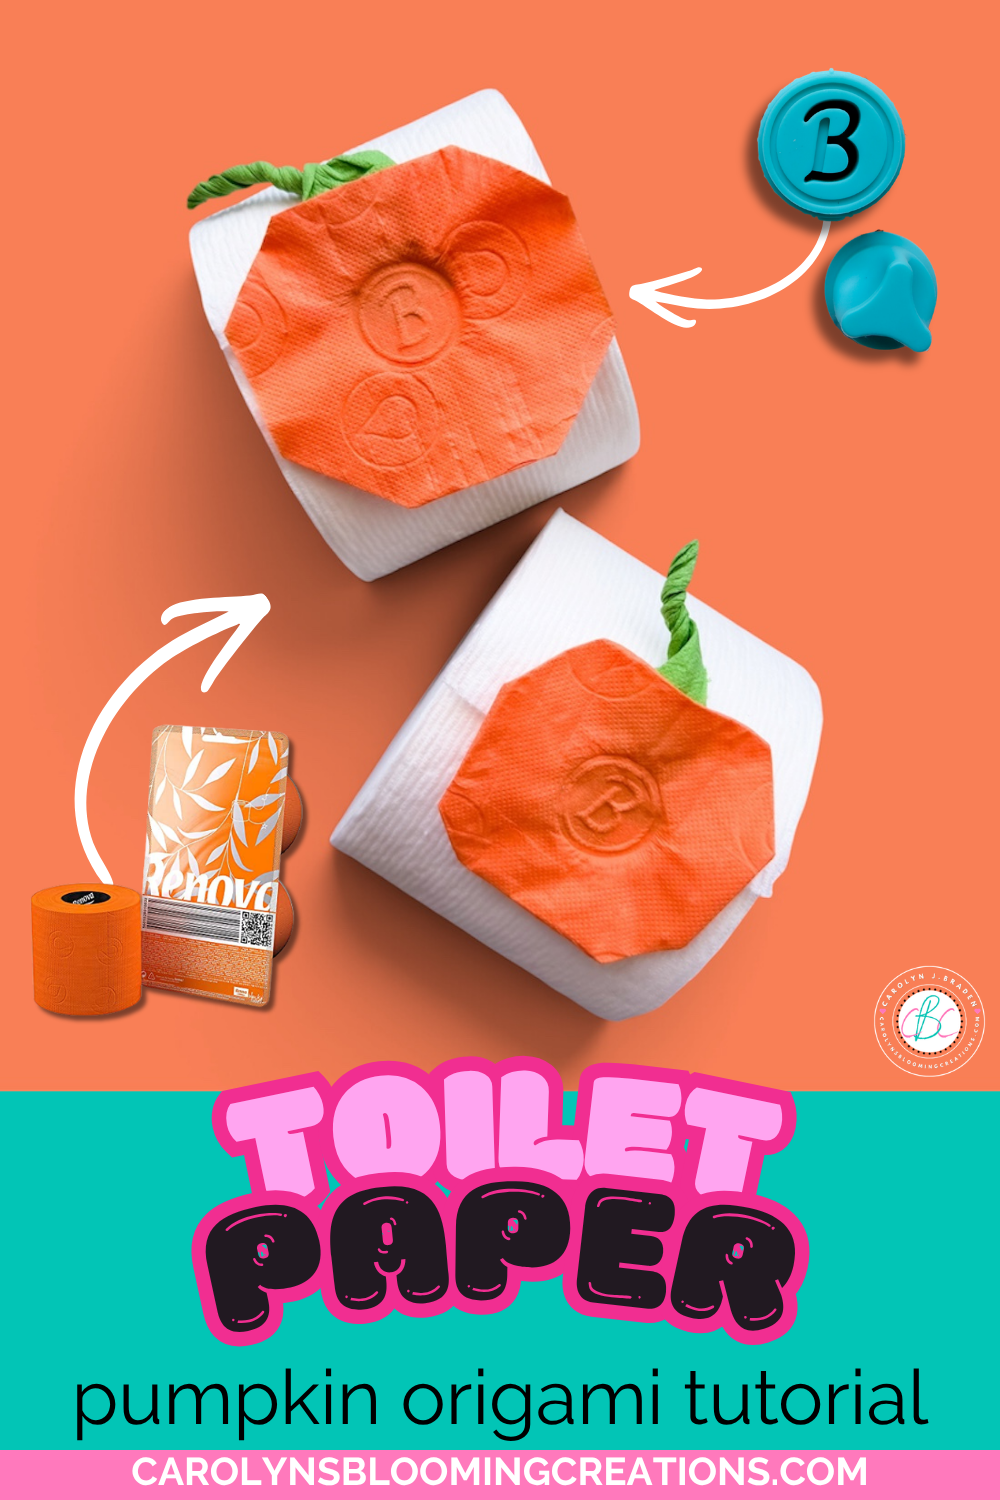
The Cutest Toilet Paper Origami Pumpkin for Fall
What You'll Need
1 roll of basic white toilet paper
1 square of colorful toilet paper for the pumpkin — orange is perfect for fall, but pink, yellow, purple or any other color can make a fun pumpkin, too—I have this set of rainbow-colored toilet paper from Amazon)
1 small piece of green toilet paper for the stem
A small rubber stamp, toilet paper stamp or wax seal stamp
A little water
A flat edge such as a pan scraper, optional
Where to Find Colorful Toilet Paper
Want to make your pumpkin extra colorful? You can find colorful toilet paper online and use whichever shade fits your decor or the season.
SHOP COLORFUL TOILET PAPER ON AMAZON
As an Amazon Influencer, I earn from qualifying purchases.
👀Check out my 1-minute 📹 video tutorial for this project on my TikTok now or via my YouTube channel @carolynjbraden!
How to Make a Toilet Paper Origami Pumpkin
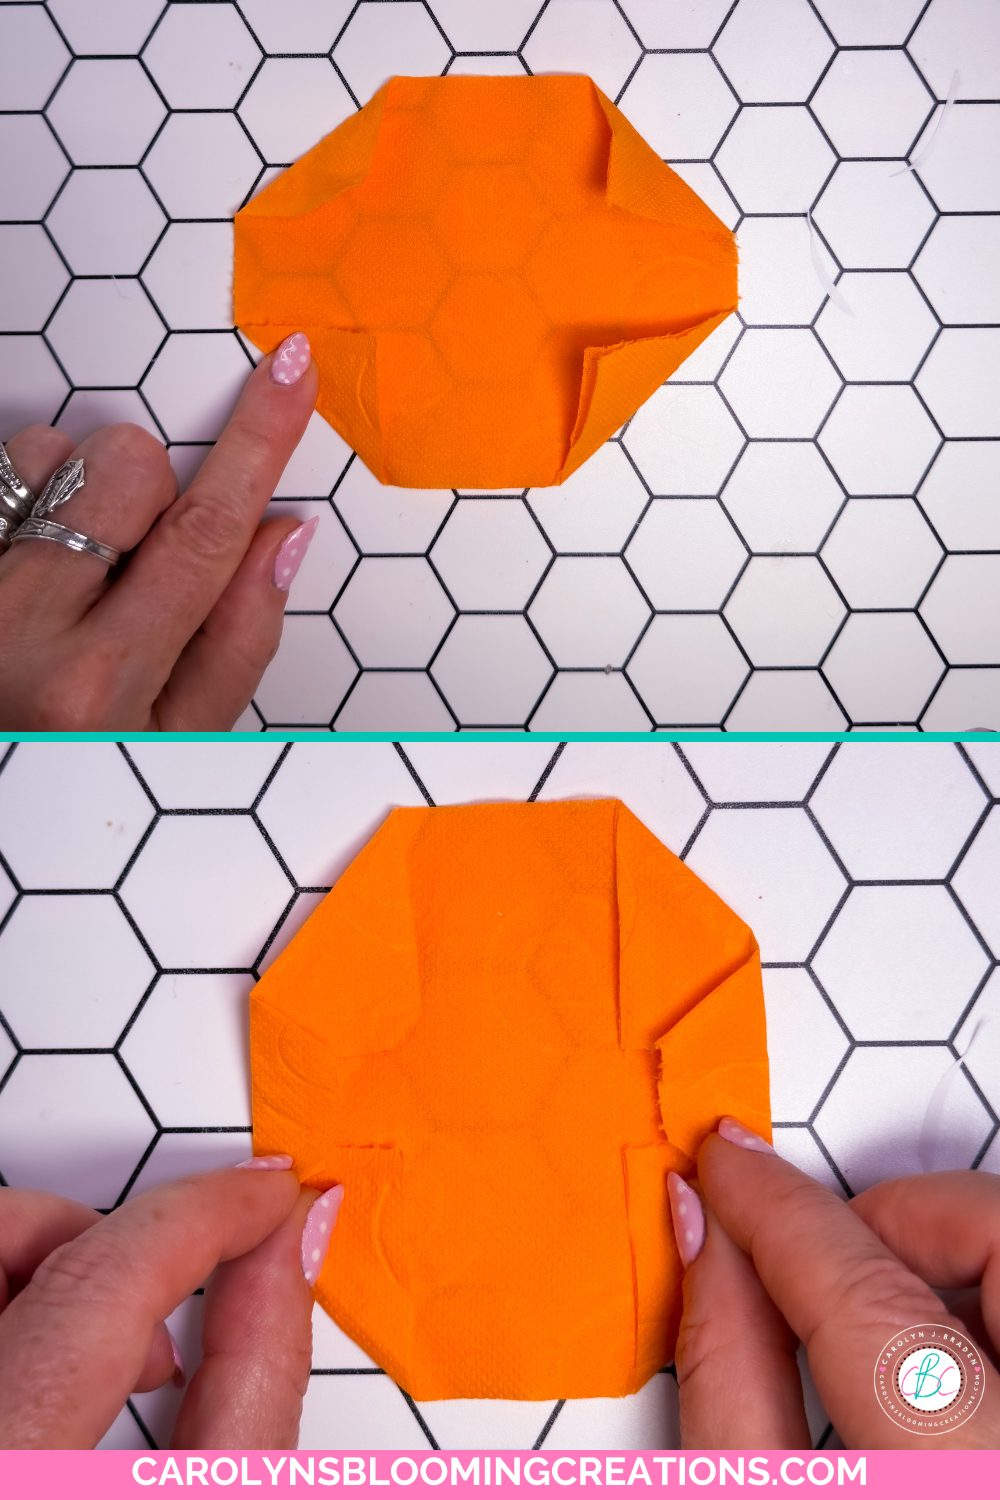
Folding the pumpkin shape
Step 1: Start with Your Pumpkin
Tear off one square of orange toilet paper, or whatever color you'd like your pumpkin to be.
Place the square in front of you and gently fold each of the four corners inward.
Then make a diagonal fold as well.
Here's an important tip: the bigger your folds, the smaller your finished pumpkin will be. So, if you want a larger pumpkin shape, make smaller folds.
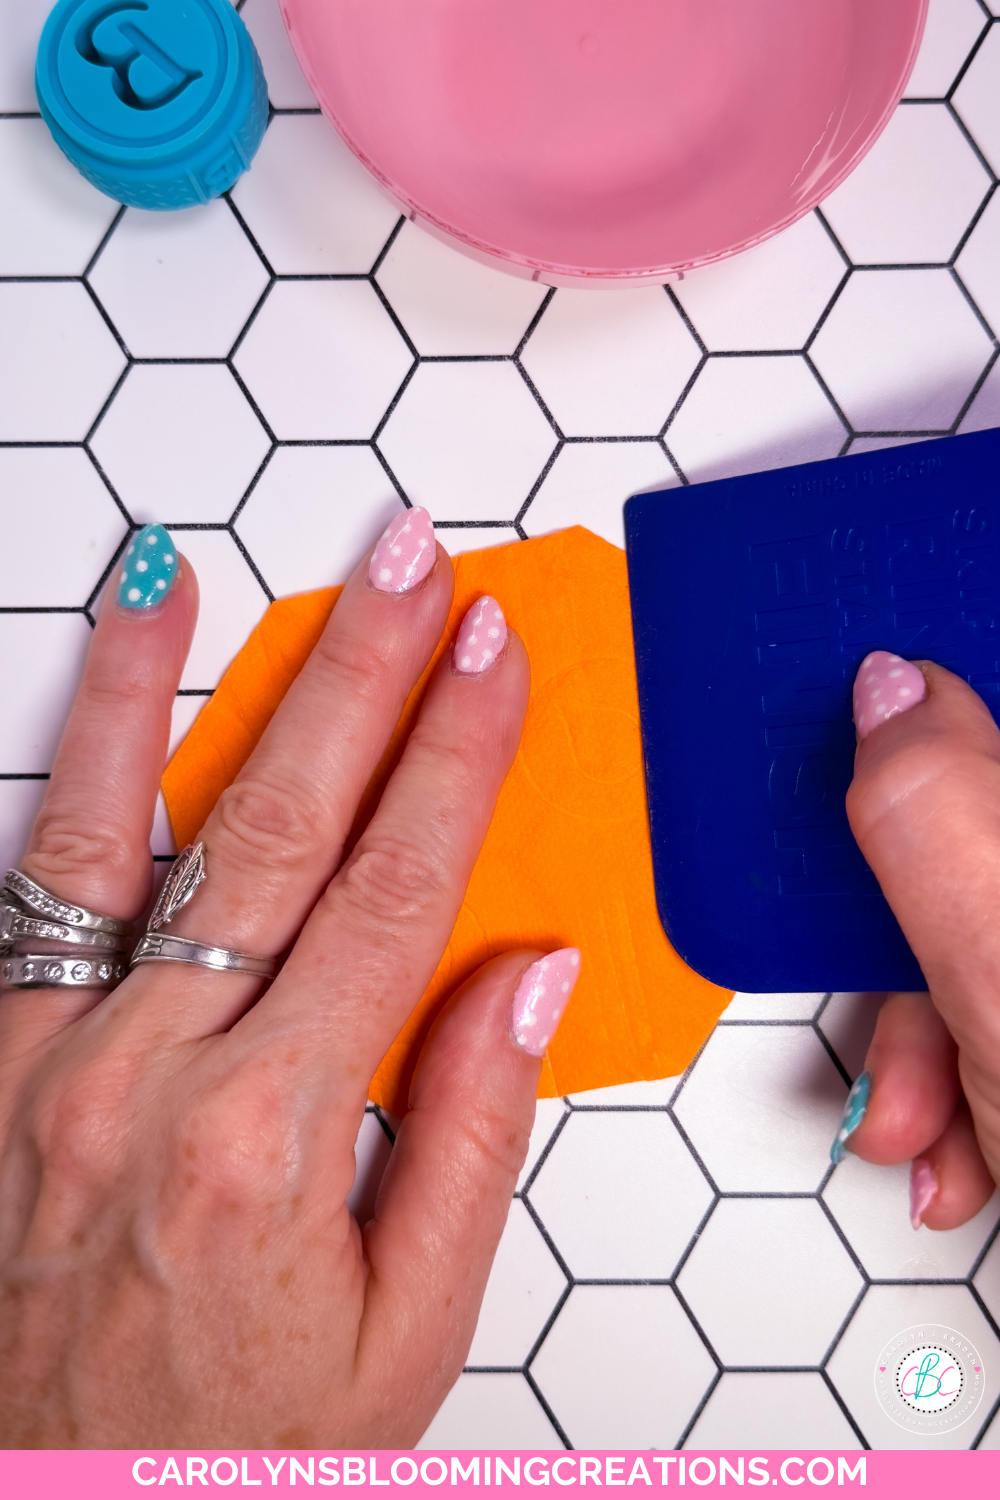
Using a flat edge to make flat folds
Gently crease each fold with your fingers. You can also use something with a flat edge, such as a pan scraper, to help create a nice crease without being too rough on the delicate toilet paper.
Step 2: Fold the Top and Bottom
Next, fold the top and bottom edges inward.
Gently crease those folds, again using your fingers or a flat edge if you'd like a little extra definition.
You should now have a curved pumpkin-like shape.
Set your pumpkin aside while you make the stem.
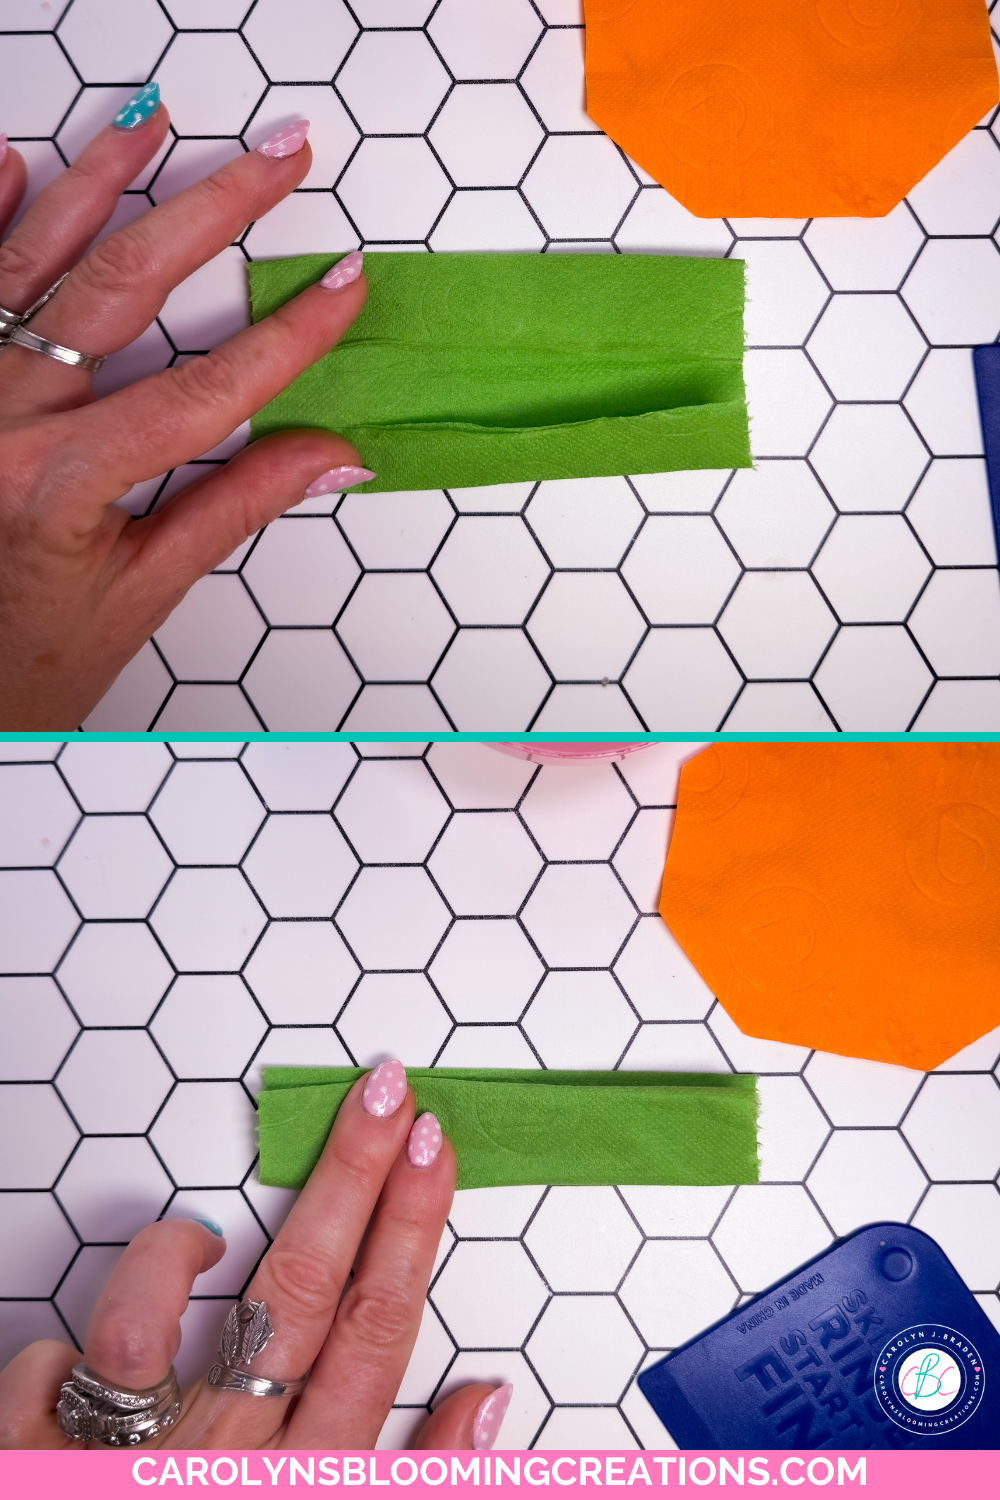
Making the stem
Step 3: Make the Pumpkin Stem
Tear off a small piece of green toilet paper.
Fold the edges inward and then fold the piece in half lengthwise to create a long, narrow rectangle.
Now comes the fun part!
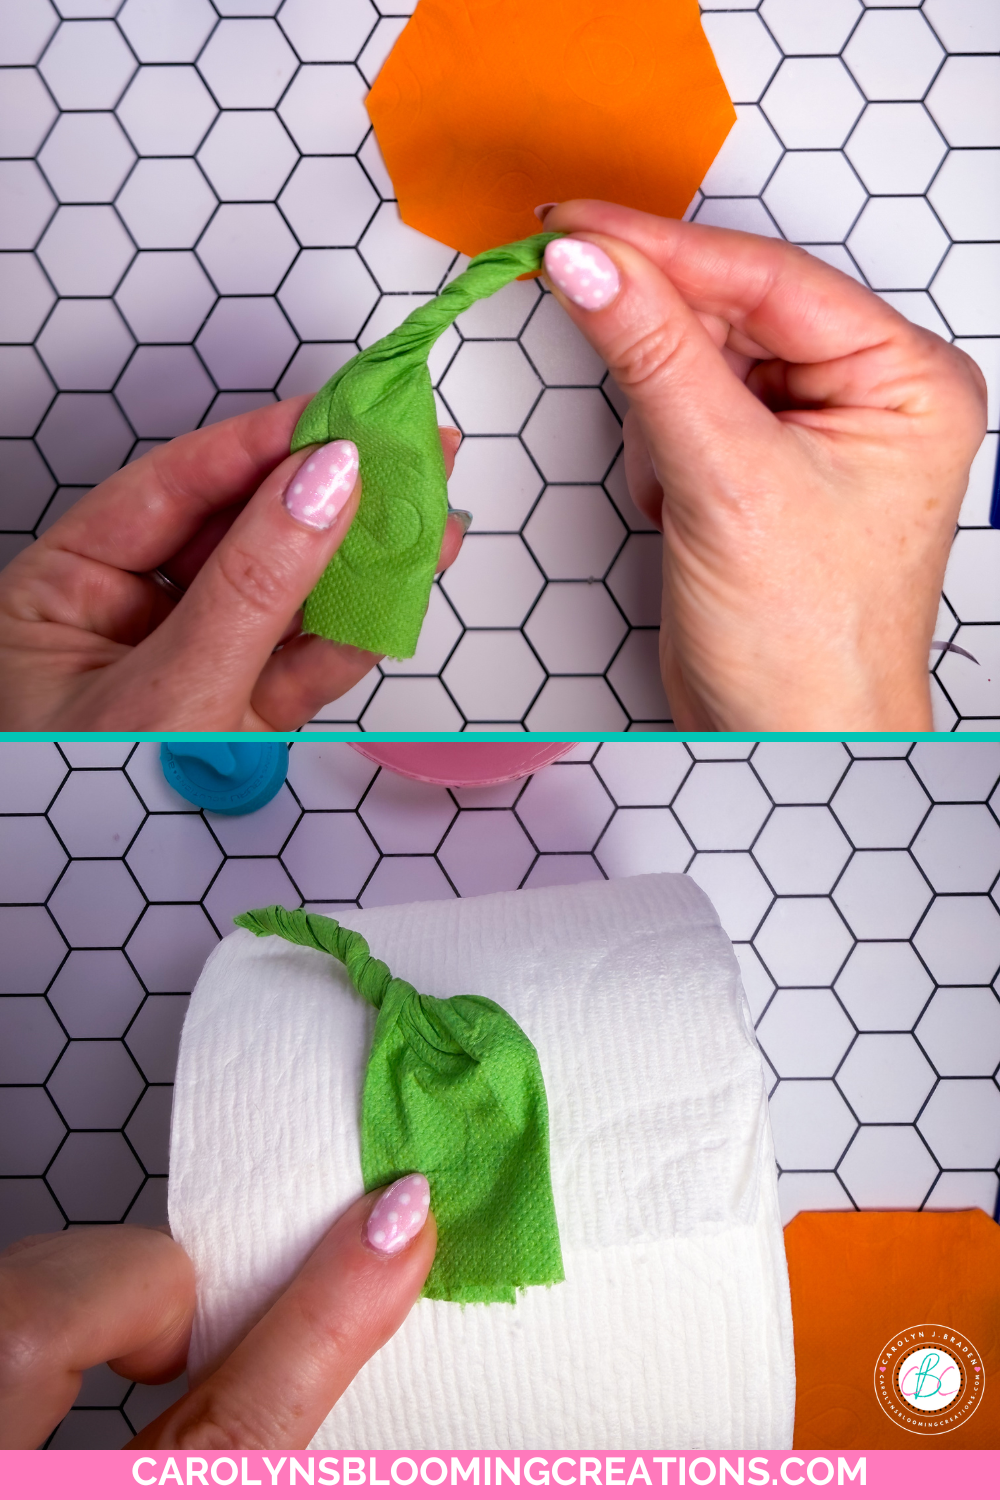
Twisting the stem
Pinch one end of the rectangle between your fingers and twist it to create the top of the pumpkin stem.
Leave the opposite end untwisted and flat.
That flat end will become the base of your stem.
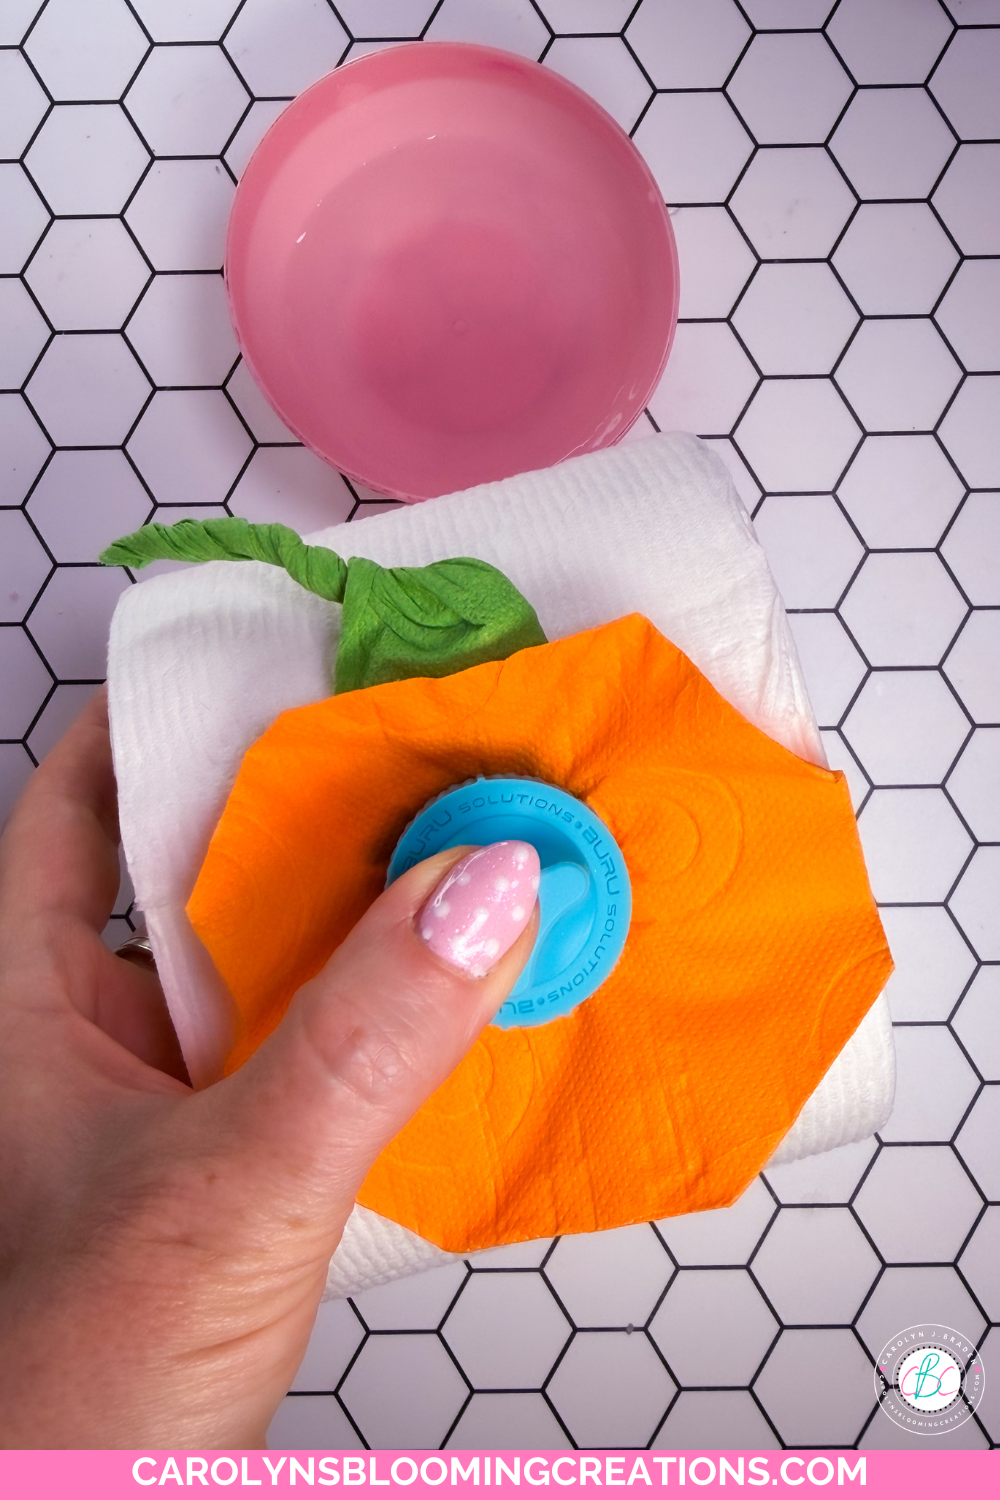
Wet the stamp and hold in place for a few seconds
Step 4: Position Your Stem and Pumpkin
Take your roll of basic white toilet paper and locate the seam.
Place the flat rectangular end of your green stem directly onto the seam of the toilet paper.
Then place your folded pumpkin shape over the top of it.
You want the stem base positioned so that your stamp will press directly over it.
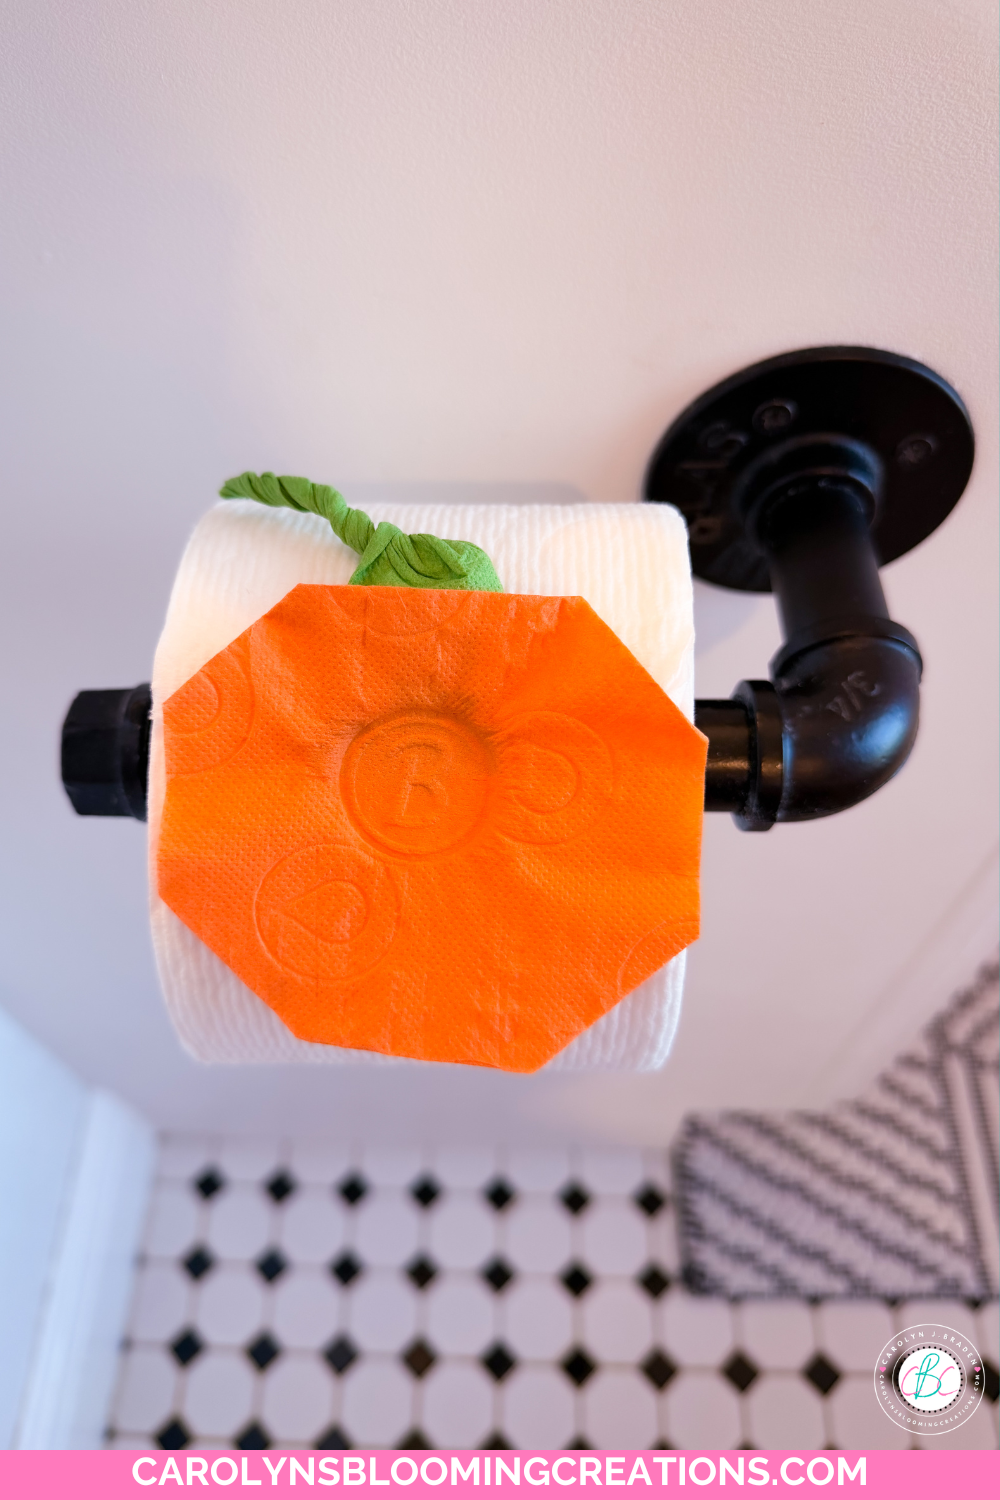
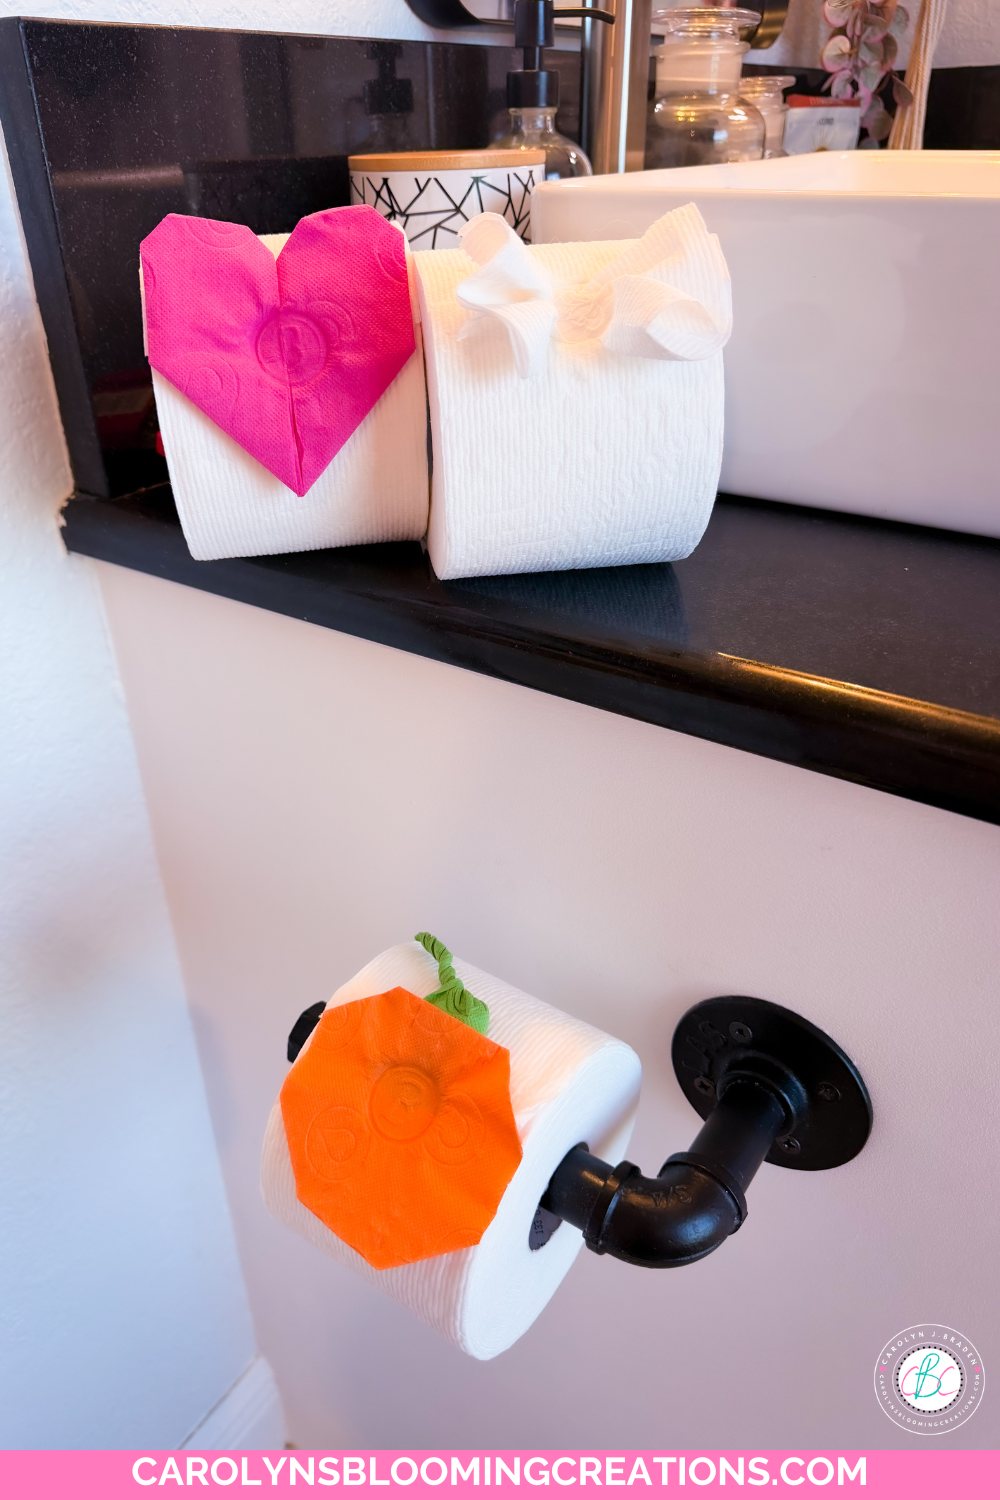
My finished origami pumpkin in my bathroom
Step 5: Stamp Your Pumpkin
Now for my favorite part!
Lightly wet your toilet paper stamp with water.
Don't have a toilet paper stamp? No problem! You can also use a small rubber stamp or even a wax seal stamp. I used a wax seal stamp in my toilet paper bow tutorial, and this technique works beautifully for that type of small decorative stamp, too.
Carefully position your wet stamp in the center of the pumpkin.
Press down gently but firmly and hold the stamp in place for about 5 seconds.
Make sure the stamp is also pressing over the base of the green stem. This helps attach the stem to the pumpkin and secure everything to the toilet paper roll.
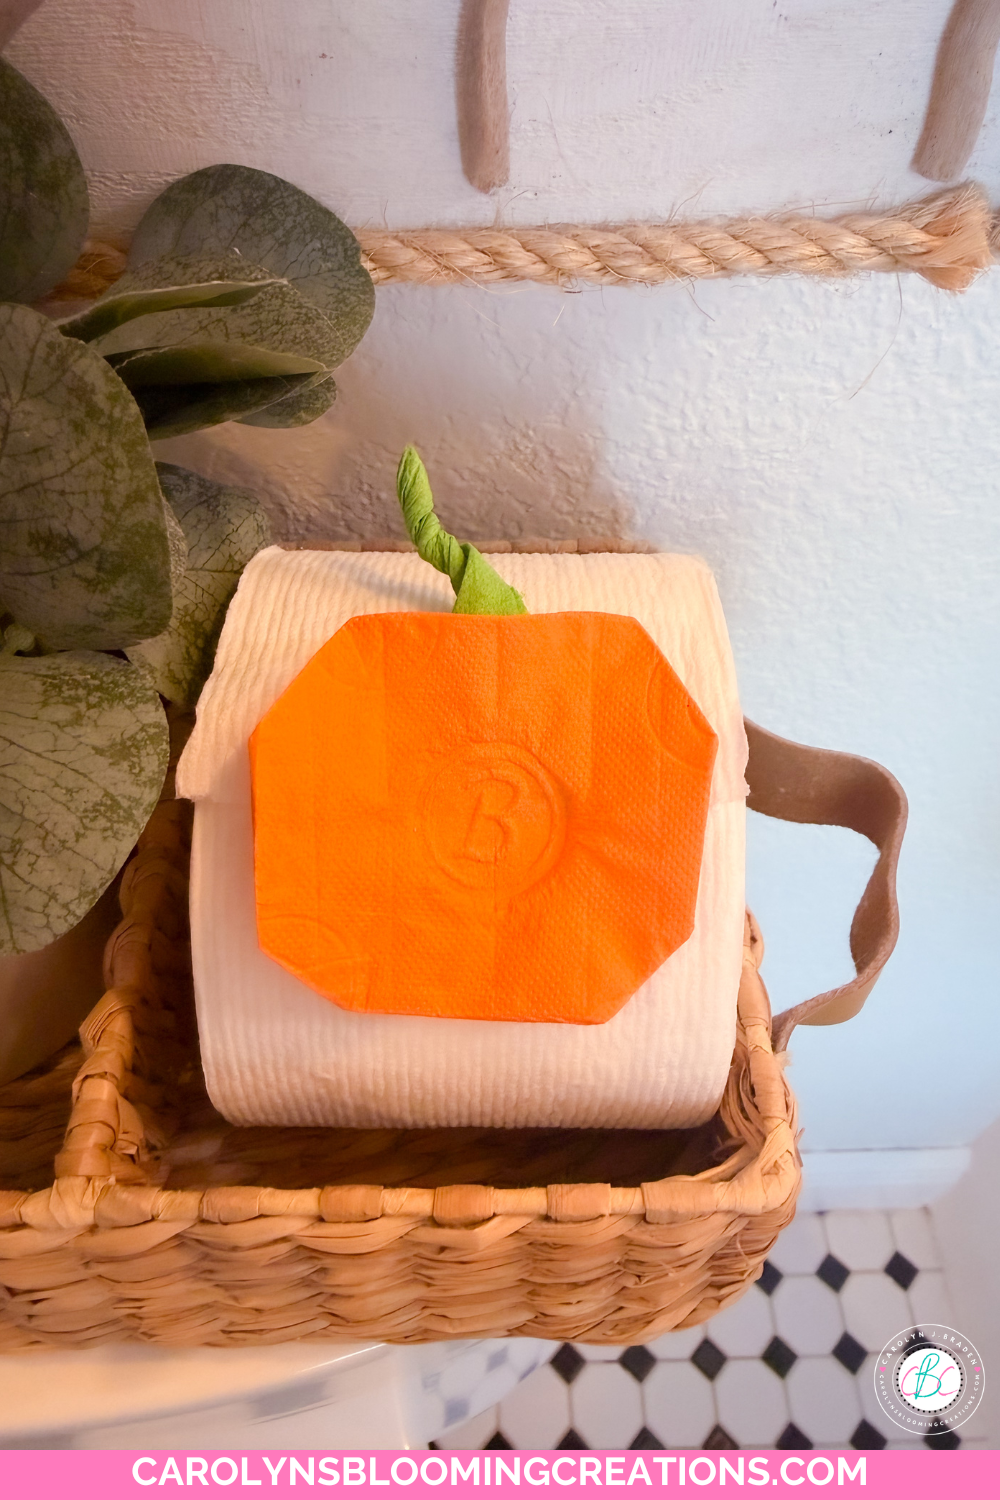
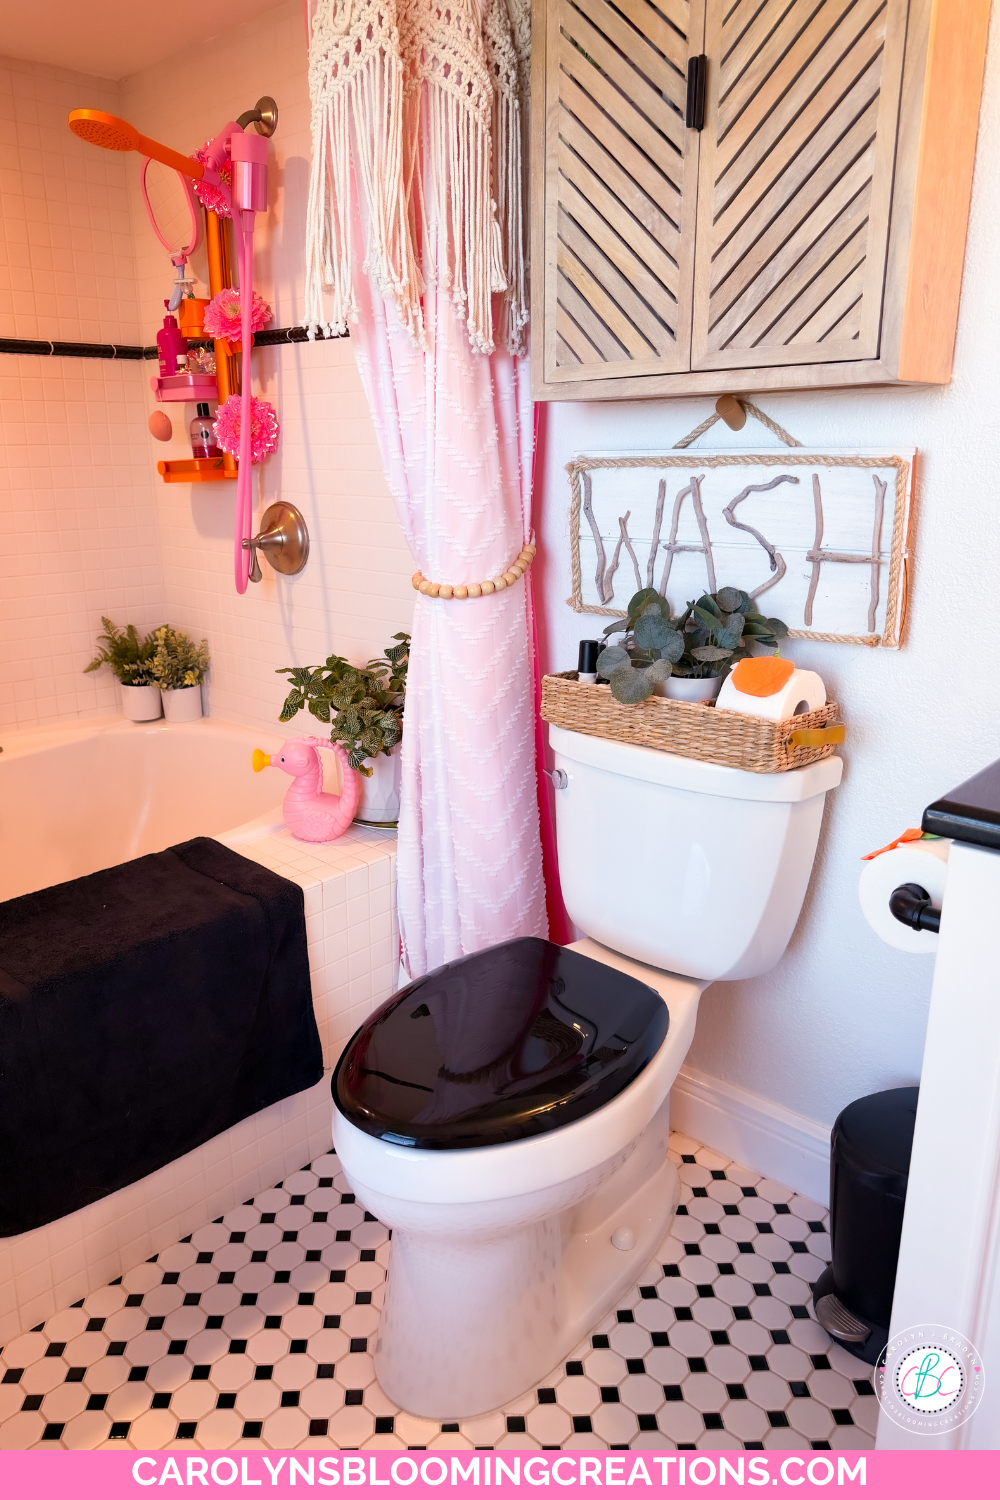
It looks cute in a tank basket behind your toilet
Step 6: Pull Off the Stamp and Let It Dry
After about five seconds, carefully pull the stamp straight off.
Now resist the temptation to touch it!
Let your toilet paper origami pumpkin fully dry before moving or decorating with the finished roll.
As it dries, the layers of toilet paper will help hold the pumpkin shape and stamped design in place.
And Just Like That...You Have a Toilet Paper Pumpkin!
How cute is this?!
I love that something as ordinary as a roll of toilet paper can become a tiny piece of seasonal decor with just a little folding, stamping and creativity.
The finished pumpkin is especially adorable in a guest bathroom, where your visitors will notice the little seasonal detail.
You can also place several decorated rolls together in a toilet tank basket or bathroom storage basket to create an easy fall display.
And the best part?
It looks much more complicated than it actually is.
Ready to Start Your Fall Crafting?
If you've been thinking, “I want to make something for fall, but I don't know where to start,” here's your sign!
Grab a roll of colorful toilet paper, your favorite little stamp and a basic roll of white toilet paper and make yourself a pumpkin.
It's easy, inexpensive, cute and just unexpected enough to make your guests stop and ask how you made it.
And honestly, isn't that one of the best parts of crafting?
Making something that makes people smile.
🎬Take Action
If you try any of my ideas, let me know how it turned out—or tag me when you try them because I LOVE seeing your posts💖 If you tag me using @carolynsbloomingcreations or @carolynjbraden, I’ll see it! Or tell me about it in the comments below.
If you loved this article, we know you’ll love this one too: How to Make Faux Jadeite Pumpkins for Cute Fall Decor
Carolyn J. Braden is the owner of Carolyn’s Blooming Creations is a regular contributor and editor for CBC. She has been featured in numerous media publications such as InStyle Magazine, on HGTV, on Bustle.com, and more. She is the author of the books Georgia McMasters in Amethyst Lake Cemetery, How To Be Yourself: 3 Ways To Help You Being You, and the illustrator for the children’s book Bridging Connections. She is a former classroom teacher that now dedicates her life to educating others on how to live their most healthy, creative and happy life. Learn more about her visiting our About Us page.