


Carolyn J. Braden • 3 Minute Read
How to Create a Simple DIY Outdoor Shower
Article Published: 5/22/24
Updated with new tropical decor and Sproos shower head and filter: 6/30/26
Living on Sanibel Island for four years has led us to find sand in places we didn’t know existed. Sand is always everywhere. We were using a hose to shower off after going to the beach, but it didn’t always get all the sand off. So, we installed an outdoor shower and love it. It’s helpful for after doing yardwork or showering off before going into the pool or afterwards. Read on to learn how we created our simple DIY outdoor shower.
🛍️Shop the Post
Support me as a creator and shop my links with no extra cost to you! See my creations come together via my Amazon Shop plus get buying links at affordable prices!
We also love shopping CVS ❤️ (the ExtraCare card savings stack helping you to save!) and here are some of our CVS finds to stock up on (especially when you get that 40% off coupon!) and love Walmart (Walmart+ gets you free shipping and delivery on many items) and Sam’s Club for extra savings on beauty, fashion and we love their furniture too!
🛠️We also love Lowe’s (see our Lowe’s storefront here) for all our home improvement projects and gardening loves (and animal lover loves too!).
📕Bookmark or pin this one by clicking the Pinterest SAVE button on the images in this article for creative magic in an instant.
2026 Mini-Makeover
Read our tutorial below to get the reed fencing and shower install tutorial, but get our upgraded version of this (a tropical mini makeover + a Sproos Shower Head and Filter (with a discount code!) outdoor shower tutorial here.

Mini Makeover for 2026
👉More Product Loves❤️
You can also get the products I’ve featured and more of my product loves via my Target shop here or my CVS Store here (use your ExtraCare card to double up on savings!) or via my shop my store here or below:
There are so many DIY outdoor showers out there. In doing a simple search on Amazon, I found some cute shower kits. Here are some DIY outdoor shower kits that we liked, but we could not use some of them (especially as the salty air of our environment of Sanibel island corrodes metal, even stainless, quickly), but you may be able to use them in your environment:
If you need a floor for yours (we just used leftover pavers we had and crushed shells were already the ground cover for the area), we think these flooring tiles on Amazon are cool. We also have our house for sale, so we didn’t want to do too much more to our house, especially after all the hurricane repair work in 2023…it wore us out! What we created for this project was just to help make the shower area look finished and be functional.
This shower is great for rinsing off after doing DIY’s outside!
If you don’t want to do plumbing at all or need our outdoor shower to be more portable, you could always use a camping style shower. This is a privacy shower tent that has good reviews on Amazon. People often buy it with this solar shower bag.
Now, keep in mind if you decide to install an outdoor shower, it may not all be DIY for you. My husband was able to install the plumbing for the shower, as we had a spigot that we weren’t using. If you decide you want to install one, you may have to hire a plumber to help you with the shower portion. Our DIY shower can then simply give you an idea on how to enclose it.
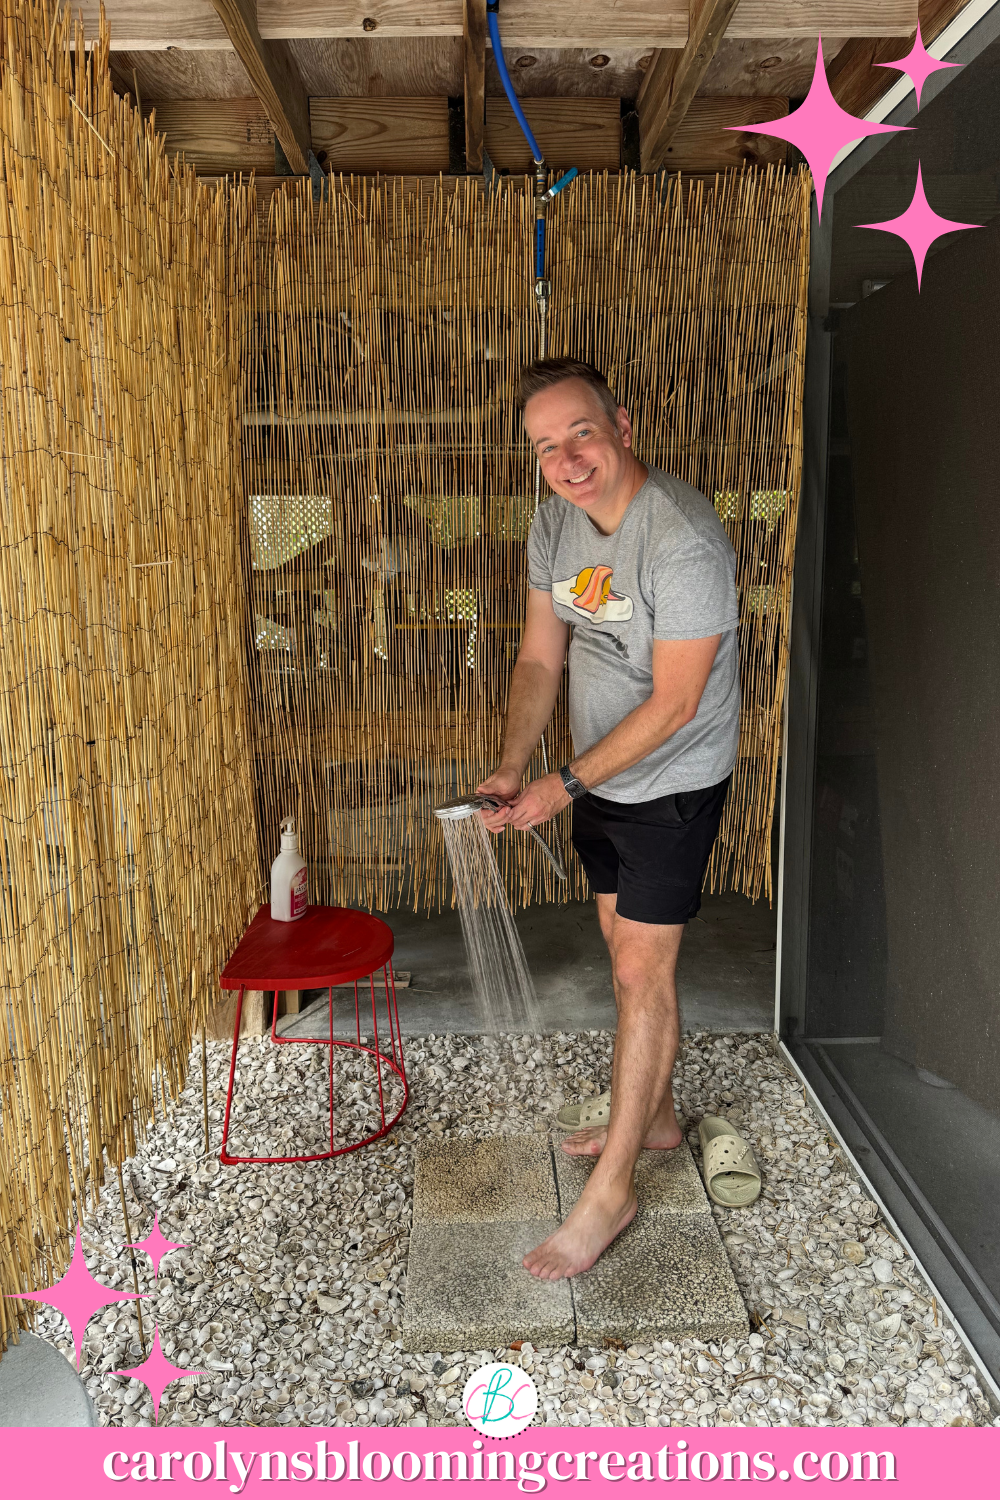
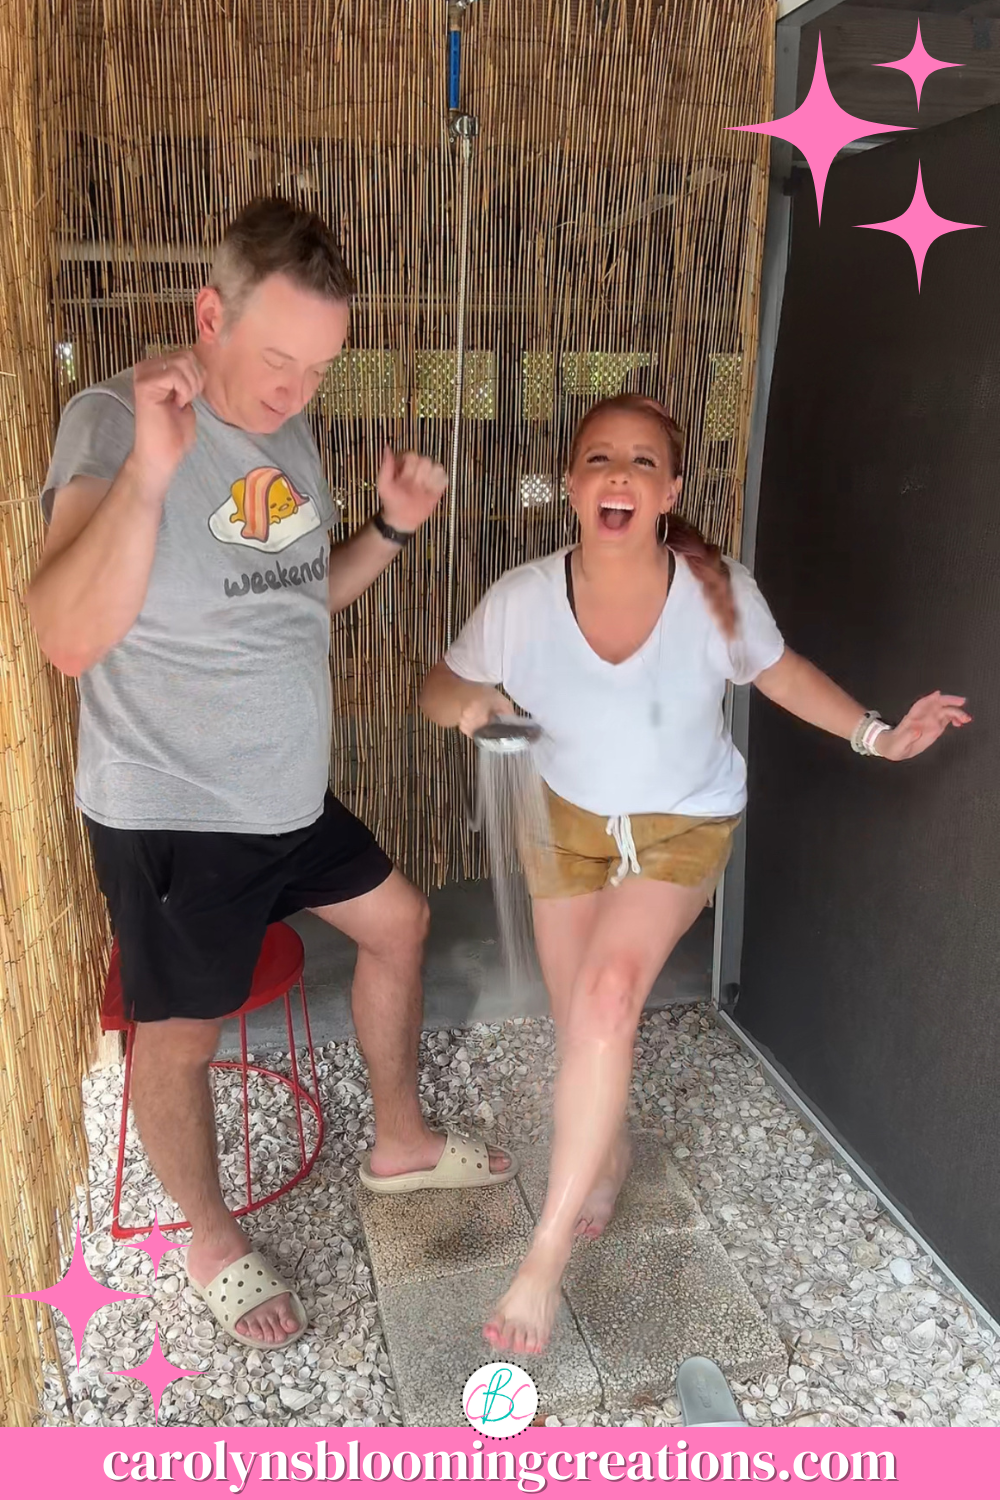
Tommy, using the outdoor shower
My friend had plumbing installed for an outdoor shower at her Florida home and it was over $1,000. Now, the cost of the plumbing varies based on where you live, who you choose to install it and more. If you are handy and like to do research like my husband, you could attempt the plumbing by yourself. My husband likes to use PEX piping and Shark Bite fittings for easier plumbing.
While building an outdoor shower is an enjoyable DIY project, sometimes professional help may be required to make sure everything runs smoothly. A plumber can help with connecting your outdoor shower to the main water supply, regulating pressure and temperature accordingly, installing drainage systems to reduce pooling of water in your outdoor space or potential damage, or adding hot water (which requires precise adjustments and safe handling).
Getting in touch with a professional ensures your project complies with local plumbing codes as well as avoids expensive repairs later.
See how we created this DIY Outdoor Shower in our one minute video below or via our YouTube channel @carolynjbraden:
My husband loves watching This Old House (their article about outdoor showers is great!) and often refers to Bob Vila for inspiration and help. This article on Bob Vila’s website will take you through a DIY outdoor shower. Use their ideas for the plumbing and for an optional design. We used leftover things that we used for our reed fence ceiling in our pool area. That project is very popular on our Pinterest page. See that project, our reed fence ceiling DIY, by clicking here.
See the video for our reed fence ceiling in our one-minute video below or via our YouTube channel @carolynjbraden:
Here’s how we created our DIY outdoor shower.
What We Used:
My husband used PEX piping and this Shark Bite fitting (1/2 inch ball valve) to branch off the plumbing from a spigot off our second-floor porch. Because we did it with a spigot, we only have one temperature of water, which is fine for our usage. If you want hot and cold, you may need to hire a plumber to run hot and cold water to the site. Refer to the Bob Vila project for details about that.
Vigoro Reed Fencing (We got ours, a 6 foot in height x 16 foot in length roll, at Home Depot but Amazon has a similar version and Walmart has some too…ours was around $30. Yes, reed fencing can get wet. We used it once as a cover for an ugly wire fence and it lasted for many years. It will darken in color but it is fairly durable.)
Bamboo stakes (we used thinner 6’ stakes as the reed fencing is very lightweight and we were using our house as the main frame, but if you need thicker bamboo stakes, you can get them on Amazon too)
Heavy duty staple gun
Nail gun (my husband loves this Hart one from Walmart.. he’s been very impressed with Hart tools)
Shower head (We bought this handheld shower head from Amazon) 2025 UPDATE: A couple of salty aired hurricanes corroded our silver one, so we replaced it with this black shower head from Amazon and we LOVE it…the push button ON/OFF is so much easier and all our black finish faucets have held up much better outdoors.

The completed outdoor shower
Directions for How We Created Our DIY Outdoor Shower:
Please note: Since we had a VERY specific space for our shower (it’s under our raised house, as our Sanibel Island area can flood and did so during Hurricane Ian in 2022…see what we had to do after that storm in this article), our directions may not work exactly for you but you can use them as inspiration.
The reed fencing is also not fully private (yes, you can see through it, even when we experimented with doubling it up), so if you are planning on showering outdoor in the nude, you may need a more private type of screening.
My husband first installed the plumbing and the shower head. As I wrote earlier in the article, you may need to hire a plumber for this. I also discussed cost earlier too. The cost will depend on how much you can do yourself AND whether or not you want hot and cold water run to it. You need to think about drainage (we didn’t need a regular drain as we are only rinsing off with ours and we have great drainage from our crushed shell ground cover).
Also, if you live where it gets very cold, cutting off the water lines to the shower in the winter will be helpful. Like all DIY’s, think this project throughly before deciding on creating one at your home.

Our outdoor shower head and pavers, installed
Next, we added some pavers that we already had left over from another project. We added just four so we could stand on them while showering instead of on our crushed shell ground cover.

The horizontal bamboo poles
We ran two bamboo poles horizontally across the beams of our house and secured them with the nail gun. If you do not have beams, using wood fence poles or something similar could work. If you install your own beams to build an enclosure for your outdoor shower, prepare for digging holes and possibly using cement.

Tommy, cutting the fencing
Then we rolled out the fencing to fit the space and cut it (the reeds are attached with wires).

Tommy, stapling the reed fencing to our beams
Next, we used a staple gun to staple the reed fencing to the beams.

Securing the fencing to the poles
We then used wire ties and tied the fencing to the horizontal bamboo poles. We added some vertical bamboo poles to secure it more. This may not hold up in another hurricane BUT since it’s under our house, it probably will as the reed fencing has plenty of gaps for wind to pass through.
If you don’t have to deal with hurricanes, it will probably hold up well. We completed our reed ceiling project (the one I talked about earlier in this article) right before the hurricane and since it was under our house, it survived perfectly.

Trimming the wire ties
We trimmed the wire ties to clean up the look. You can use heavy duty scissors or whatever works to trim plastic.

The extra wire tire onto our house secured it more
We added extra wire ties to secure the poles to our house. There were already nails in our beams, so we just used what was there.

Fencing the front of the shower, which faces our open garage area
We then rolled out more reed fencing for the other side of the shower (we only needed to enclose two sides as we left the front open and the right side was the screened in pool area that already has a large privacy roll up shade on the pool side of the screen).

To see the perspective, the shower is on the other side of the screened in pool area
We used the staple gun (it contains stainless staples for outdoor use) to secure the roll to the house beams.

Then, we were done. Again, we completed this project to make the shower area look more complete and it actually is quite cute.

The completed outdoor shower
We use the shower to get sand off from our beach days, before and after getting into the pool and for rinsing off after doing yard work.

It’s a simple outdoor shower design that will last for at least a few years
Even when we move to a new state, I will want an outdoor shower again. They are so useful! I can come up with another DIY for that one, as the climate and weather will be different. There are so many possibilities for outdoor showers and I hope this project was inspiring to you.
🎬Take Action
If you try any of my ideas, let me know how it turned out—or tag me when you try them because I LOVE seeing your posts💖 If you tag me using @carolynsbloomingcreations or @carolynjbraden, I’ll see it! Or tell me about it in the comments below.
We also installed an outdoor sink on our porch for rinsing off beach finds (Sanibel has so many beautiful shells!) and washing our dogs. If you liked this project, you may like this one too: DIY Elevated Dog Wash Station
Carolyn J. (C.J.) Braden is the owner of Carolyn’s Blooming Creations is a regular contributor and editor for CBC. She has been featured in numerous media publications such as InStyle Magazine, on HGTV, on Bustle.com, and more. She is the author of the books Georgia McMasters in Amethyst Lake Cemetery, How To Be Yourself: 3 Ways To Help You Being You, and the illustrator for the children’s book Bridging Connections. She is a former classroom teacher that now dedicates her life to educating others on how to live their most healthy, creative and happy life. Learn more about her visiting our About Us page.