


Carolyn J. Braden • 3 Minute Read
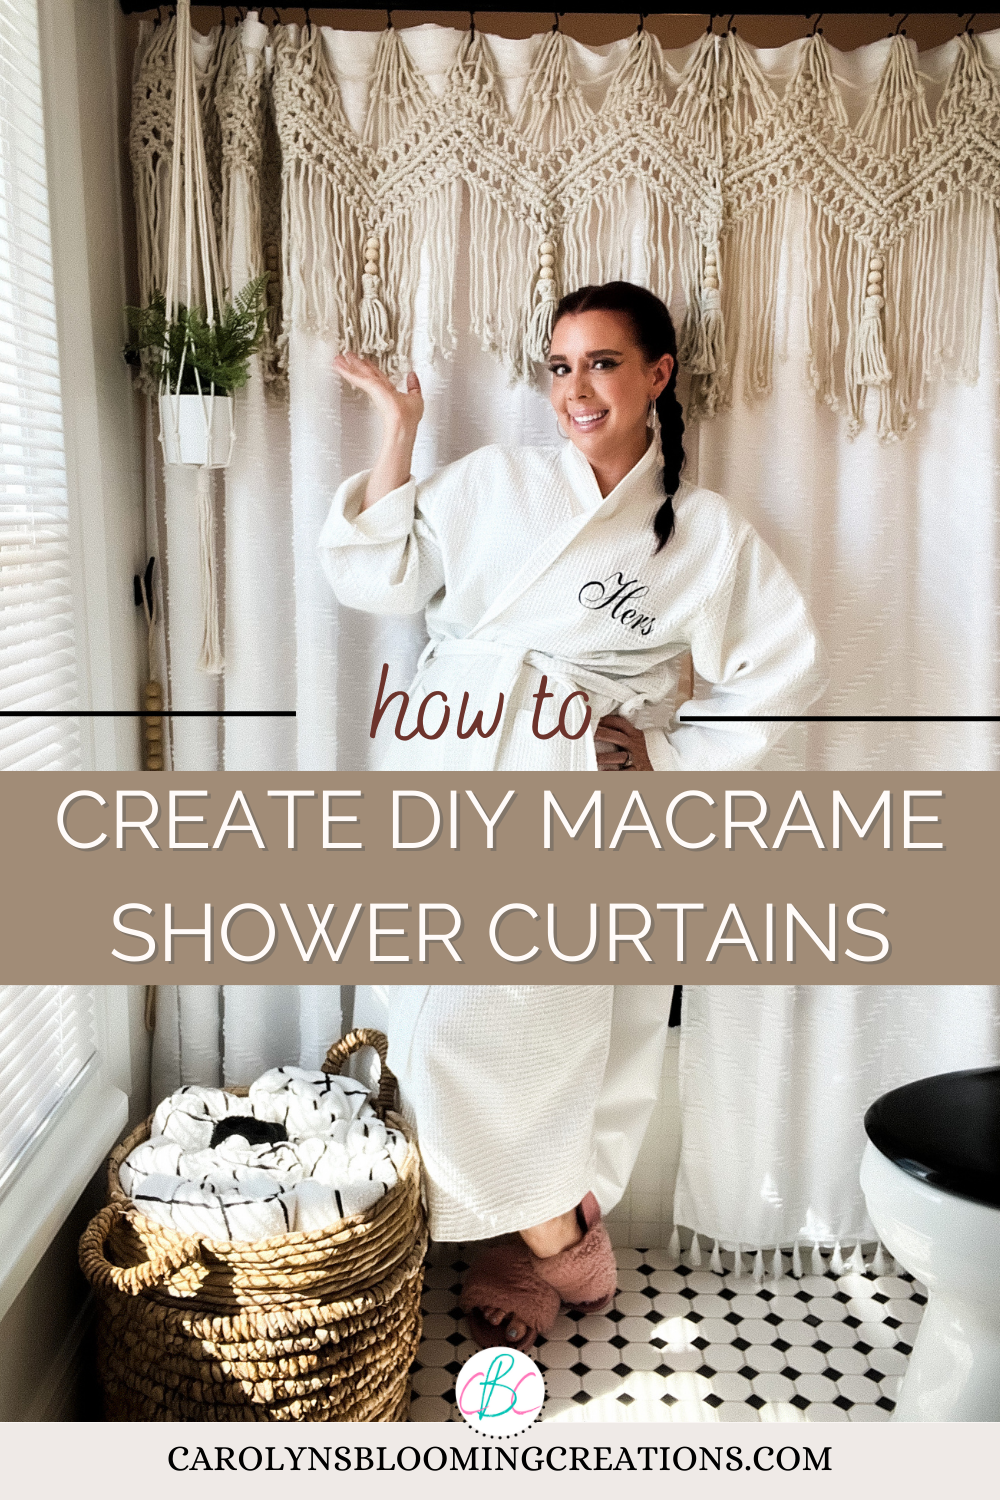
How To Create DIY Macrame Shower Curtain Accents
Updated: 1/6/26
Shop the Post
Don’t feel like reading this article? That’s okay! See my bathroom come together via my Amazon Shop plus get buying links at affordable prices!
Bookmark or Pin this one by clicking the Pinterest SAVE button on the images in this article for home decor inspo in an instant. Shop the products I use to keep my house super clean below or via my shop my store here.
Learn how to create DIY macrame shower curtain accents to instantly elevate your bathroom décor. This easy, budget-friendly tutorial shows you how to add boho texture and handmade charm using simple macrame curtains purchased on Amazon—no advanced skills required. Perfect for renters and home décor lovers, these macrame shower curtain details transform a basic bathroom into a stylish, spa-inspired space with a cozy, modern bohemian vibe. Ideal for weekend DIY projects, small bathroom upgrades, and creative home styling on a budget.
See this tutorial in a 1-minute video via my YouTube channel @carolynjbraden or below:
I love macramé. I have it all over my house. I’ve added macramé pillow décor, macramé café curtains, macramé plant hangers, and I even have a macramé-esque vintage string chair. It was only a matter of time before I figured out where else I needed macramé in my home décor. I wanted macramé shower curtains I saw on Amazon a while back, but after reading reviews of how much they tangled when washed, I decided against it.

The white boho-ish shower curtains alone look nice
Then I had a great idea. After testing my idea for over a week, it worked (there was one minor hiccup and I discuss it in this article) and now I am here to share my idea with you. I believe this idea can be used to accent a lot of shower curtains in different ways too. Here’s how to create DIY macramé shower curtains.

These are the loops I hung from the shower curtain rings
After hanging some shorter macramé café curtains in my house, one day I looked at them and wondered if I could incorporate them into my shower curtains. I figured I could sew them onto a basic shower curtain, but that would not solve the problem of washing them with the curtains.
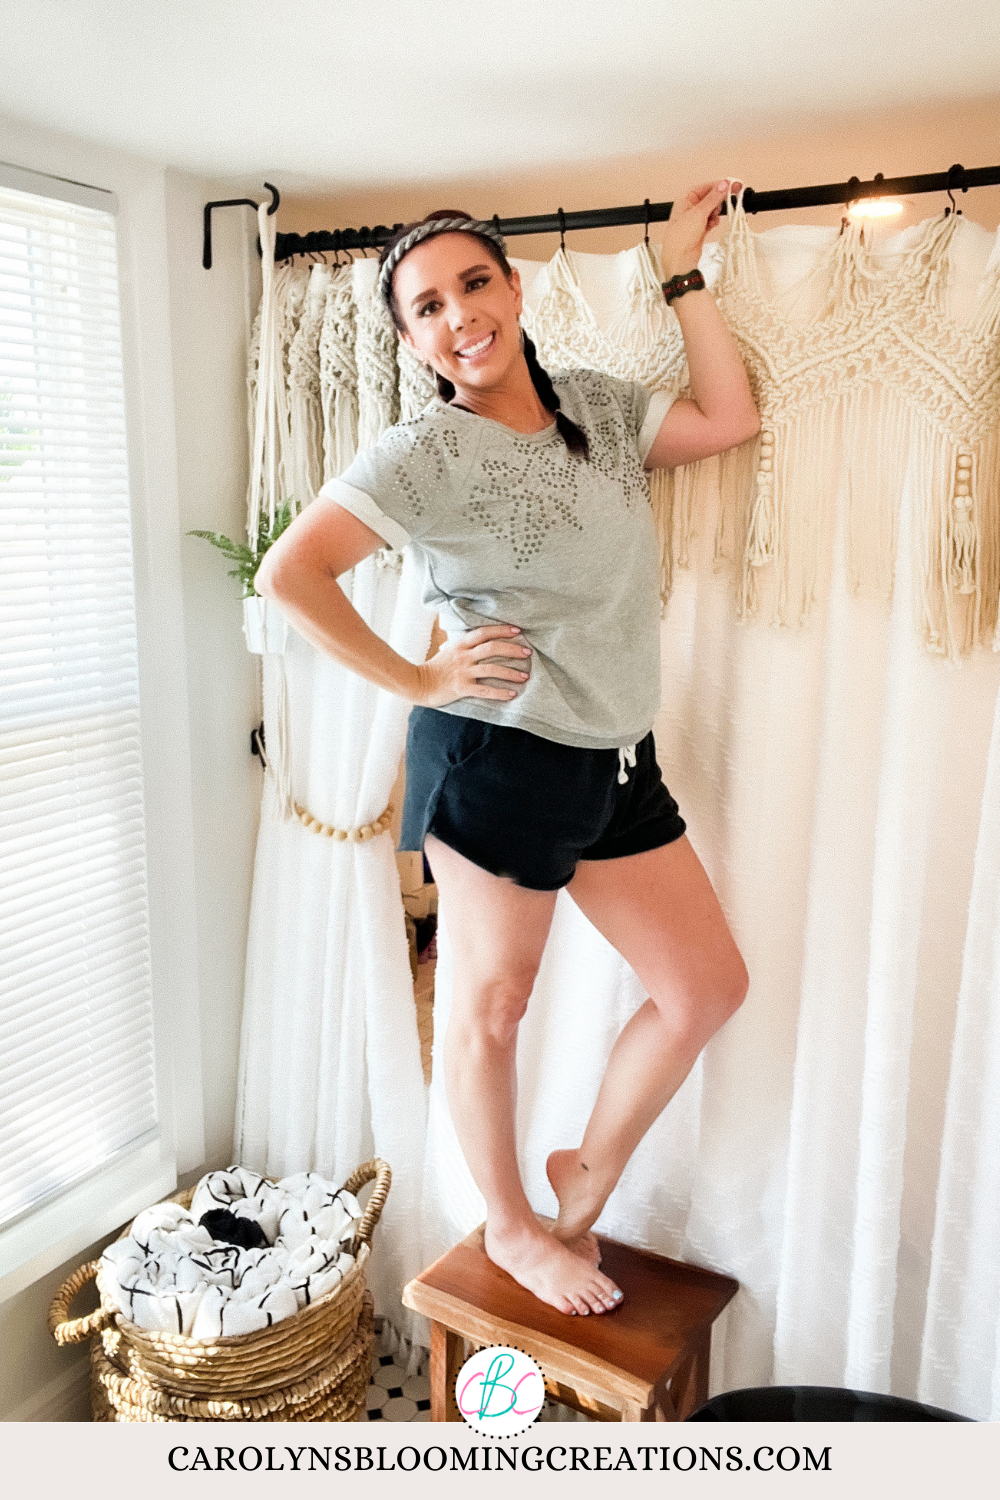
Me, hanging the macrame curtain accents
In an Amazon review I read about a macramé shower curtain (one where a short macramé curtain is permanently attached to a basic white shower curtain) and the reviewer said how tangled the macramé string got after she washed it. She even posted a photo and it was a mess! With each of those macramé shower curtain sets costing around $70 on Amazon, I did not want to spend that money only to have them be ruined in one washing.

I love the macrame curtain accents
I needed to change out my old shower curtains (they shrunk big time when I washed them recently) and needing to change out my rusty curtain hooks (they rusted after being shut up in our home during our Hurricane Ian evacuation of 4 months), I figured it was a great time to launch a test of my macramé shower curtain idea.

I love macrame home decor
Because I have a large shower/tub space, I decided to add two curtains, as one curtain alone doesn’t quite cover the space all the way. Keep this in mind when you are recreating something similar, as I had to order double of everything.

My wood bead curtain tie backs
I ordered the following items for this project:
Two 52”W X 21”H macramé valances (of course, if you want a BIG challenge, you can make some of your own macrame curtains!)
Two sets of 12 double glide shower hooks (I got matte black)
Optional: Even though my shower curtains were marked “water resistant”, I always add a liner. I like these waterproof fabric washable curtain liners. They have held up for almost 3 years!

Macrame curtains have a bit of stretch to them
I first placed the rod in place and added the shower curtain hooks, then the liners (on the back hooks) and then the white both shower curtains (on the front hooks). I love having the double-sided shower curtain hooks and would always recommend them when using a liner and a curtain. It’s so much easier to wash one or the other without having to take them all down.
See our popular IKEA curtain tutorial in our less than a minute video below or via our YouTube channel @carolynjbraden:

Macrame adds a bit of a vintage vibe to your home
Next, I counted the loops on one set of macramé curtains. It had 84 loops. This meant I needed to hang 7 loops on each shower hook. I did not care for math growing up, but luckily using it in my art creations (actually applying it to real life) has helped me like it more as an adult.

My plant hanger is macrame too
I counted out seven loops on the outer edge of one side of a macramé curtain and looped them over the front hook on one end of a shower curtain. I continued this process of counting out seven loops and hanging them on a hook until I hung the entire macramé curtain up. I did this alone, but it would be helpful to have someone hold the curtain while you do it.

Our current Sanibel home overlooks a nature preserve, which can be seen from this window
If you have more or less macramé curtain loops, you could do your own math to figure out how many to hang on each hook, but the ones I ordered fit across each curtain perfectly. It’s such a wonderful feeling when you have an idea for something and it works. I know I’ll have to take them down to wash the curtain, but I don’t wash my shower curtains too often due to using a liner too.
Make sure you have your shower curtain rod tight against the wall, especially if using two curtain panels. The macrame became heavy and a week into testing this project, the rod (with all the curtains) fell. With tightening it more, it held in place and felt more sturdy. I asked my husband if we could install rod holders or a ceiling support if it happens again (as I really LOVE this project!), and he said yes.

You can leave the shower curtain closed
They slide easily with the curtains and aren’t too heavy as the hooks I used are very sturdy. The macramé curtains I bought had wood beads on them, so I added some wood bead curtain pull backs and used some boat cleat hooks with them. I currently live in a coastal home on Sanibel Island and have used lots of rope and boat cleat hooks all over our house.

A 2026 update: black mini blinds…I love them!
The overall cost was about as equivalent to the $70 macrame shower curtain, considering I already had the rod and the liners, which doesn’t save you a ton of money BUT mine won’t fall apart as I won’t ever wash the macramé part.

I also created the WASH sign above the toilet
As far as other ideas, you could use even longer macramé curtains for this project. I was going to use a long curtain like the one I used in my macramé door curtain project, but opted for the shorter ones. You could hang any type of valance over your shower curtain, provided it has enough hanging loops to go with your shower curtains. Or, you could use curtain hooks/rings to attach a café style curtain too.

I love the colorful mini blind update
You could simply hang faux plants down your shower curtain, rope or be creative in your own way. If you used this idea or came up with your own, let our community know in the comments below!
Take Action
If you try any of my ideas, let me know how it turned out—or tag me when you try them because I LOVE seeing your posts💚 If you tag me using @carolynsbloomingcreations or @carolynjbraden, I’ll see it! Or tell me about it in the comments below.
If you loved this article we know you’ll love this one too (and you can see the “growing pains” this bathroom has gone through in 3 years): Modern Black and White Bathroom Makeover
Carolyn J. (C.J.) Braden is a regular contributor and editor for Carolyn’s Blooming Creations. She has been featured in numerous media publications such as InStyle Magazine, on HGTV, on Bustle.com, and more. She is the author of the books Georgia McMasters in Amethyst Lake Cemetery, How To Be Yourself: 3 Ways To Help You Being You, and the illustrator for the children’s book Bridging Connections. She is a former classroom teacher that now dedicates her life to educating others on how to live their most healthy, creative and happy life. Learn more about her visiting our About Us page.