


Carolyn J. Braden • 3 Minute Read

How to Create a Claw Clip Curled Faux Hawk Hairstyle
I grew up with banana hair clips and when I purchased one from Amazon recently, I realized why I didn’t love them in the 80’s. I was wanting a curly faux hawk and the banana clip I ordered was not the answer. Thank goodness for Amazon’s amazing return policy as that clip went back as it was loose no matter what I did. Maybe it was best for thicker hair. Then I had an idea to create a curly faux hawk with a claw clip and here’s how to do it.

I did my hairstyle on my long hair, but it would work with shorter hair too
Claw Clip Warnings + Alternative
While I’ve seen the articles about traditional claw clips being dangerous when worn in a car (accidents can cause head bumps and claw clips could injure your head), there are many viewpoints on this and you can read about why in a People.com article here.
Basically the article tells of an ER physician assistant that said you should not wear a claw clip (in one video she made for her TikTok) due to what she experienced, then a doctor weighs in with saying that yes, you could get injured in an accident if wearing a claw clip, but the chances are very low. All jewelry and fashion accessories you wear could pose an additional threat in many car accidents.

Dr. Ross (MD, via the article) says this is more important when driving: "Making sure that heavy objects such as gym weights, propane tanks or even dogs are properly secured is much more important than removing plastic claw clips. These clips tend to be made of inexpensive plastic and typically break harmlessly if impacted," he says.
I have seen flat claw clips hit the market. You could not quite do this faux hawk hairstyle with a flat claw clip, but if you are worried about this, either don’t do this hairstyle OR you could use small clip in flowers (links are in the tutorial below for my plumeria clip in flowers) and lots of bobby pins instead but that method isn’t quite as simple as mine. If you are concerned about claw clips safety, take the claw clips out as you drive.

My cute romper dress
My Dress + Amazon Shop
My dress in this article is actually a romper (the romper part is under the skirt) and you can get my romper dress here on Amazon. I ordered a size small and it is quite roomy. I also have it in white. See all of my current Amazon loves here on my Amazon SHOP.
I wore this lavender two piece swimsuit under it as the romper is also a cute swimsuit coverup. I also have it in white, as seen in my 15 second video above or here on my YouTube channel. See it below when I wore it for my birthday and a date night with my jellies and my pearl studded jacket. Get white romper full look buying links here in my Amazon Shop. My purse is my own creation (I painted a faux Birkin-ish bag and you can get that tutorial here.)

The white version of the romper dress
Now for the tutorial. Here’s how to create a claw clip curled faux hawk:
Check out my 1-minute video tutorial for this hairstyle on my TikTok now or above on my YouTube channel @carolynjbraden.
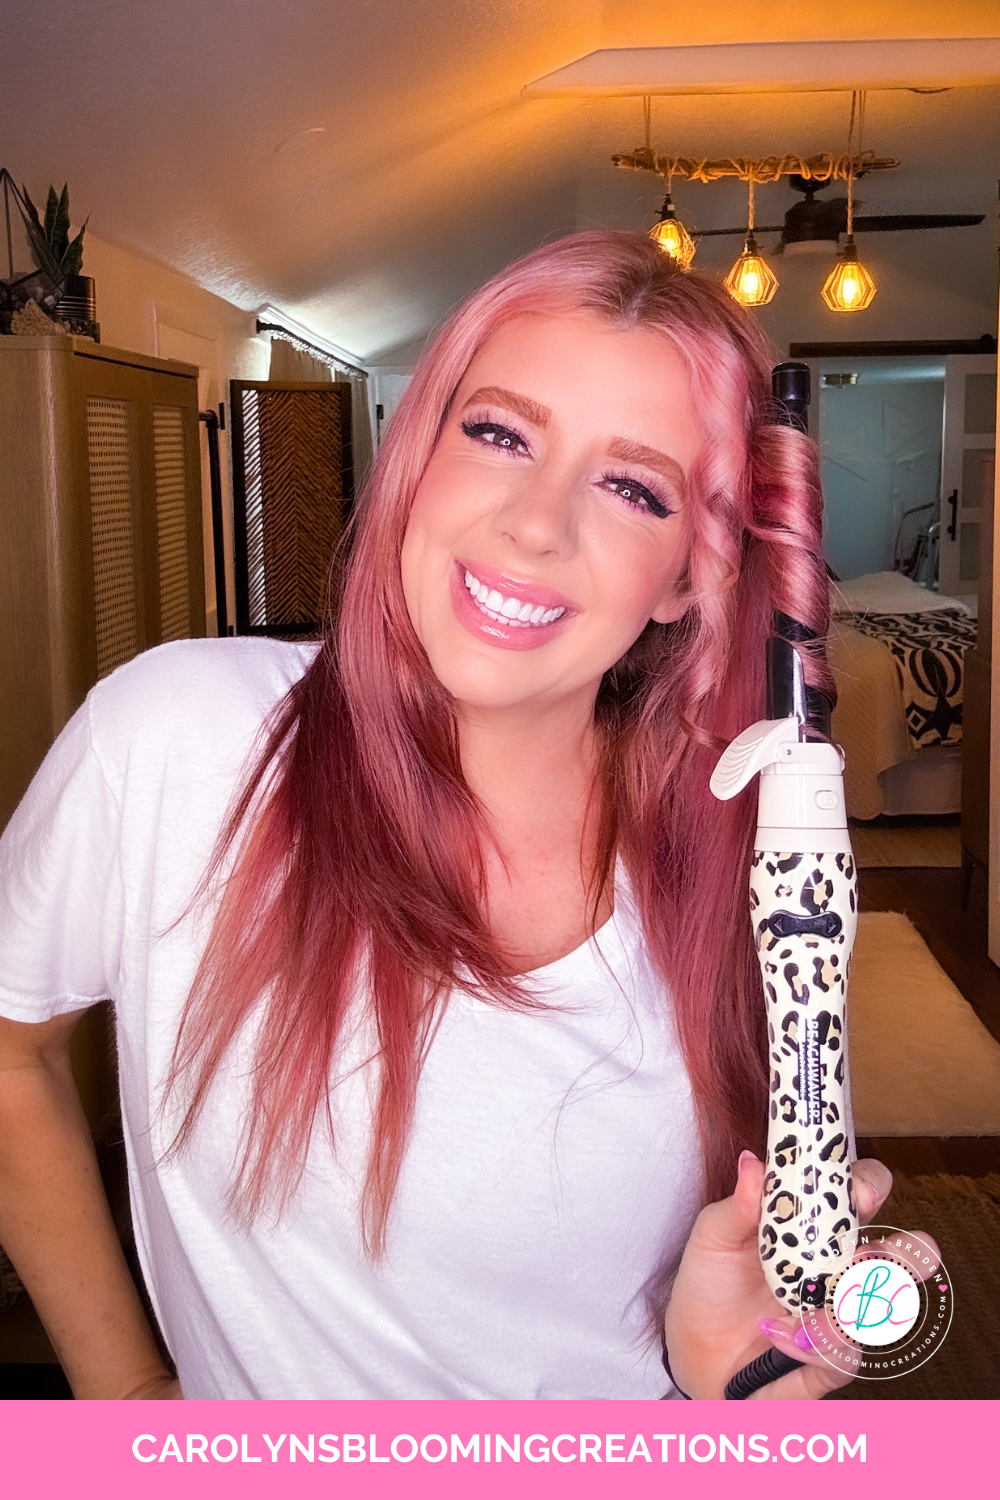
Using the curly cone attachment
First, curl your hair. I used my Beachwaver CURLY CONE on my Multi-barrel curling wand. It is the skinniest curling wand of the three attachments at 1”-0.5”. I sprayed my clean and dry hair with Bumble and Bumble Heat Shield (heat protect spray) and I get it at Sephora or on Amazon. I curled my entire head. See my curly cone attachment tutorial here on my YouTube channel.

Using a wide tooth comb to loosen curls
I let the curls cool, then I combed them loose using my Mermaid wide tooth comb. See that craft tutorial here on my website or via my YouTube channel @carolynjbraden.
Next, I sprayed some Not Your Mother’s texturizing dry shampoo at my roots and all over a bit to add some texture to my hair. This is good for creating grip too, which is what you need in many up-do’s. Also, doing an up-do on next day hair or 3rd day hair even works great too. You can use the comb to “brush it out” or even I like to use a UNbrush too.

Using dry shampoo at the roots
Then pull up the front section of hair on both sides of your head (think: half-up hairstyle) and secure with a seamless ponytail holder.

Adding the first ponytail
I used two duck clips to secure the half-up ponytail to the front of my head to get it out of the way for the rest of the style. I made mine (I call them mermaid hair clips…get that tutorial here) or get some cute matte undecorated hair clips here on Amazon.

Using my mermaid hair clips
I pulled the bottom section of my hair into a low ponytail and secured it with a ponytail holder.

Adding the first claw clip
Then I removed the duck clips and while holding my hair forward, I attached the first claw clip (I used 2 claw clips I already had with orchids on them and you can get similar ones here on Amazon) underneath the ponytail. I then flipped the bottom ponytail forward a bit and clipped the second orchid claw clip underneath that ponytail holder a bit and secured it to my head.

My hair with both claw clips in it
I have long medium thick hair, so I arranged my curls back down towards the clips and arranged my hair to cascade down the center of the clips. Shorter hair will work too and would be super cute with all the smaller curls in the center of the claw clips, though you may see the clip part of the claw clip. Experiment and see what works for your hair type.
I added some faux plumeria barrettes (I love this flower as it grows on the island where I currently live, which is Sanibel Island in Florida) around the orchids.

Adding a plumeria hair clip
I sprayed my hairstyle lastly with Kristin Ess Finishing Hair Spray (Target).
If you loved this article, then we know you’ll love this one too: How to Make a Matching Claw Clip and Rhinestone Headband
Carolyn J. Braden is the owner of Carolyn’s Blooming Creations is a regular contributor and editor for CBC. She has been featured in numerous media publications such as InStyle Magazine, on HGTV, on Bustle.com, and more. She is the author of the books Georgia McMasters in Amethyst Lake Cemetery, How To Be Yourself: 3 Ways To Help You Being You, and the illustrator for the children’s book Bridging Connections. She is a former classroom teacher that now dedicates her life to educating others on how to live their most healthy, creative and happy life. Learn more about her visiting our About Us page.