


Carolyn J. Braden • 4 Minute Read
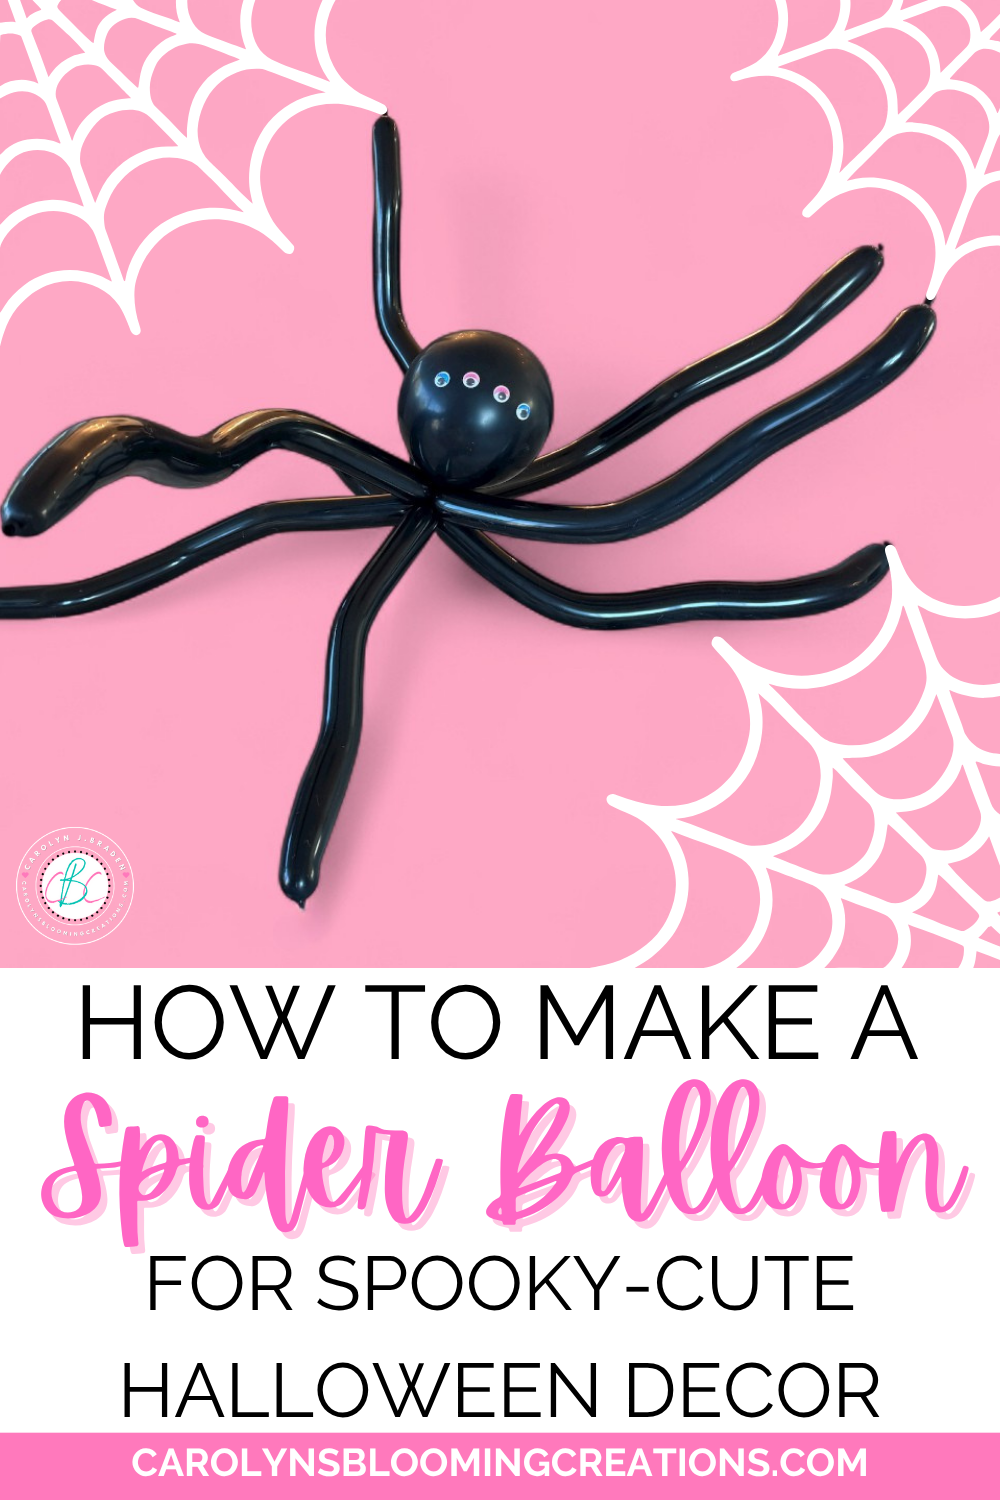
How to Make a Spider Balloon for Spooky-Cute Halloween Decor
Learn how to make a DIY spider balloon that’s perfect for Halloween parties, trick-or-treat nights, or festive home décor. This easy Halloween craft adds spooky-cute charm to your celebrations and is fun for all ages. We’ve made lots of fun balloon animals and more and list more balloon tutorials too!

My photography I captured of the beautiful orbs spider web in my yard
The Inspiration
I have never liked spiders (I blame being allowed to watch the movie Arachnophobia as a child as the culprit) until moving to Sanibel. The little spiny-backed orb spiders (Gasteracantha) surrounding our home and natural environment on Sanibel Island look like they have cute little red skirts on, are not poisonous to humans and do help control all the Florida bugs.

No need to fear this spider balloon, Carolyn!
I saw the sunlight capture their giant webs one evening and saw so much beauty in the rainbow glistening on their webs with jewel-like details. I no longer fear spiders, and now have a bigger appreciation of their creative weaving talents and their tenacity (those fantastic webs are often rebuilt numerous times when winds or more hit them). I don’t love the poisonous ones, but these little skirted ones no longer frighten me.

My spider is fun!
Other Balloon Creations
While these spider balloons make for spooky-cute and budget friendly Halloween décor for your Halloween parties and more, you may find some of our other balloon tutorials inspiring too. Nothing you gift needs to cost a lot and balloon creations are cheap but super cute.
The sword makes for a cute superhero birthday party and you can see me create the balloon sword on my website or on my YouTube channel @carolynjbraden:
How to Make Someone’s Day Better
Try making a balloon creation and give it to a grandchild, husband, wife, spouse or roommate. Or give one to a neighbor. If they like these little things, you’ll make their day get off to a great start! You can even use a permanent marker (my kit came with one) to add details as you wish.
How Long Do the Balloon Creations Last?
Mine usually get tiny after week one. It really depends on the type of balloon you use. Some brands last longer than others. When I wake up and see my balloon creations, even when they are shrinking, it just makes me smile. Those little happy moments, especially when you first wake up, can make your whole day better.

These make budget friendly Halloween decor!
Now for the tutorial. Here’s what you need:
Black balloons: Long (Get them here on Amazon or here at Walmart)
Google eyes (These stick on without glue and are from Amazon OR I used some in this kit with rubber cement from Amazon)
Rubber Cement (you can optionally use a hot glue gun on a LOW temperature setting)
Optional: Need to practice first? Try this Balloon animal kit (I used this one from Amazon, by Dan&Darci, which came with instructions, balloons and the pump and it’s a really well thought out “workshop”)
Optional: Faux Spider “webs” (I did not use this, but it would be cute to add to the balloons when decorating with them)
Check out my 1-minute video tutorial for this project on my TikTok now or coming soon here and to my YouTube channel @carolynjbraden!
Notes: I tested other balloons (some metallic ones I tried were pretty terrible and I sent them back) too but the ones in my Dan&Darci kit were really, really good. Also note that practice makes perfect! The first one you create may not be exactly the way you want it or may pop, but keep trying!
There are many other kits online and in stores and here’s some to try if you want:
Learn & Climb Balloon Sculpting Kit for Beginners, Amazon, $17
Deluxe Balloon Animal Kit with Web App, Amazon, $20
How to Make Balloon Animals Kit, Walmart, $15
Way to Celebrate! Twist and Shape Party Balloon Kit, Walmart, $4
Just need the balloons? Target has them here.
My spider web nails seen in my photos here can be found here in my Amazon Shop
You can get my outfit here in my Amazon Shop

My pups, love being a part of my creations
How-To:
Select the balloon color and place it on the pump (if using one). I held onto the balloon at the pump tip and pumped air into the balloon. If you don’t hold it on the end, it may fly off when you start pumping.

Pump up your balloons first
Pump up 4 long balloons all the way, then let out a tiny bit of air to make sure it stays flexible. Knot the balloon. Pump up a round balloon (I made it small as this is the spider “body” and wanted it to be rounder, or else I knew it’d look like an octopus instead). Set aside.

Twist two balloons together
Grab two of the inflated long balloons, made them even and then twist them together a few times in the center of each. Set aside.

Put the round balloon on one long one
Take the round balloon and stretch out the knot across the center of one of the single long balloons.

Pull that round balloon end between two long balloons
Place another single long balloon on the other side, pull the knot out between the center of the two balloons and twist them all together. This twist holds the “head” in place.

Putting the two sets together
Then take the first 2 balloons you twisted together and the head with the other two balloons, put them together in their “twisted” centers and twist them all together.

Adding curves to the legs
Bend the legs with your hands to add curve to them. Shape the entire body and head with your hands until you position it the way you want.

My completed spiders
Use rubber cement or a LOW temp glue gun to add eyes if you do not have self-adhesive eyes. Allow a few hours to fully dry. You could also use a white paint pen or cut out paper eyes using construction paper.

I added different eyes to each
Lastly, place around your home as you desire. I placed mine in between my railing on my stairwell.

Minnie Pearl loves my creations…my pets are my biggest fans!
You could also time some invisible string (like fishing wire) around the centers and hang them around your home or from the ceiling.

I hung mine on my staircase
As I said above, the balloon will deflate about 50% in the first week, so your bow will gradually get smaller.
My dogs do not like seeing them shrink as it scares them, so if you have pets or small children, be aware of the balloons seeming to “come alive” as they move when they shrink.
Let me know if you try this in the comments below!
If you loved this article, then we know you’ll love this one too: Halloween By the Sea: DIY Cute Oyster Shell Ghost Ornaments
Carolyn J. Braden is the owner of Carolyn’s Blooming Creations is a regular contributor and editor for CBC. She has been featured in numerous media publications such as InStyle Magazine, on HGTV, on Bustle.com, and more. She is the author of the books Georgia McMasters in Amethyst Lake Cemetery, How To Be Yourself: 3 Ways To Help You Being You, and the illustrator for the children’s book Bridging Connections. She is a former classroom teacher that now dedicates her life to educating others on how to live their most healthy, creative and happy life. Learn more about her visiting our About Us page.