


C.J. Braden • 3 Minute Read

How to Make a No Sew Headwrap
Original article published 6/23/20
Updated 7/11/23
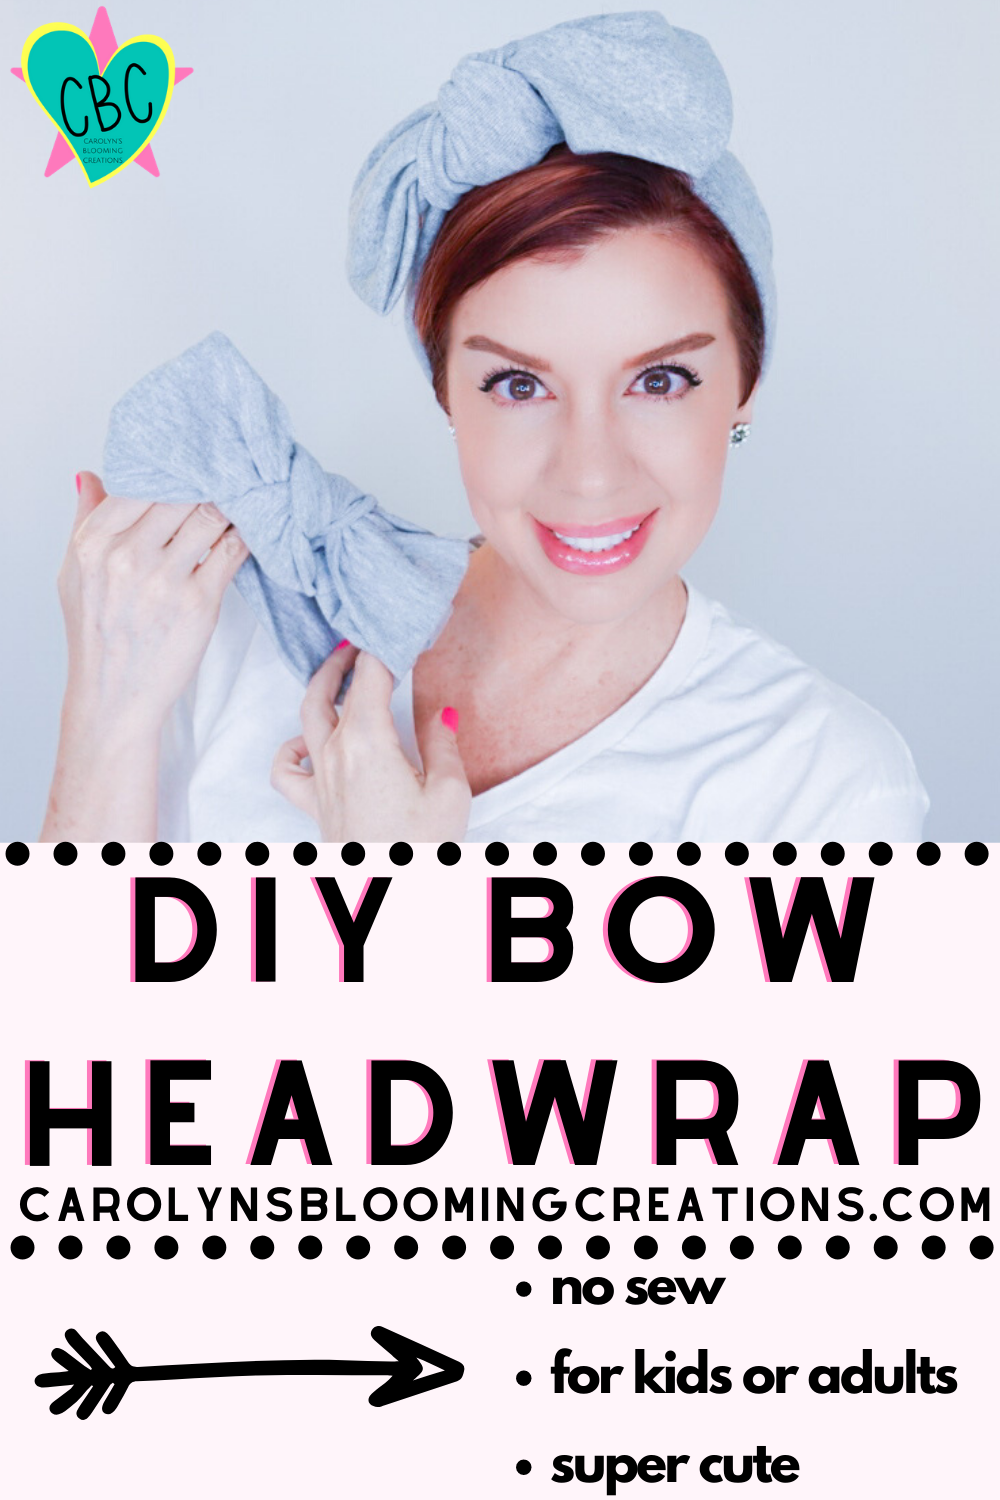
In 2020, I created a DIY bow headwrap because I was in need of some cute ways to style my hair as I grew out my pixie haircut. Fast forward three years and my hair is quite long and grown out, but I am still loving my bow headwraps. I’ve always loved hats, headbands and headwraps, and wanted to pass along this cute headwrap tutorial to anyone that may be like me. Read on to learn how to make my no sew bow headwrap.

My 2023 hair plus a bow headwrap
Original article:
I’m growing out my pixie haircut and found myself in need of something to help with the process. While there are plenty of cute hats, headwraps and fascinators on the market, I wanted something more stylish.
I remembered saving a listing for a giant bow headwrap on Etsy years ago, so I opened up my app, ready to make a purchase. Then I saw the store had closed! Luckily, I was able to study how it was made via one of their photos.

Stretchy bow headwrap
Once I thought I had it figured out, I experimented. After loving my results from using a cotton stretch jersey knit I had on hand, I made a short video so others could see how I put it together. While I saw some people made on Amazon.com (in their reviews of stretchy fabric), I could see people were having problems with it not looking “finished”. The technique I developed is NO SEW but I show you how to cover up your edges so it all looks super clean, polished and finished.

DIY Headband
The best part of the whole project is it can be made in 10 minutes or less (and it’s super ADORABLE too). Someone told me I looked like a present when I wore it. I thought that was hilarious and I’ll never forget that association they made to my headband.
See the 1 minute project overview video below or via our YouTube channel @carolynjbraden:
I experimented using a stretchy t-shirt and that worked too. If you try using a tee, just make sure you have enough fabric with the one shirt before making your cuts.
Supplies:
1 yard stretchy fabric (I used this textured stretch fabric from Amazon in one of my tutorials)
Fabric scissors (or extremely sharp scissors for precise cuts)
ruler or measuring tape

No sew bow headwrap tutorial
Directions:
Cut two pieces of fabric: One should be cut to 23-24 inches in length (make the measurements smaller or larger depending on the size head you need to fit, use a tape measure if needed but you’ll need to make a cut almost double what you measure to give yourself enough fabric to tie a knot) and 6-8 inches in width. The other piece can be about 12 inches long and 6-8 inches wide. I used a fabric marking pencil for precise cuts.
Tie the longer piece of fabric around your head (or a mannequin head) and tie it once to get the best fit. Trim the ends.
Tie the second piece of fabric once around the knot to form a “bow”. Trim as needed or tuck the ends into the knot. Wear it proudly!
If you are like me, you may need a visual tutorial. Watch my YouTube video on my channel @carolynjbraden or below that guides you through the process along with tips, tricks and measurements for an adult size and a toddler size.
If you love this article, we know you’ll love this one too: How To Fake a Pleated Curtain (NO SEW!)
See some of my other “head decor” pieces in the videos below!
Pin me! www.carolynsbloomingcreations.com
C.J. (Carolyn) Braden is a regular contributor and editor for Carolyn’s Blooming Creations. She has been featured in numerous media publications such as InStyle Magazine, on HGTV, on Bustle.com, and more. She is the author of the books Georgia McMasters in Amethyst Lake Cemetery, How To Be Yourself: 3 Ways To Help You Being You, and the illustrator for the children’s book Bridging Connections. She is a former classroom teacher that now dedicates her life to educating others on how to live their most healthy, creative and happy life. Learn more about her visiting our About Us page.