


Carolyn J. Braden • 2 Minute Read

Eyebrow tinting is a popular beauty trend that has gained significant attention in recent years. This semi-permanent cosmetic procedure involves the application of a tint to the eyebrows, enhancing their color and shape. My hair stylist applied a bit of dye to my brows whenever I got my hair dyed at a salon, but it only lasted about a week. That gave me 3 weeks of sparse brows, which leads to me taking more time to fill them in with makeup.
While I know you can get your brows tinted at a salon, I figured I could do it myself. You can experiment with making your own brow dye, but I wanted to start with something simple. A couple of years ago, I started experimenting with DIY brow tinting at home, and it did not disappoint. It’s taken me until now to realize that maybe others may be interested in trying this too. Read on to learn how you can tint your brows at home using my tried and true process with Ardell Brow Tint.

Before using Ardell Brow Tint
While experimenting, I tried several brands, which all worked pretty well, but Ardell is cruelty free, so I kept that brand in my beauty toolkit. I also use Ardell Naked Lashes and 424 is my current favorite style. I try my very best to use only cruelty free brands, but I am not perfect. It has taken years to find great cruelty free substitutes for many of the brands I use. I am still phasing out non-cruelty free brands.
The only thing about Ardell’s Brow Tint is that they did not have an auburn or red shade. By carefully selecting the tint shade to match your natural hair color or desired look, eyebrow tinting can create a more defined and polished appearance. To get as close to my natural hair color as possible, I ended up buying their Medium Brown brow tint kit.

My brow tint application process
If you have extremely sensitive or reactive skin, you should mix up a little of the brow tint and test it on a small patch of your skin. I’ve seen some reviews that have shown people having an allergic reaction or getting irritated skin after using it. I did not have a reaction, other than a little redness, but that only came from me rubbing it off my brows after it was done processing.
See my fun brow tint reveal 15 second video below or via my YouTube channel @carolynjbraden. Don’t forget to subscribe to my channel for more fun video tutorials!
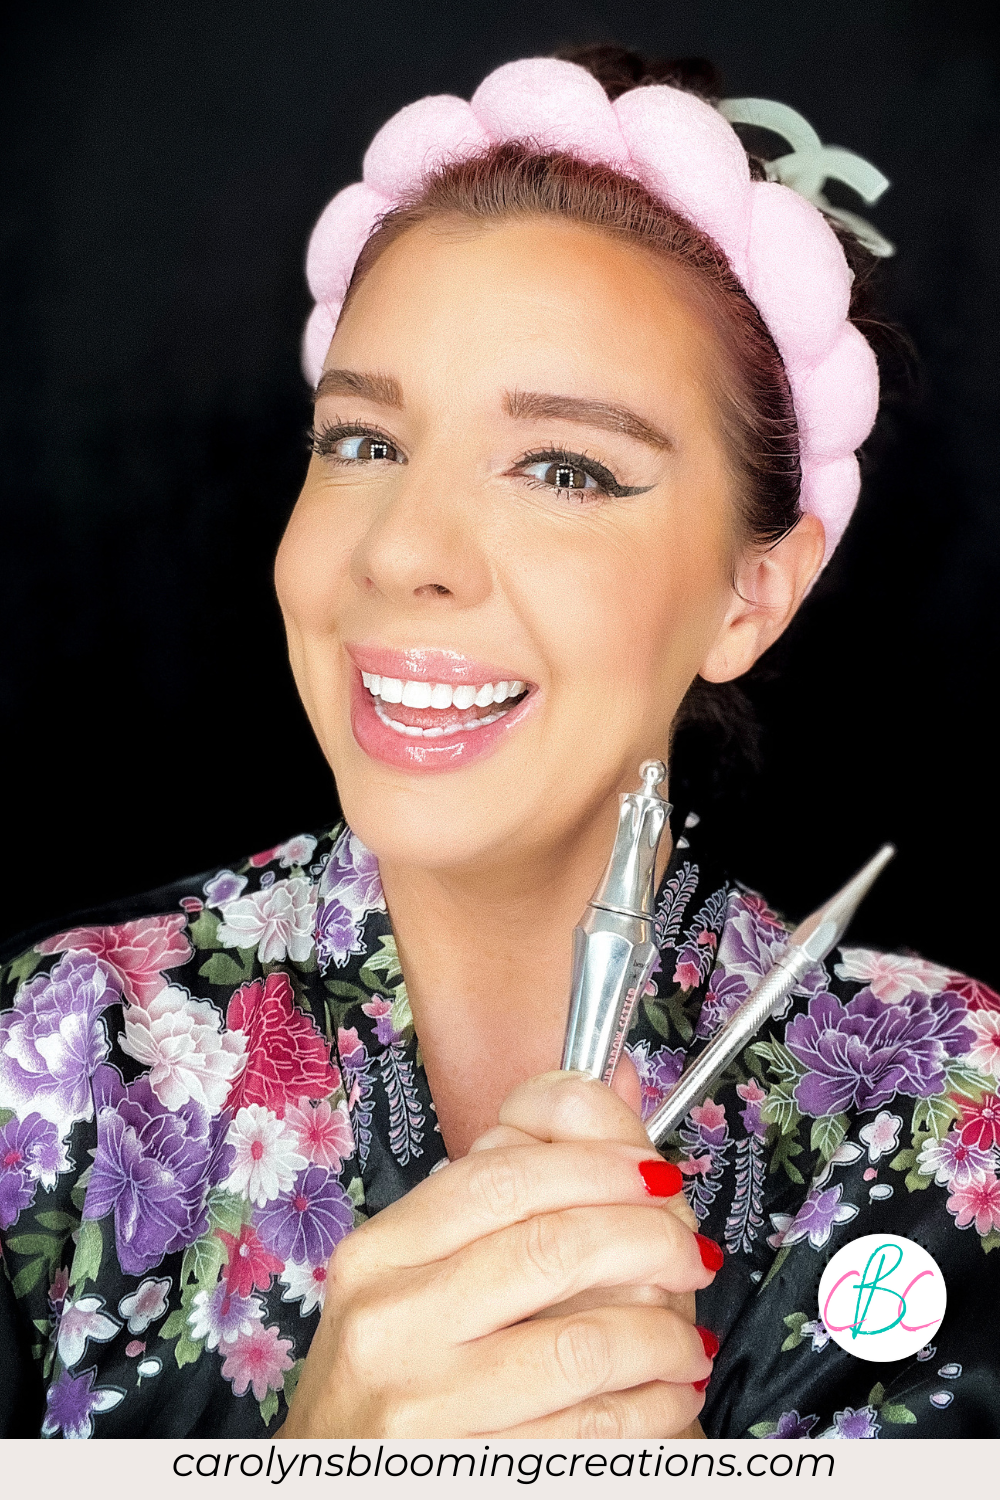
I placed a couple of shakes of their dye powder into the plastic mixing “bowl” that came in the kit. I added a couple of drops of the conditioning developer into the bowl too, which also comes in the kit. I lost the mixing spoon, so while the kit comes with a brow brush (it’s more of a mascara wand), I used my own angled brow brush to mix the two together. The solution is always a bit chunky after I mix it, but it still works.

I use pointed cotton swabs to tidy up the tint
I use my angled brow brush to apply the brow tint to my brows, trying to keep it only on the brow hairs. I use a pointed cotton swab to remove any dye from my skin, and to “tidy up” the dye. I leave mine on for about 10 minutes to allow it to process. Then I take a baby wipe and gently scrub off the dye. Mine completely dries in the 10-minute time frame, so it takes me a few swipes to remove it.
See my whole brow tint process below in my one minute video:

After using Ardell Brow Tint
I am always happy with one application, but Ardell’s directions state you can apply it a second time if you think you need it. It does slightly stain your skin behind your brows, which you may want if you don’t want to fill in your brows more. I wash my face twice a day, use makeup remover and more, so the stain doesn’t last on my skin for long.
I then use a brow pencil and a brow gel to perfect my brow look, and to add some red back into my brows, as I have auburn hair. The contrast of the red brow brush I use (I currently use Benefit Cosmetics Precisely My Brow in shade 2.75 along with their Ready Set Brow! gel , which is not a cruelty free brand and I am still trying to find a cruelty free alternative) blends well with the medium brown shade and matches my hair nicely.
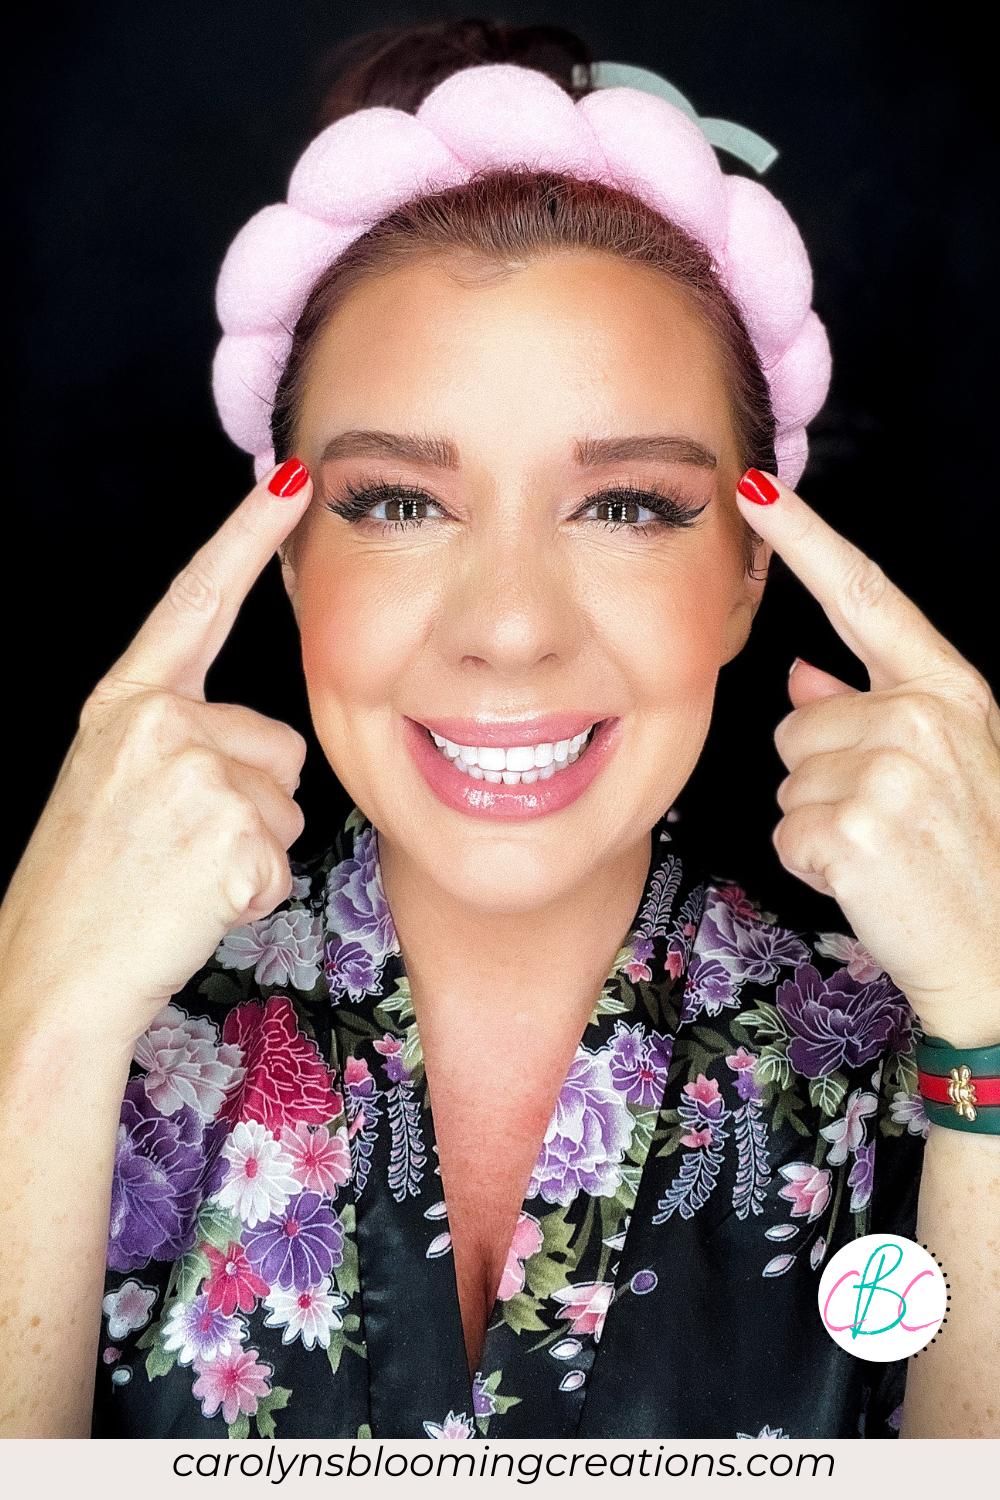
Brows are ready for the world!
Whether you have sparse eyebrows or simply wants to achieve a more pronounced look, eyebrow tinting is an excellent way to achieve a well-groomed and symmetrical brow. This low-maintenance technique typically lasts up to 3-6 weeks, giving you a hassle-free solution to keep your brows looking on point. For me though, this brow tint lasts about a week, as I use a balm makeup remover by e.l.f. It also covered my white brow hairs, but like all gray and white hairs, they always pop back out before the end of the week.

Now I have brows like I had as a kid!
With it’s low cost versus a higher charge at salons, Ardell’s Brow Tint is worth a try. It’s not only cost effective, but it’s quick, easy and convenient. If you’ve tried a brow tint that you like, let me know in the comments below!
If you love this article, we know you’ll love this one too:
Carolyn J. (C.J.) Braden is a regular contributor and editor for Carolyn’s Blooming Creations. She has been featured in numerous media publications such as InStyle Magazine, on HGTV, on Bustle.com, and more. She is the author of the books Georgia McMasters in Amethyst Lake Cemetery, How To Be Yourself: 3 Ways To Help You Being You, and the illustrator for the children’s book Bridging Connections. She is a former classroom teacher that now dedicates her life to educating others on how to live their most healthy, creative and happy life. Learn more about her visiting our About Us page.