


Carolyn J. Braden • 3 Minute Read

Thrift Store Makeover Idea: Love Jewelry Holder
I love a good thrift store and I really love a good thrift store makeover. If I see something in a thrift store that I can repurpose somehow or make it even better, I buy it. Years ago, my husband and I made some wood jewelry holders for under $10 each because I like them, but they were selling for over $48 a piece on Etsy. I took the idea from making those jewelry holders and applied it to this thrift store craft. Read on to learn how I made a LOVE jewelry holder out of a thrift store find.

My Love Jewelry Holder project can be recreated out of a piece of wood, just like our DIY wood jewelry holders were (see the image below). So, even if you can’t find a cute word sign at a thrift store, I’m sure there something out there that would work. I found a similar LOVE sign on Amazon, and included the link below. I love displaying my necklaces out in the open so I can see them all. If a necklace is tucked away in a jewelry box somewhere, it’s sometimes easy to forget you have it.

Our DIY wood necklace holders we made years ago
I love a good chalk paint and used chalk paint to update this LOVE sign thrift find. Check out this article I wrote a while back about that shows you lots of the chalk paint projects I’ve worked on over the years and how I did them. If you run out of thrift stores to find cool things, Good Housekeeping put together this list of great online thrifting stores to try. I personally love Ebay, and recently found a cool vintage faux fur for my mob-wife look. Goodwill has an online thrift shop too, which you should check out!
Items I used for this project:
Wood LOVE Sign (I actually found a similar one on Amazon)
Brass hook assortment (you’ll need 2 small or ¾ inch screw eyes and 4 small or half inch hooks)
Jute twine (about 2/5 mm)
Optional:
I painted mine with two colors of Annie Sloan chalk paint but you can buy a similar brand on Amazon, like this one from Rust-oleum.
Clear chalk paint finishing wax (I used Annie Sloan, but you can get a similar one on Amazon, like this one from Jolie Finishing Wax)
Fine grit sandpaper or sanding sponges (if you want to layer the paints like I did)
craft tray, wax paper and a paint brush
Wood hook for hanging (I love these Felidio Wood Wall Hooks from Amazon…I have them all over my house)
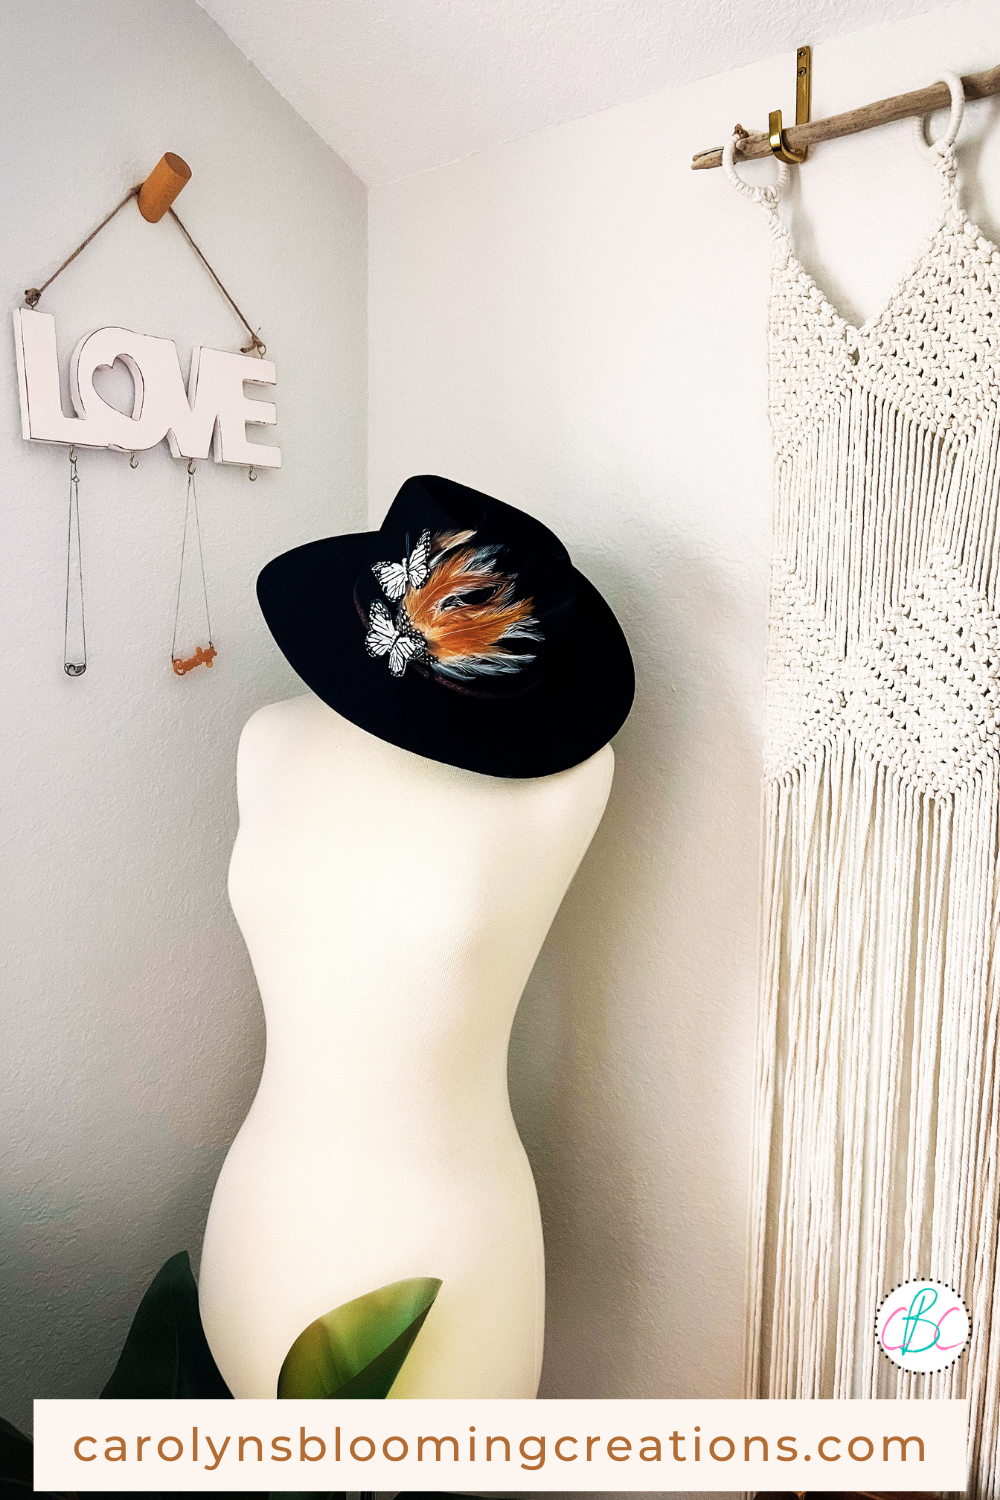
I made over a cowboy-ish hat I found at a second hand store in 2023…see how I did it in our less than a minute video tutorial below or via my YouTube channel @carolynjbraden:
Directions:
1. I first laid out my wood sign on a plastic crafting tray lined with wax paper to help contain my mess.
2. I then painted a couple of layers of a pink-ish chalk paint onto my sign (allowing each layer to dry overnight).

The pink-ish undercoat of chalk paint
3. Next, I painted about 2 layers of white chalk paint over the pink (allowing each layer to dry overnight).
4. Once all the paint was dry, I used a sanding block to sand the edges of each letter until a bit of pink paint showed through.

I sanded the edges to make the pink paint show through
5. I also sanded the whole piece down slightly to remove any bumps or paint brush strokes.
6. I used a dry towel to brush off any dust, then I used a chalk wax paint brush to apply some clear wax over my chalk paint. The wax makes the chalk paint mostly waterproof and longer lasting.

My dog, Minnie Pearl loves watching me do my crafting
7. I let the wax dry overnight and then I used an old t-shirt to buff it in circular motions. Buffing the wax makes it shine.
8. Next, we screwed in two eye hooks on the top of the letter sign, on the top of the L and the E. It takes some pressure to get these going, so just start screwing them and they’ll go in on their own. If your wood is extremely hard, you may have to drill a teeny tiny hole to get it started.

The small hooks I used
9. I tied a piece of jute twine between the eye hooks to hang it with. The size of the string depends on the size of your sign.

Before adding the jute twine
10. Lastly, we added four brass hooks (screwing them into the sign the same way we screwed in the eye hooks).

Completed jewelry holder
11. Hang and enjoy!
If you tried this project or a similar one, let us know in the comments below!
If you loved this article, we know you’ll love this one too: Butterfly Cowboy Hat Thrift Store Makeover
Carolyn J. (C.J.) Braden is a regular contributor and editor for Carolyn’s Blooming Creations. She has been featured in numerous media publications such as InStyle Magazine, on HGTV, on Bustle.com, and more. She is the author of the books Georgia McMasters in Amethyst Lake Cemetery, How To Be Yourself: 3 Ways To Help You Being You, and the illustrator for the children’s book Bridging Connections. She is a former classroom teacher that now dedicates her life to educating others on how to live their most healthy, creative and happy life. Learn more about her visiting our About Us page.