Renovations are never easy. They seem almost impossible BUT something I’ve learned in the last 12 years of my life: NOTHING IS IMPOSSIBLE.
As we prepare to sell our 1800’s home, I started looking at many of our “before” photos and realized that we did A LOT over the last 12 years. It was simply terrible before. It wasn’t clean, it wasn’t loved. It was a sad foreclosure in desperate need of some love. And we gave it just that.
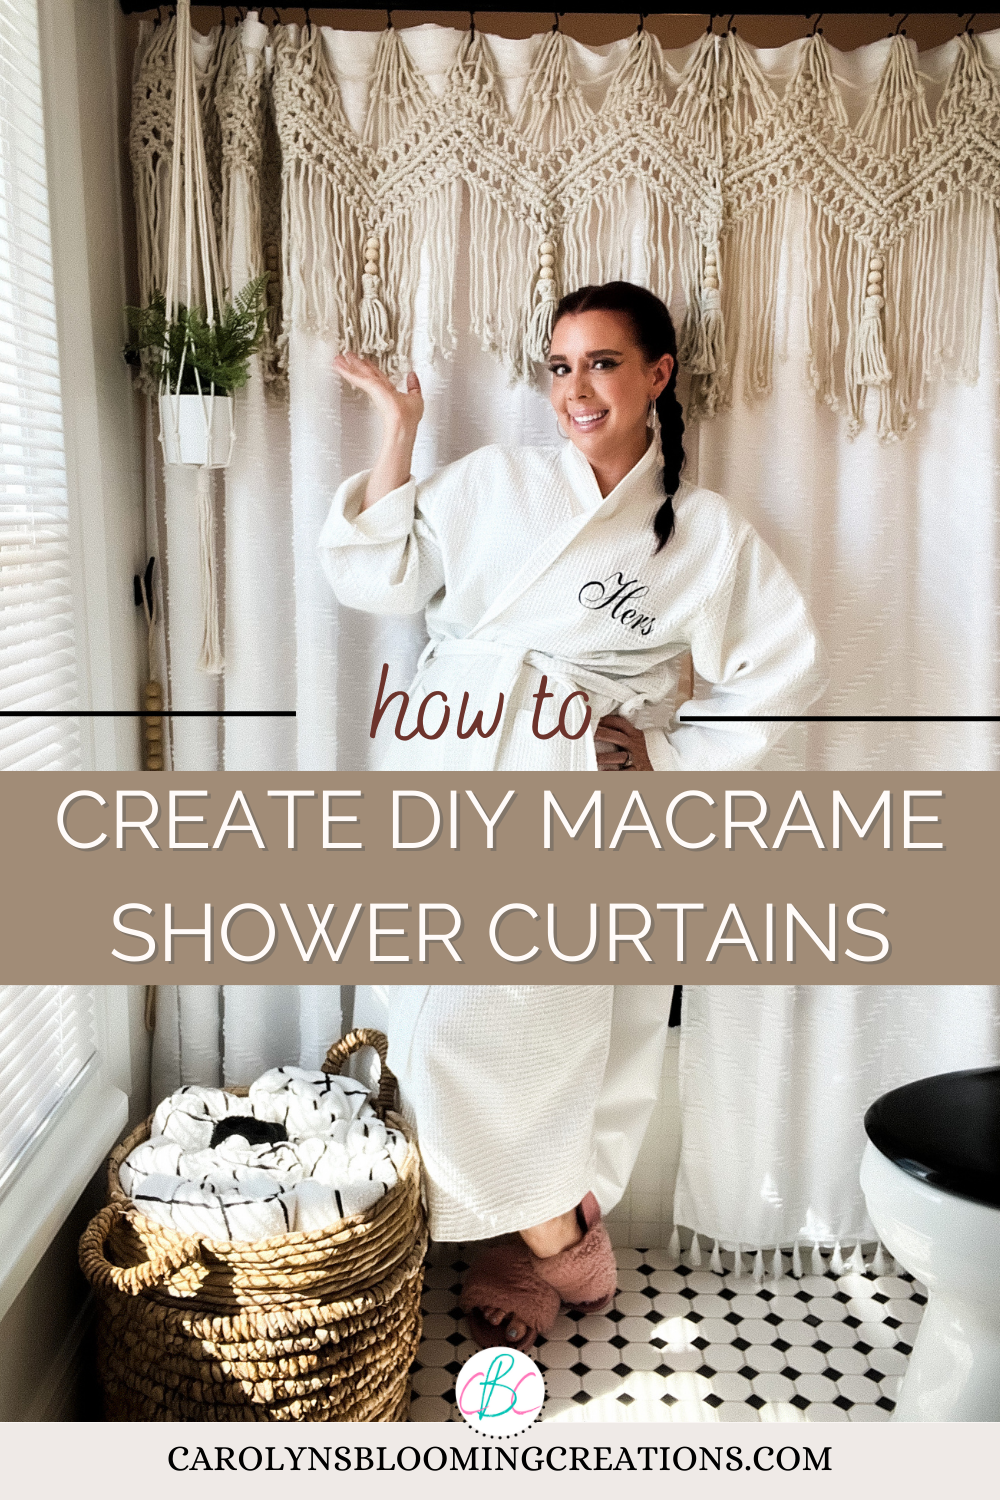
Here are some photos of one of the bathroom renovations. This was one of the first rooms we finished and I’m sure anyone could tell why just by looking at the before photos.
There wasn’t a room we didn’t completely rip out and start over on. Sure, we could have taken some short cuts and painted the tiled walls or floors, but that type of renovation never lasts. This house needed us to go the long route which meant gutting it. We saved many of the old trim and doors, but the old plaster walls, ceramic tiles and ceilings could not be salvaged. My husband loves This Old House (the magazine and show), so he studied everything carefully before making decisions on what to rip out and what to keep.
I’ve changed the decor of the bathroom and the other rooms as the years have gone by to keep it updated, but the structure has stayed the same since we first ripped it apart. I thought maybe others might be interested in how to update a room, so I created this post.
To keep this bathroom modern, I added the following to help with staging our home for a sale (and just because it all looks really nice):
a bamboo tub tray I found on Amazon
glass apothecary jars from Target (I bought various sizes and filled them with cotton balls, bath salts, and q-tips)
“The Loo” bath mat from Anthropologie
clean and crisp white linens from IKEA (and learned to fold them in a cool way thanks to this Pinterest pin)
a tank tray (a basket from Target in dimensions for the top of the toilet tank, used to store bathroom items)
a printable I made via my favorite app, Canva (get my free printables….scroll to the end of this post!)
white waffle weave “his and hers” spa robes I found on Amazon (not pictured)
See the before and after photos below!
More of our DIY’s can be found on our YouTube channel, “Carolyn Braden”.
If you have any questions for us, visit our Contact Us page and send us a note! We love helping other DIYer’s out there!
carolynsbloomingcreations.com
Pin me! www.carolynsbloomingcreations.com
Designed and executed by Carolyn and Tommy Braden
carolynsbloomingcreations.com
Pin me! www.carolynsbloomingcreations.com
Designed and executed by Carolyn and Tommy Braden
carolynsbloomingcreations.com
Pin me! www.carolynsbloomingcreations.com
Designed and executed by Carolyn and Tommy Braden
Pin me! www.carolynsbloomingcreations.com
Designed and executed by Carolyn and Tommy Braden
Pin me! www.carolynsbloomingcreations.com
Designed and executed by Carolyn and Tommy Braden
Click the button below to view the printable file for use in your home!
Bonus Free Printable!
While showing our home, I made a printable saying “Welcome. We keep our house nice and neat, so please take your shoes off of your feet (or use the shoe covers)”. I saw the saying on a Pinterest post, but added the shoe cover part myself, as I know not everyone loves removing their shoes.
I hung it on a basket filled with shoe covers (which I purchased on Amazon) and put it in our foyer so people see it the second they step in the home. In nice weather, I put it on the porch. The concept keeps our house clean during showings, for our family, and the potential new owners as well!
Pin me! www.carolynsbloomingcreations.com
Designed and executed by Carolyn and Tommy Braden


