


Carolyn J. Braden • 3 Minute Read
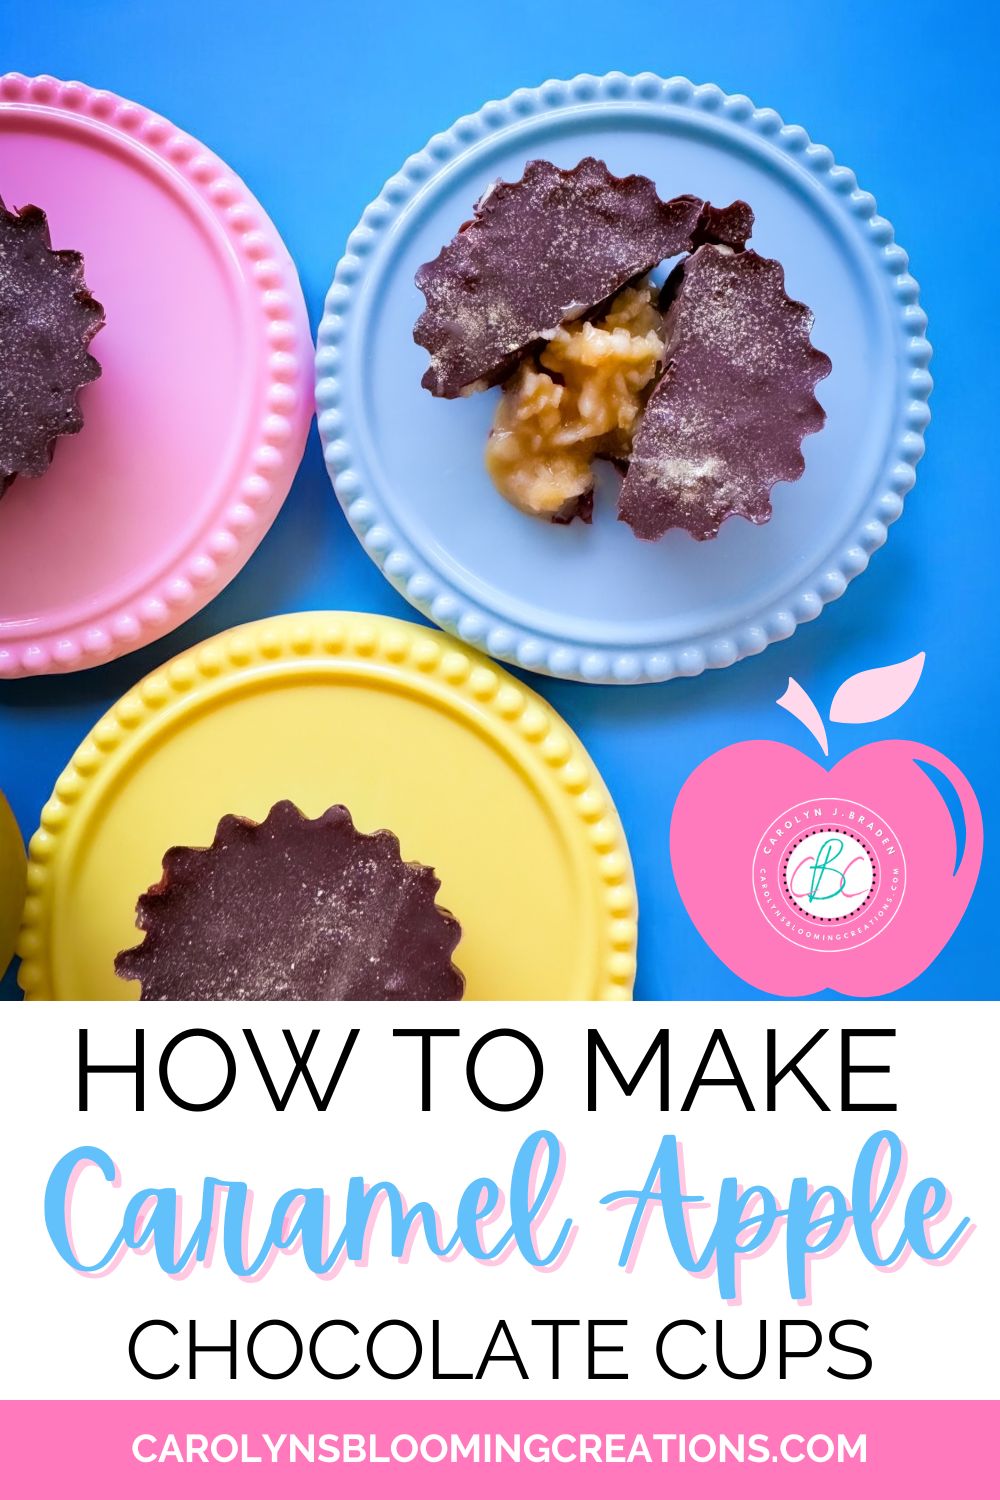
How to Make Caramel Apple Chocolate Cups
Sweet caramel dreams have started creeping into my mind. Perhaps with the oncoming state fair season and fall being right around the corner makes me crave a caramel apple. With easy desserts being a passion of mine right now, I took my inspiration to the kitchen, combined granny smith apples, caramel and chocolate and made this quick candy that will satisfy a sweet tooth in a heartbeat.
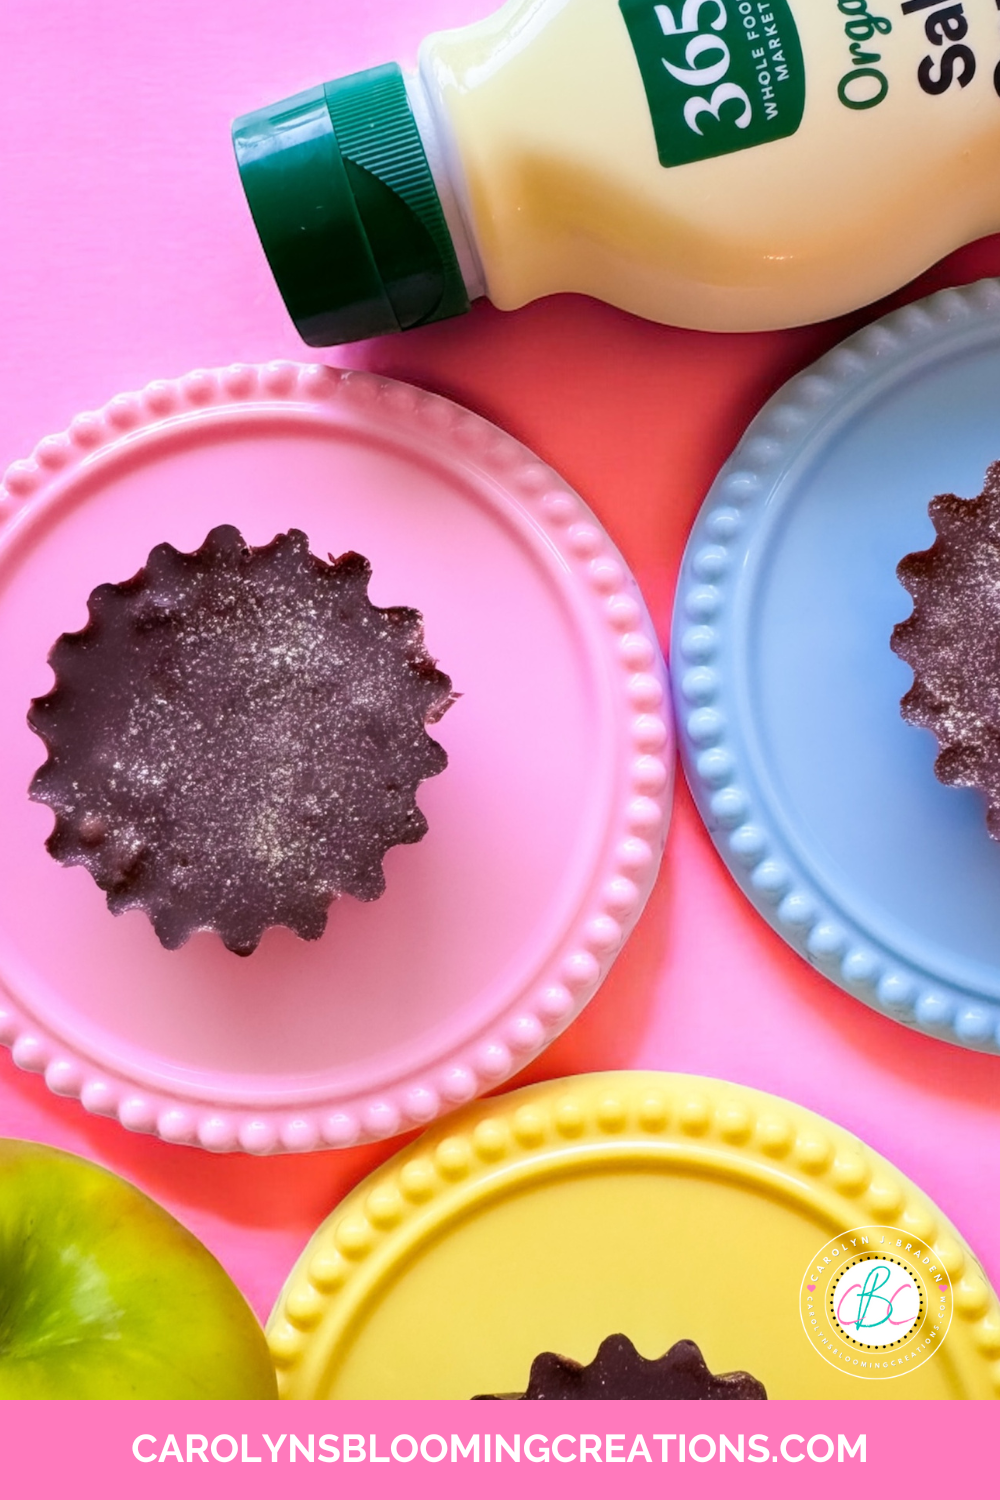
The completed dessert
My Sweet Inspiration
Carmel apples, while delicious, don’t go well with dental work. I had to stop eating apples and sticky candy when I had braces in my 20’s. Cutting up apples into small chunks helped me be able to still enjoy apples but I was still careful. As I aged, I still love an apple, but continue to cut them up due to having a permanent retainer.
Sticky caramel, while delicious, also doesn’t bode well with my retainer, so I opted to use a caramel sauce for this recipe. The caramel sauce has the delicious buttery flavor of caramel, but it smooth and not sticky and won’t stick to dental work.

Caramel Apple Chocolate Cups
You Can Eat Just One
This recipe allows you to have the flavor of the caramel apple in one simple chocolate cup. I eat one sweet a day to satisfy my sweet tooth. I had to omit a lot of sugar from my diet a while back when my cholesterol was creeping up. I cut some fats and sugars, and lost around 18 lbs in about a year. I also added in some more walking fitness and light weight training.
Unless a doctor cuts all your sugars out of your diet, eating a little each day, especially if you have a sweet tooth like me, can help you stay the course if trying to lose weight. Read more about how you can cut back on sugar from the American Heart Association here.
If you like peanut butter and jelly, try my recipe for 4 ingredient peanut butter jelly cups here article or below in my YouTube video from my channel @carolynjbraden:
Caramel Apple Chocolate Cups Recipe
Now for the recipe! Here’s what you need. If you buy anything from Temu, use code afe55197 or my link here for 30% off (for new app users). Links below link out to Walmart, Amazon or Temu.
Yield: 9 cups
Time: 30 minutes to make
Tools:
12 Cavity Silicone Tart Mold (You can optionally use parchment muffin liners placed in a muffin tin if you don’t have the mold, I got mine here on Temu for about $3, but Amazon has them too)
Small baking tray (I used a small metal one I got at TJ Maxx to place the mold on as mine was very flexible and needed stability)
The caramel chocolate cups
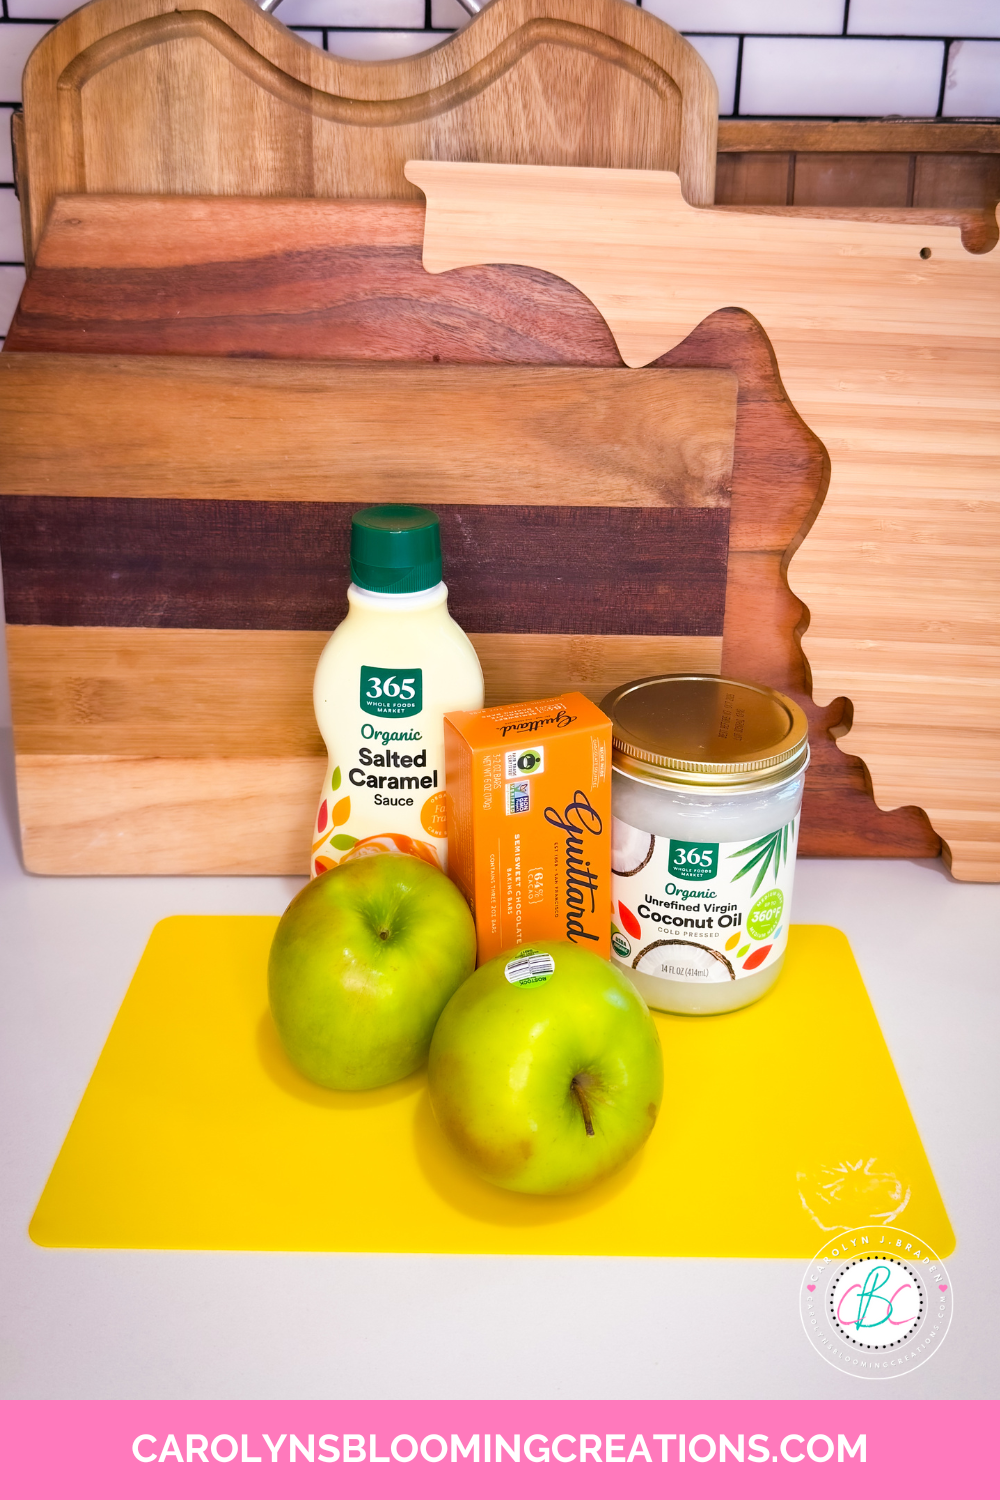
Ingredients:
6 ounces semi-sweet chocolate (I used Guittard, which comes in a box of 3 two-ounce bars and I used them all for this recipe)
1 teaspoon coconut oil (I used this organic unrefined version from Whole Foods)
9+ teaspoons caramel sauce (I got mine at Whole Foods, but you can try this highly rated salted caramel sauce from Amazon or from Walmart)
1 Granny Smith apple, finely chopped
Optional: I dusted mine with edible gold dust using a food safe brush
Check out my 1-minute video tutorial for this project on my TikTok now or above or on my YouTube channel @carolynjbraden!
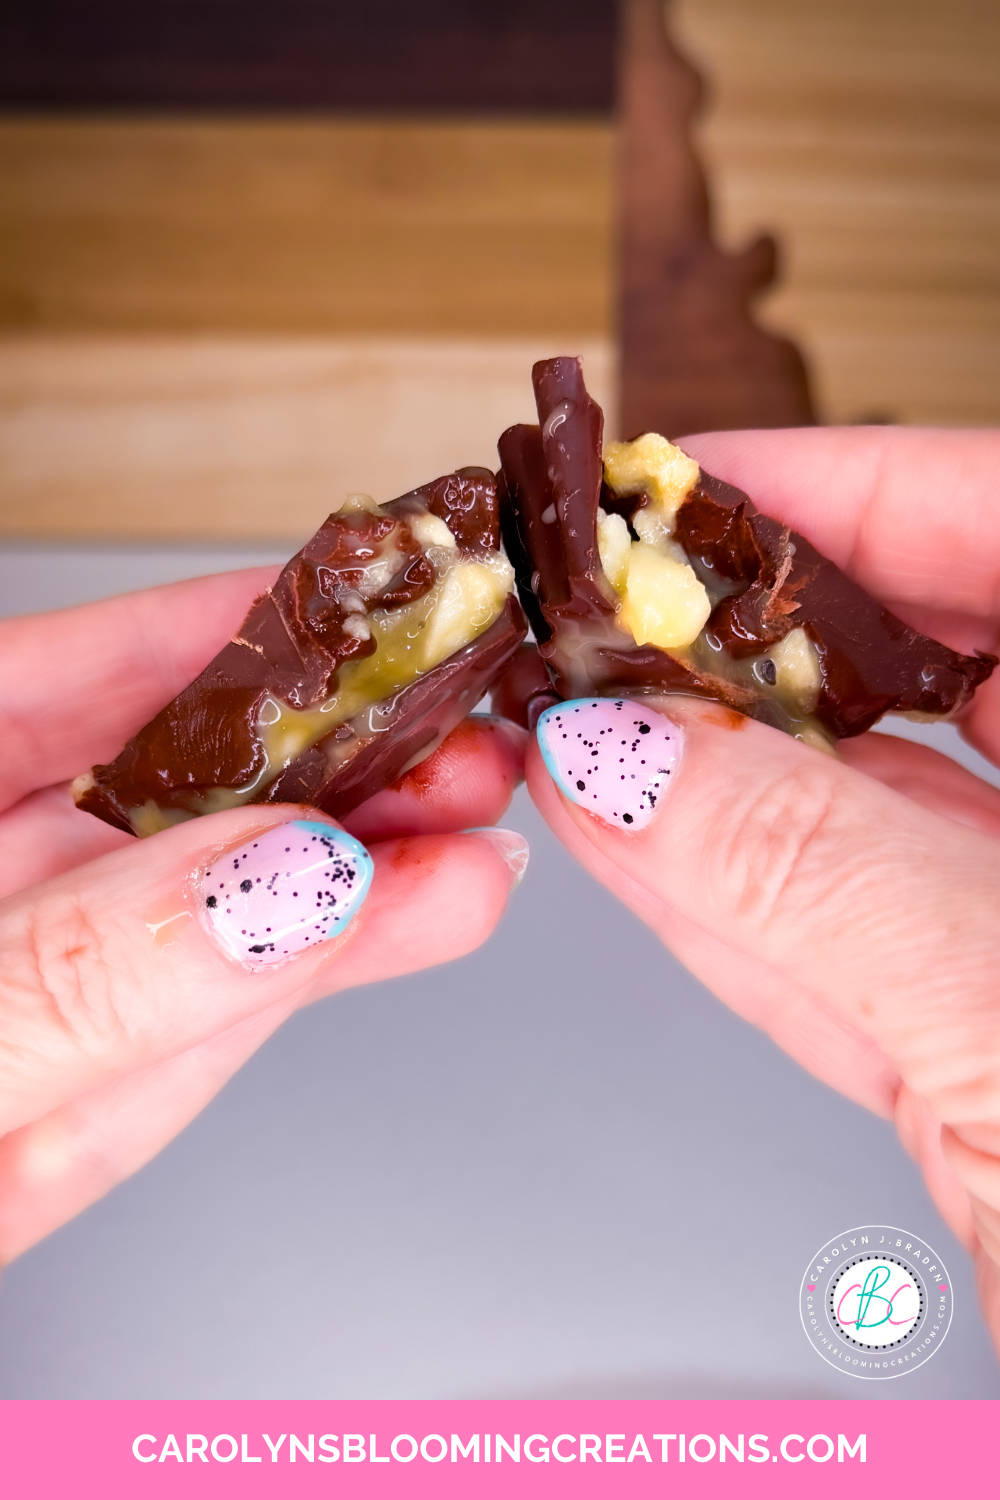
They are oozy but delicious
Note: These are oozy and gooey when eating so use a plate to catch messes and bite into each carefully. They may be messy to eat, but so are caramel apples and they are all still delicious!
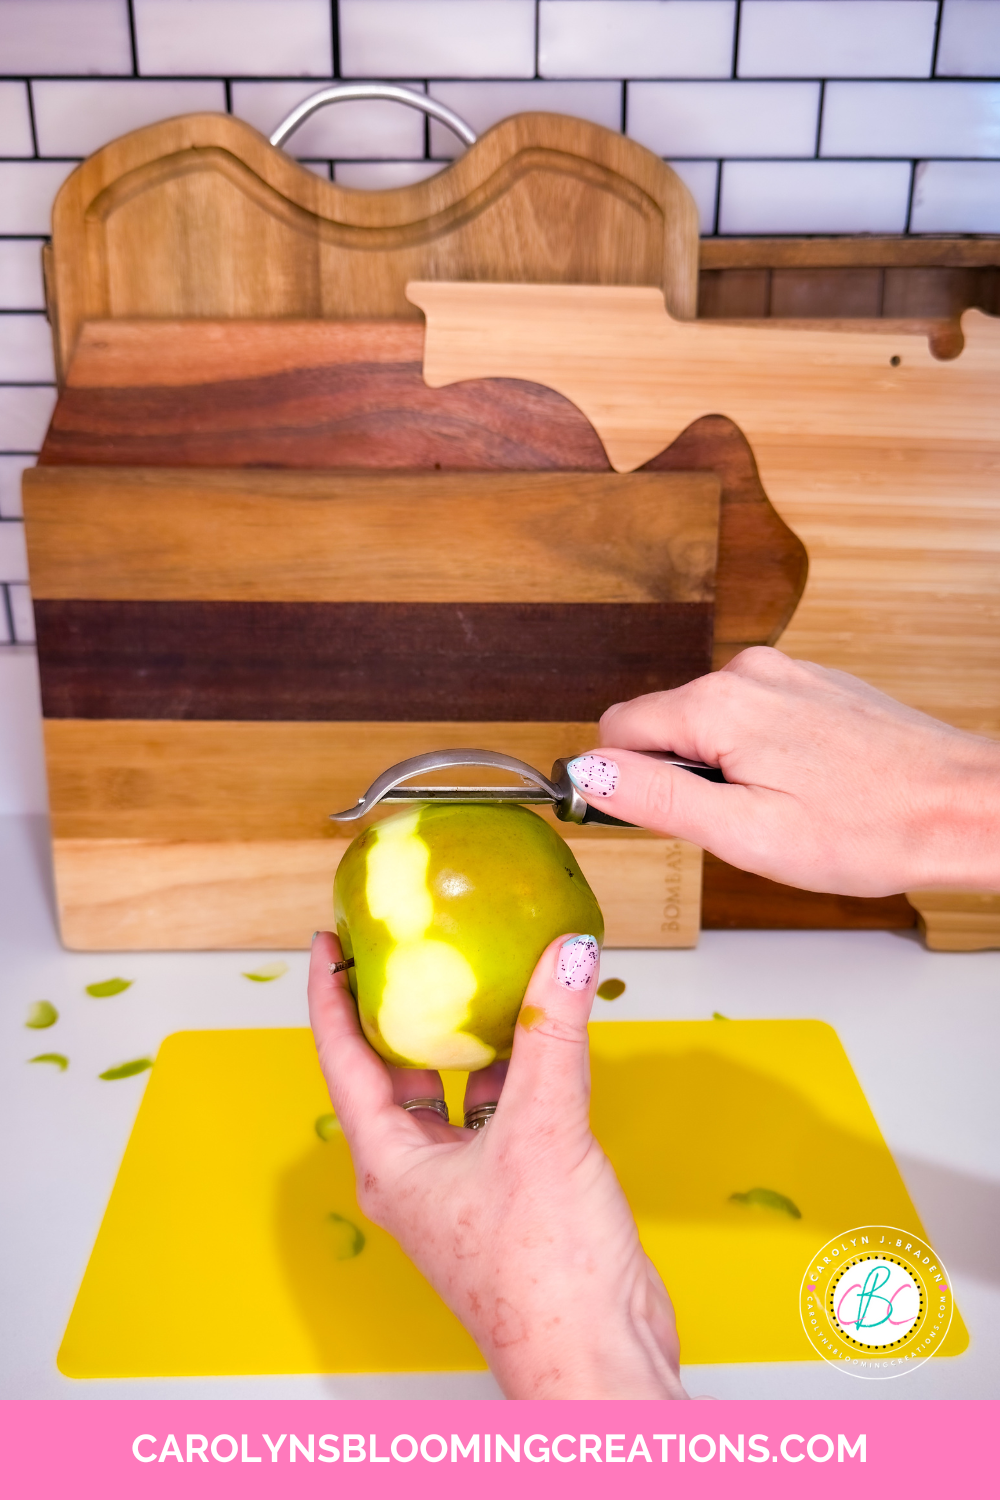
Peeling the apple
Get an ad free PDF printable version of the recipe by clicking the button above.
How-To:
Peel your apple.
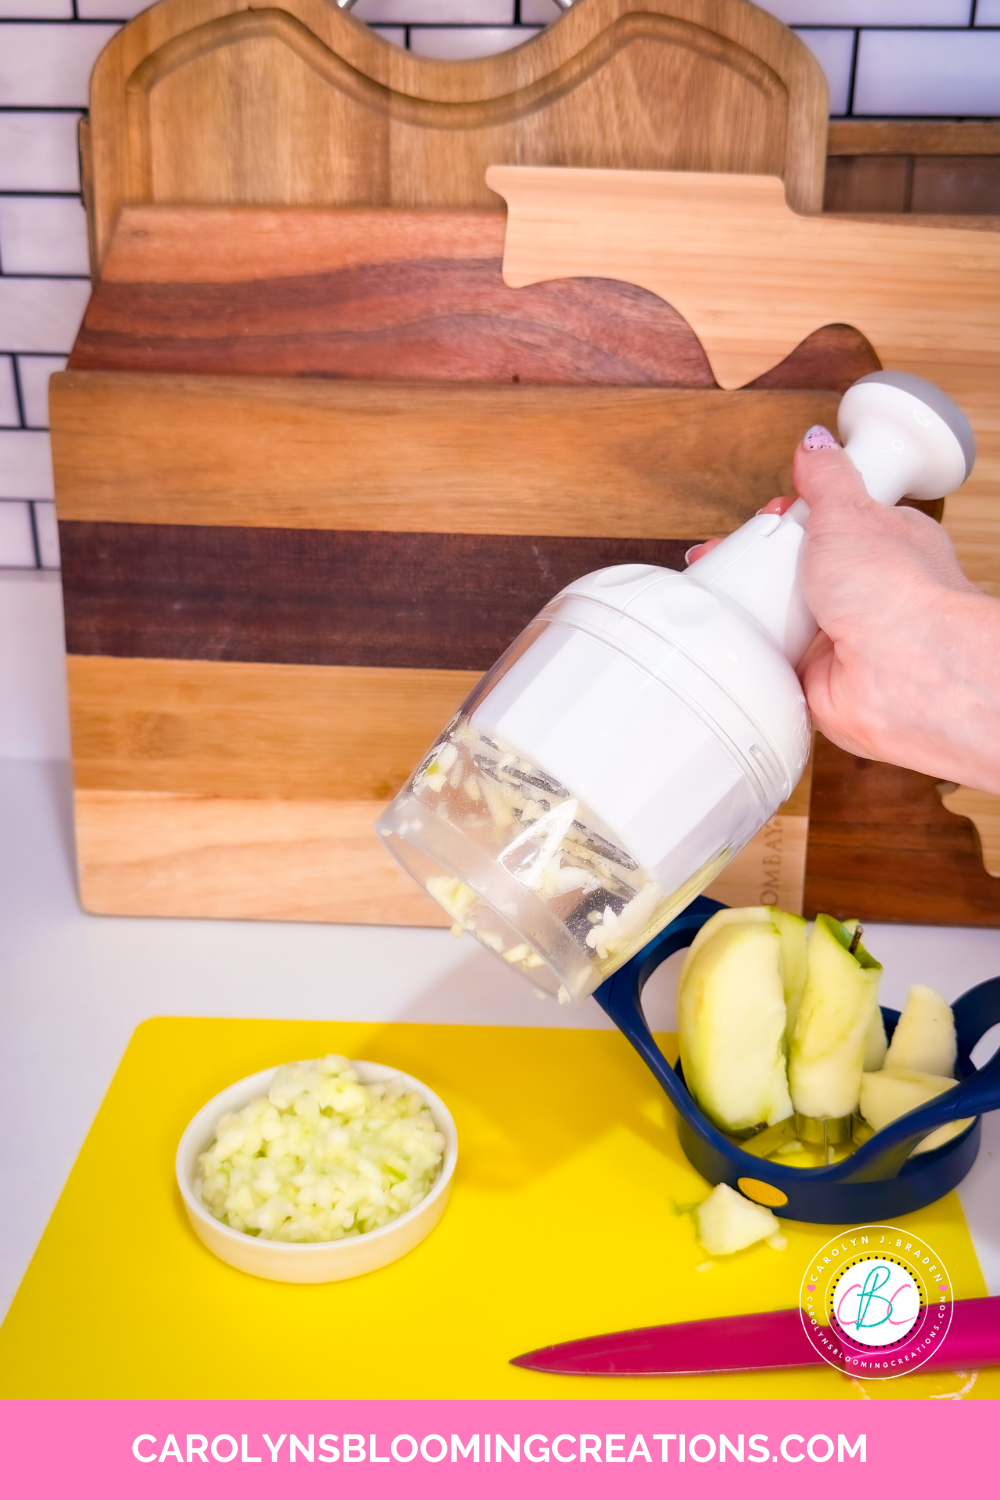
Chopping the apple
I used an apple cutter to slice and core my apple, then I used a food chopper to chop it all into small pieces. I placed it in a bowl and set aside. To prevent the apple from browning, you can squeeze a little lemon or orange juice onto it or do this step after melting the chocolate.
Place your mold onto the baking tray and set aside. If using parchment muffin liners and a muffin tin, place 9 muffin liners into your muffin tray and set aside.
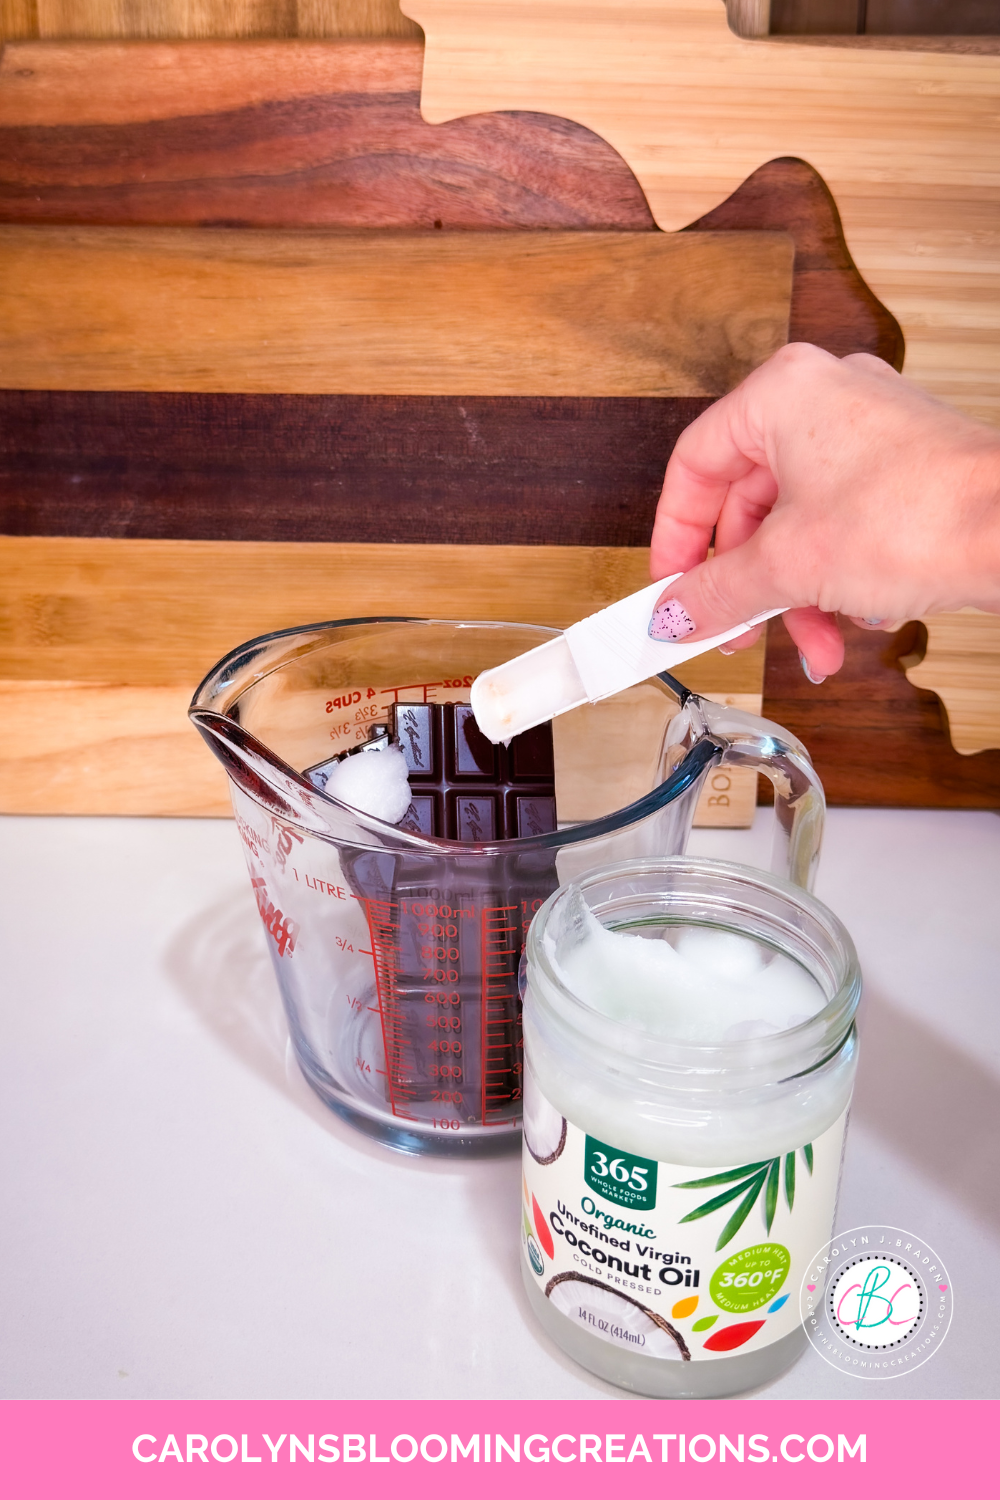
Melting the oil with the chocolate helps it be a bit more pourable
Place your chocolate in a glass measuring cup with the 1 teaspoon coconut oil and place in the microwave. Melt the chocolate in 30 second increments on 50% power. Stir using a spatula or spoon in between the time increments and keep going until it’s melted and creamy. Do this slowly so you don’t burn the chocolate. You could alternatively use a double boiler method to melt the chocolate.
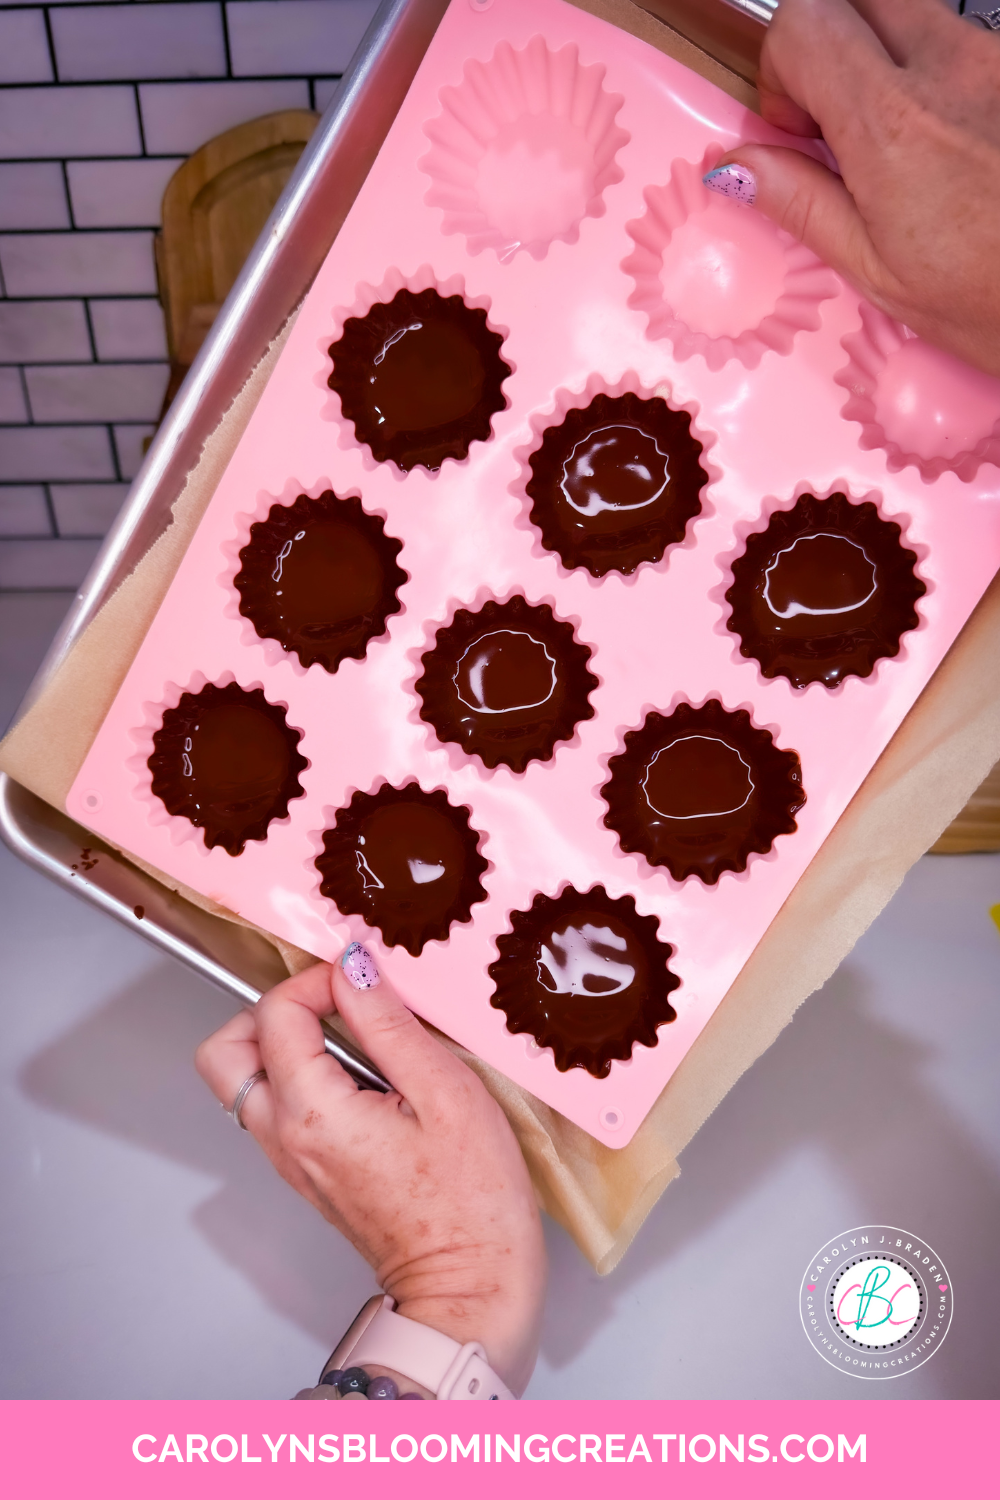
Swirling the chocolate in the mold
Pour about 1-2 teaspoons of chocolate into each mold cavity. Swirl them a bit to coat the inside of the cups. Place in the freezer for 5 minutes or until the chocolate is hardened.
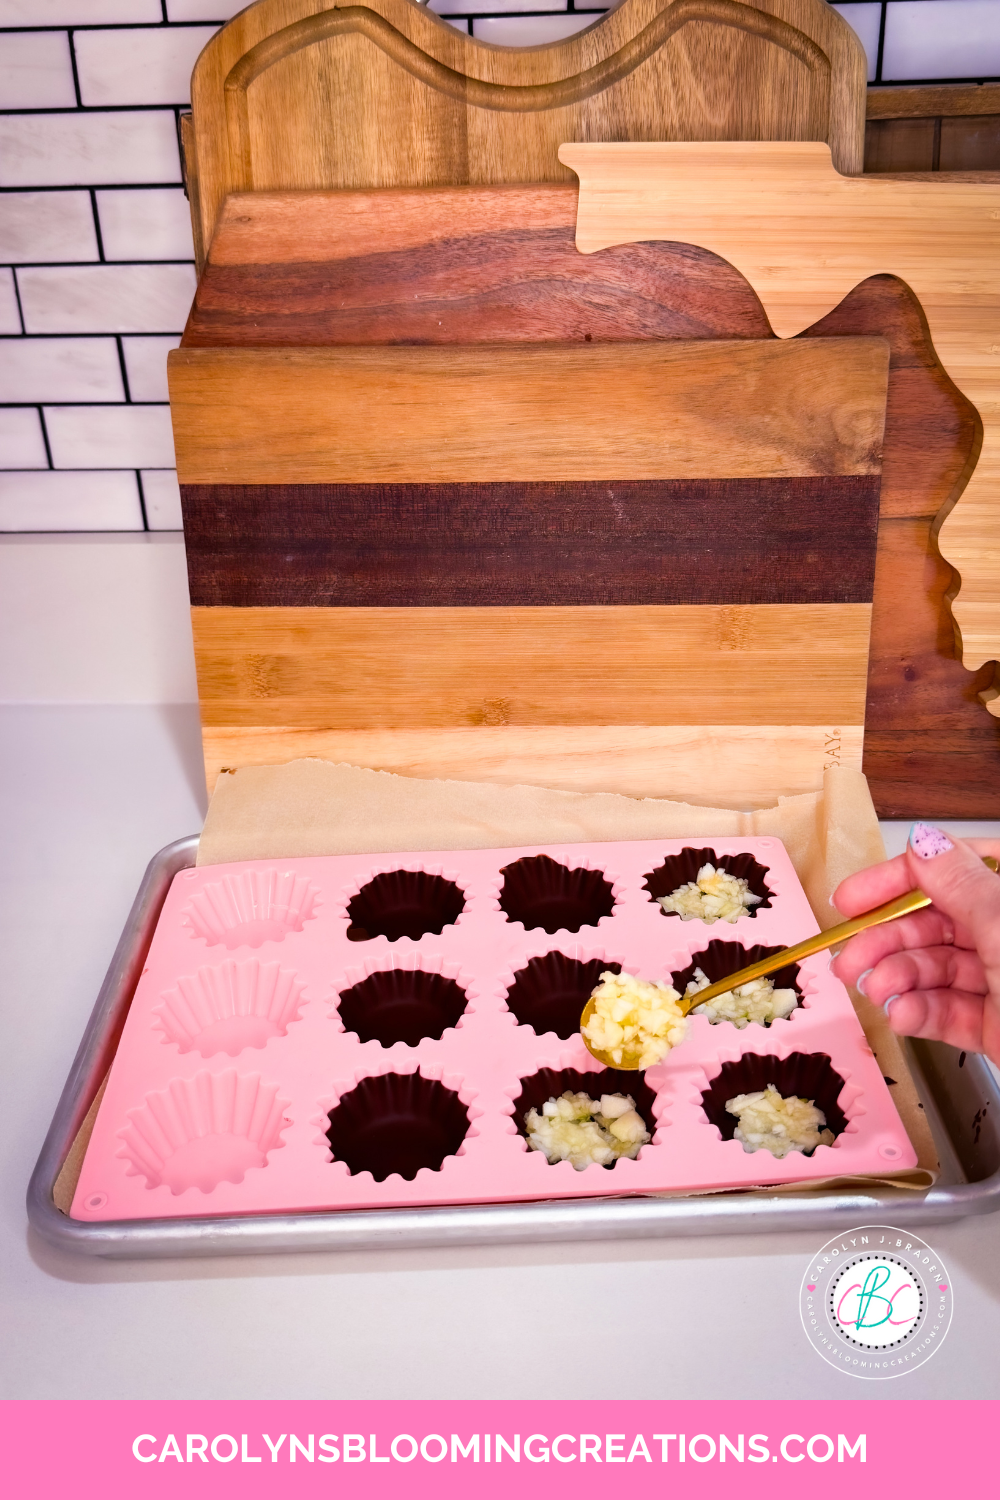
Adding some apples to the cups
Top each chocolate layer with 1-2 teaspoons chopped apple and smooth as needed.
Top the apple layer with 1-2 teaspoons caramel sauce (basically fill up the cups to almost the top) and tap the tray on a counter to settle the ingredients.
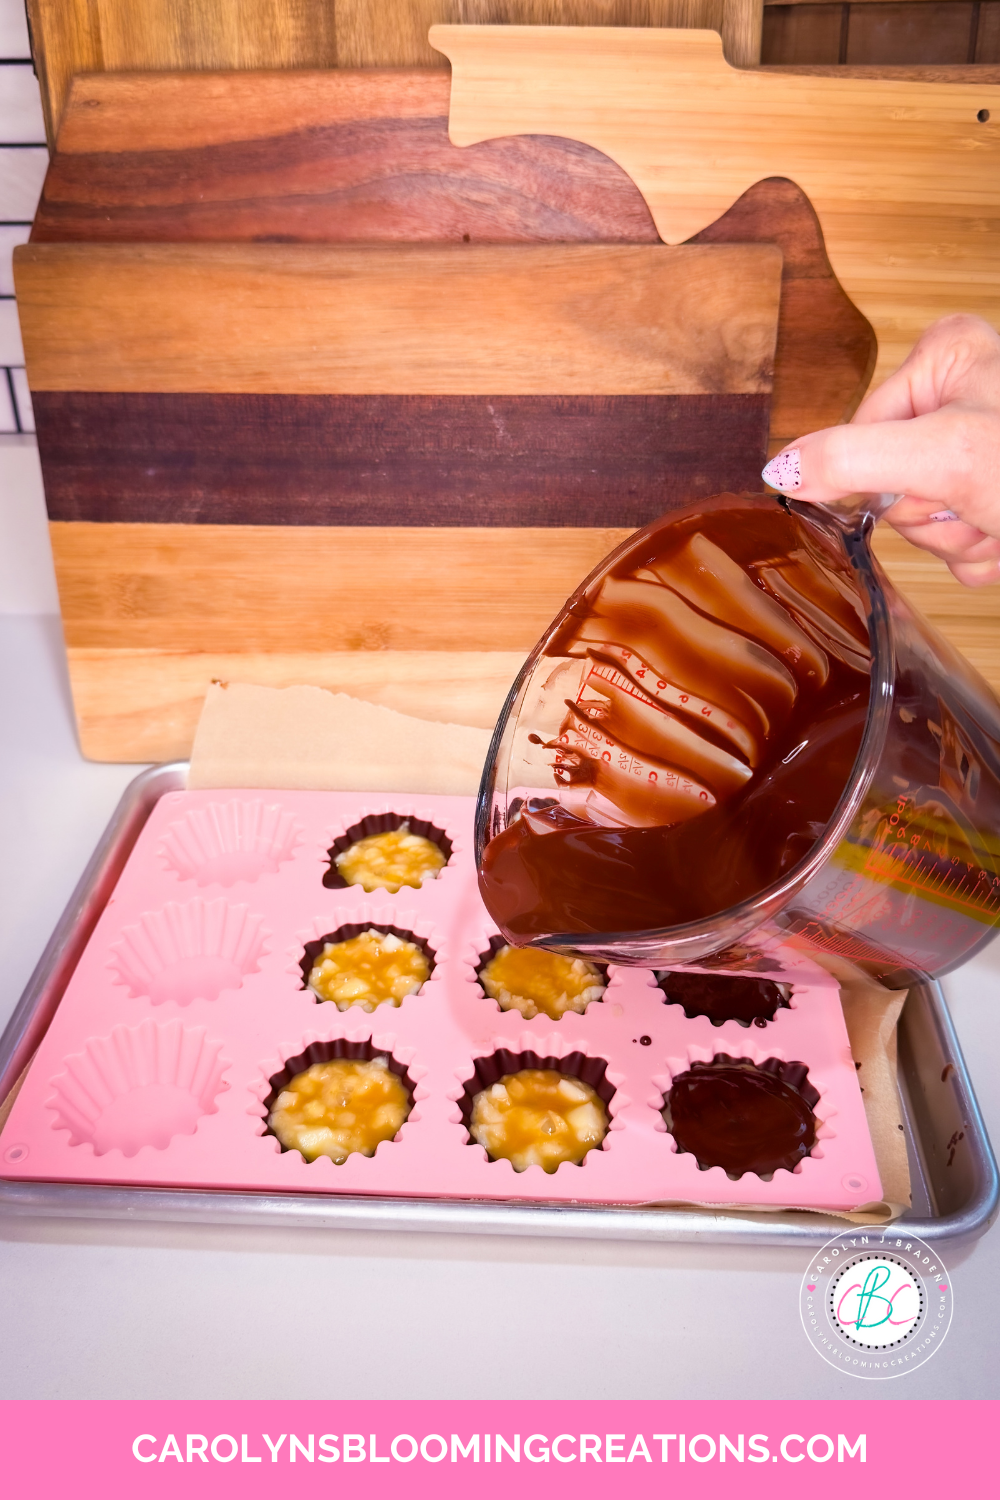
Topping off the cups with the rest of the chocolate
Pour about a tablespoon or so of the chocolate on top of each apple and caramel layer. I did not worry about them being perfectly smooth….I just made sure each cavity was covered in chocolate until all the chocolate was used up.

Smoothing the chocolate
Use a small spatula or the back of a spoon to smooth the chocolate over the apple and caramel layer and to spread it to the edges to seal each cup.
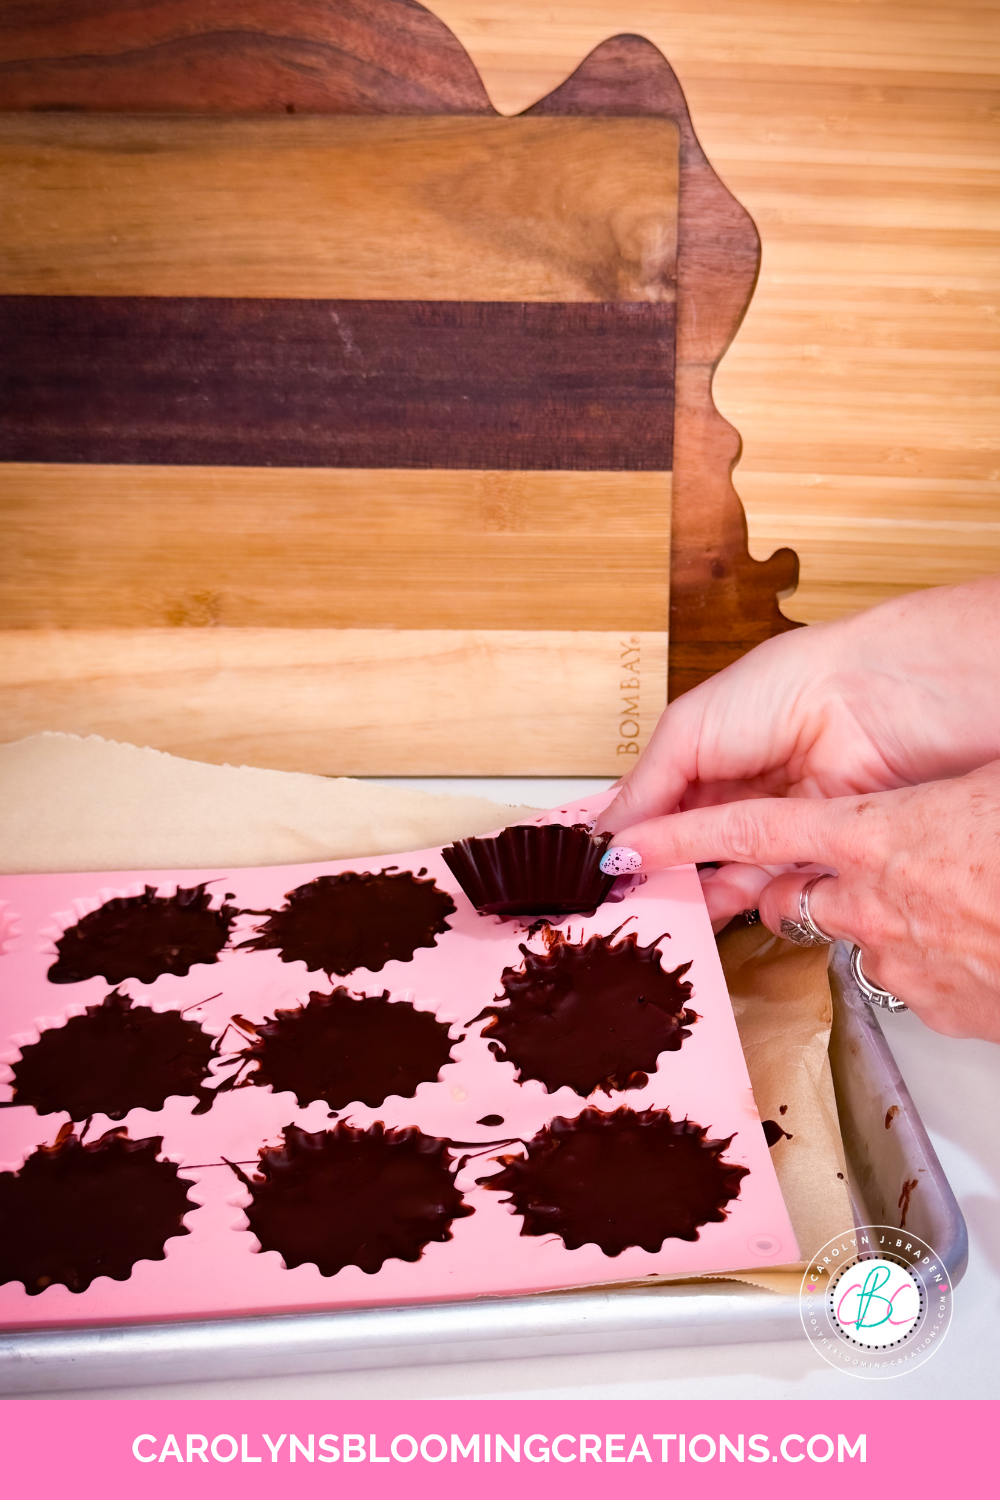
They pop right out of the molds
Freeze for about 15 minutes and then you should be able to pop them out of the molds.
If using muffin liners, I suggested parchment due to the fact that they should cleanly be able to be removed from each caramel apple chocolate cup after freezing.

Caramel Apple Candy
I stored mine in a sealed container in the refrigerator to keep them fresh and firm (we live in south Florida and everything melts here…even in the winter sometimes!). We ate through them in about a week, savoring each one daily until they were sadly gone. About a week is all you should keep these due the fresh apples inside them.
If you loved this article, then we know you’ll love this one too: How To Make Dark Chocolate Orange Creamsicle Bombs
Carolyn J. Braden is the owner of Carolyn’s Blooming Creations is a regular contributor and editor for CBC. She has been featured in numerous media publications such as InStyle Magazine, on HGTV, on Bustle.com, and more. She is the author of the books Georgia McMasters in Amethyst Lake Cemetery, How To Be Yourself: 3 Ways To Help You Being You, and the illustrator for the children’s book Bridging Connections. She is a former classroom teacher that now dedicates her life to educating others on how to live their most healthy, creative and happy life. Learn more about her visiting our About Us page.