Carolyn J. Braden • 3 Minute Read
How To Use Sponge Rollers for Big Hair
Posted: 11/10/22
Updated: 1/9/26
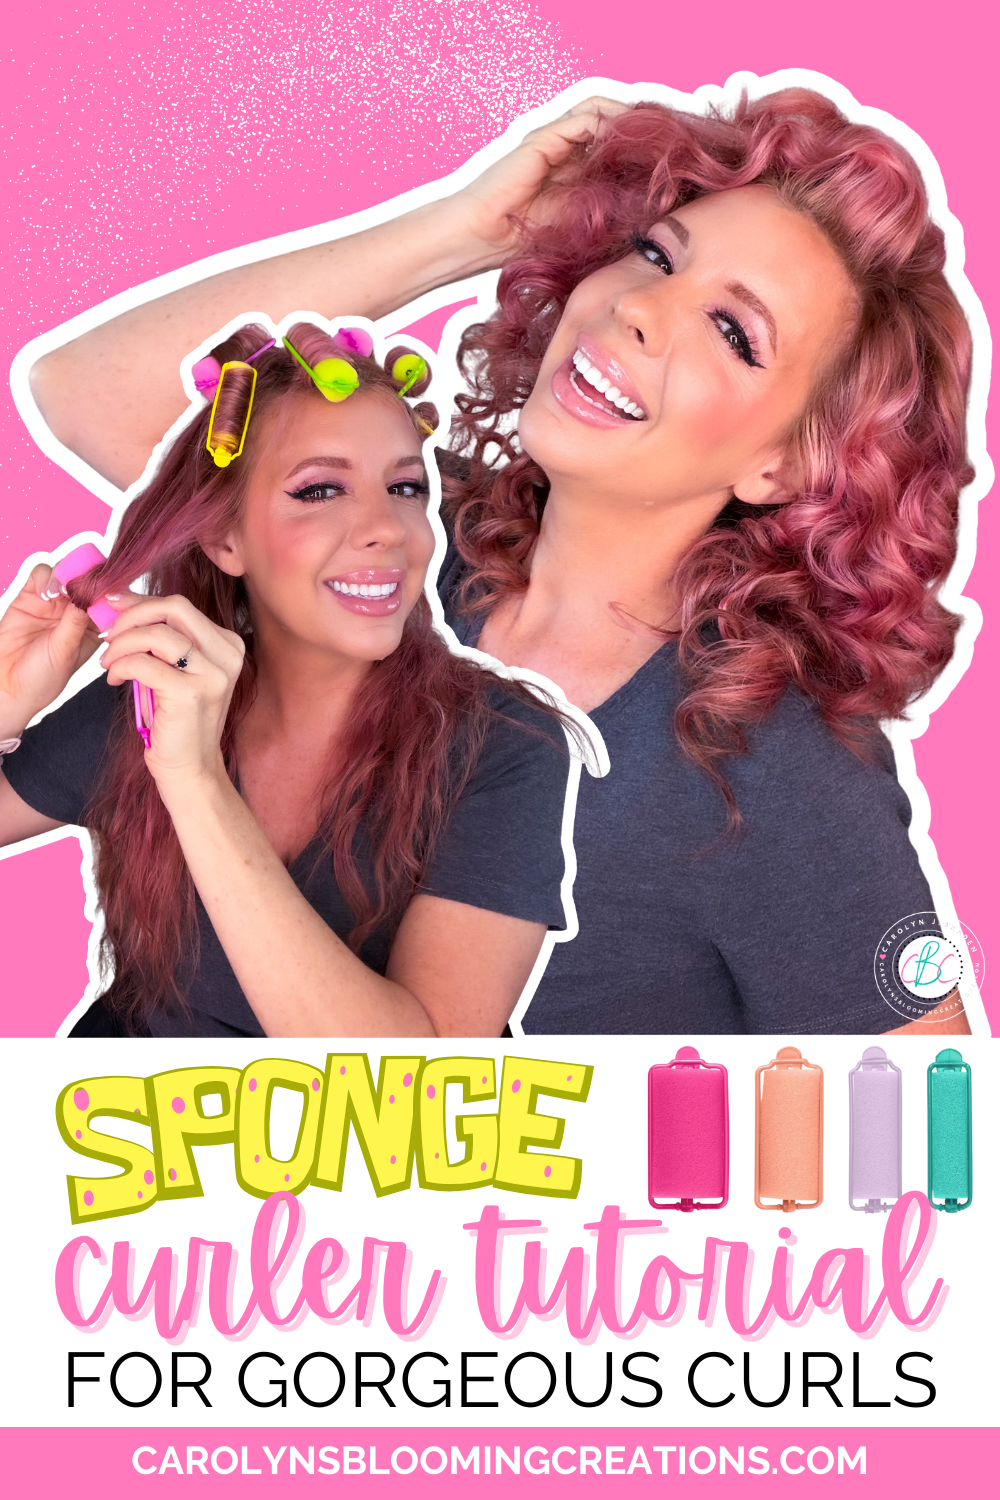
If you lived during the 1980’s, you will be very familiar with using sponge rollers. They are also called foam rollers. I used to sleep on them all the time so I could wake up and have gorgeous banana curls in my long red hair. As an adult, I wondered if they would still produce curls that I could manage and style, so I bought some to test out.
Read on to learn how to use sponge rollers for big hair.
Shop the Post
Don’t feel like reading this article? That’s okay! See all things makeup and beauty and get what I used for this tutorial via my Amazon Shop plus get buying links at affordable prices!
You can also get the products and more of my beauty loves via my Target shop here or my CVS Store here (use your ExtraCare card to double up on savings!) or via my shop my store here or below:
Bookmark or Pin this one by clicking the Pinterest SAVE button on the images in this article for hair magic in an instant.
Check out my fun hair video tutorials on my TikTok now or get my full 11 minute tutorial for this via my YouTube channel @carolynjbraden! Subscribe to my channel while you are there!
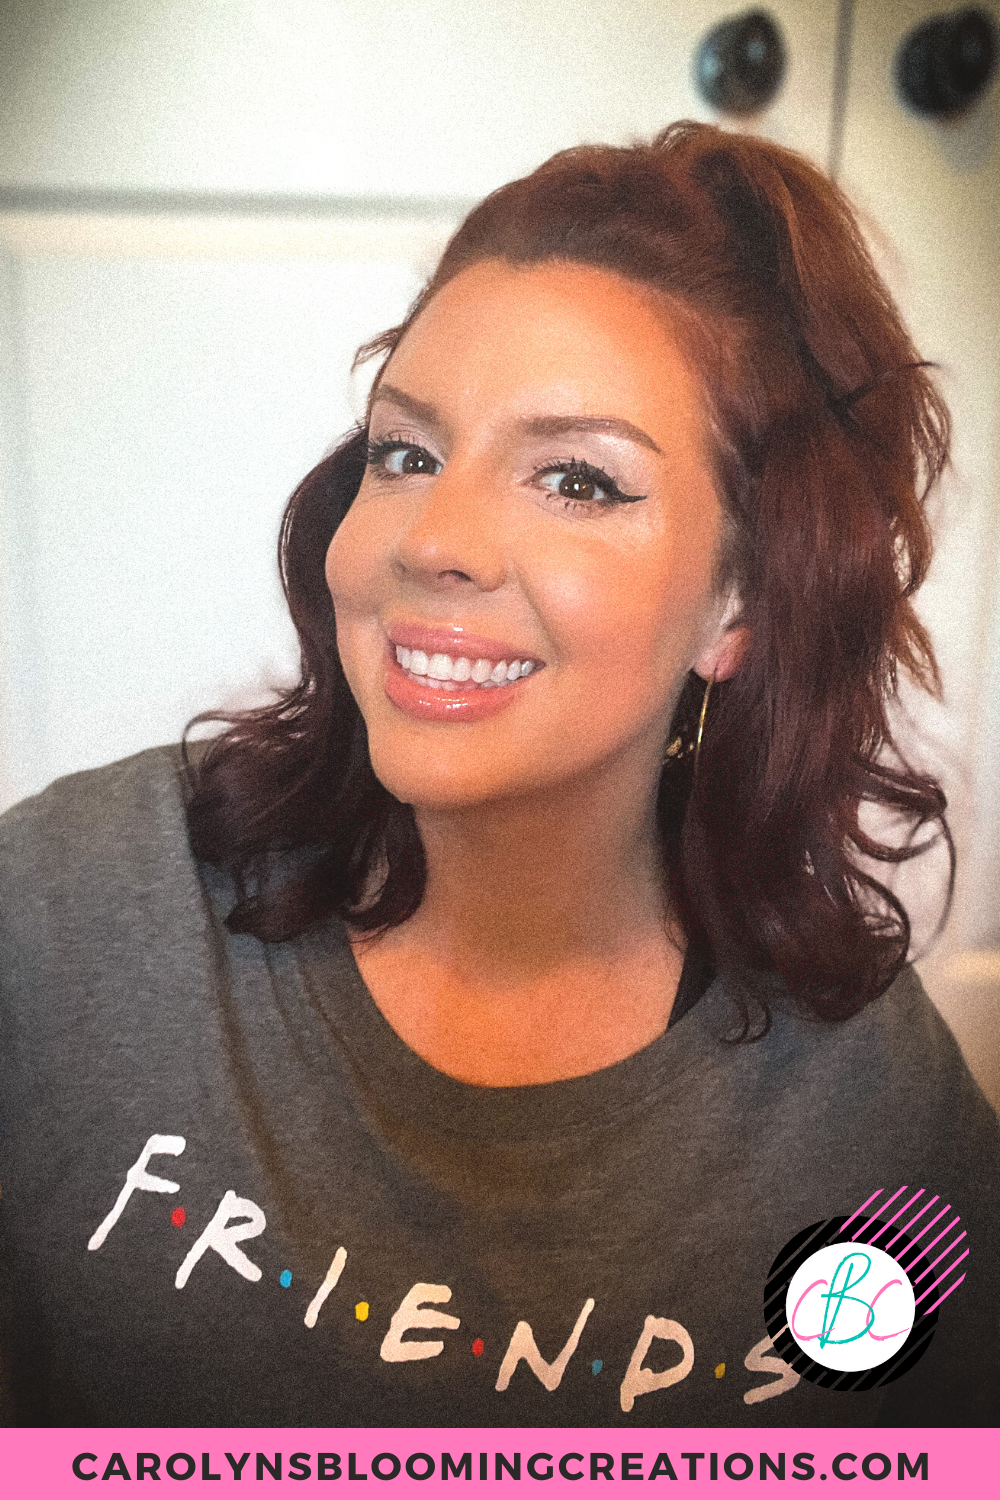
My 2022 tutorial finished results
Want big, bouncy, salon-worthy hair without heat damage? This step-by-step guide breaks down how to use sponge rollers for big hair, long-lasting volume, and soft curls. Perfect for fine, thick, or flat hair, this heatless styling method delivers fluffy, retro-inspired body that holds all day. Learn pro tips, setting tricks, and the best products to make sponge rollers work for modern, full-volume hairstyles.
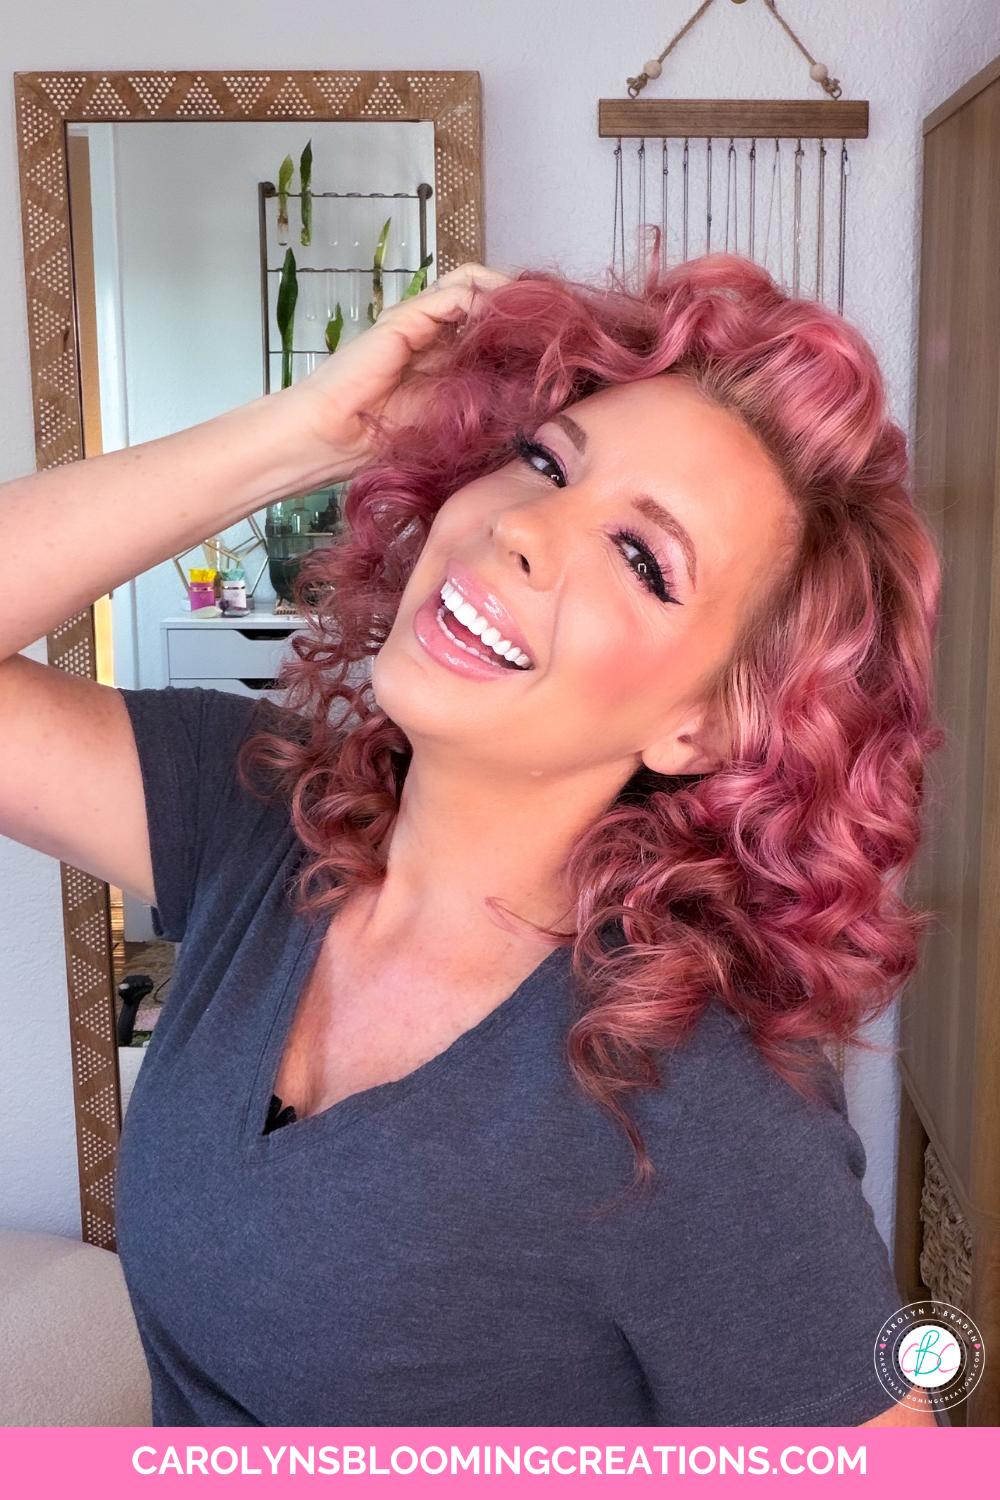
My 2026 results
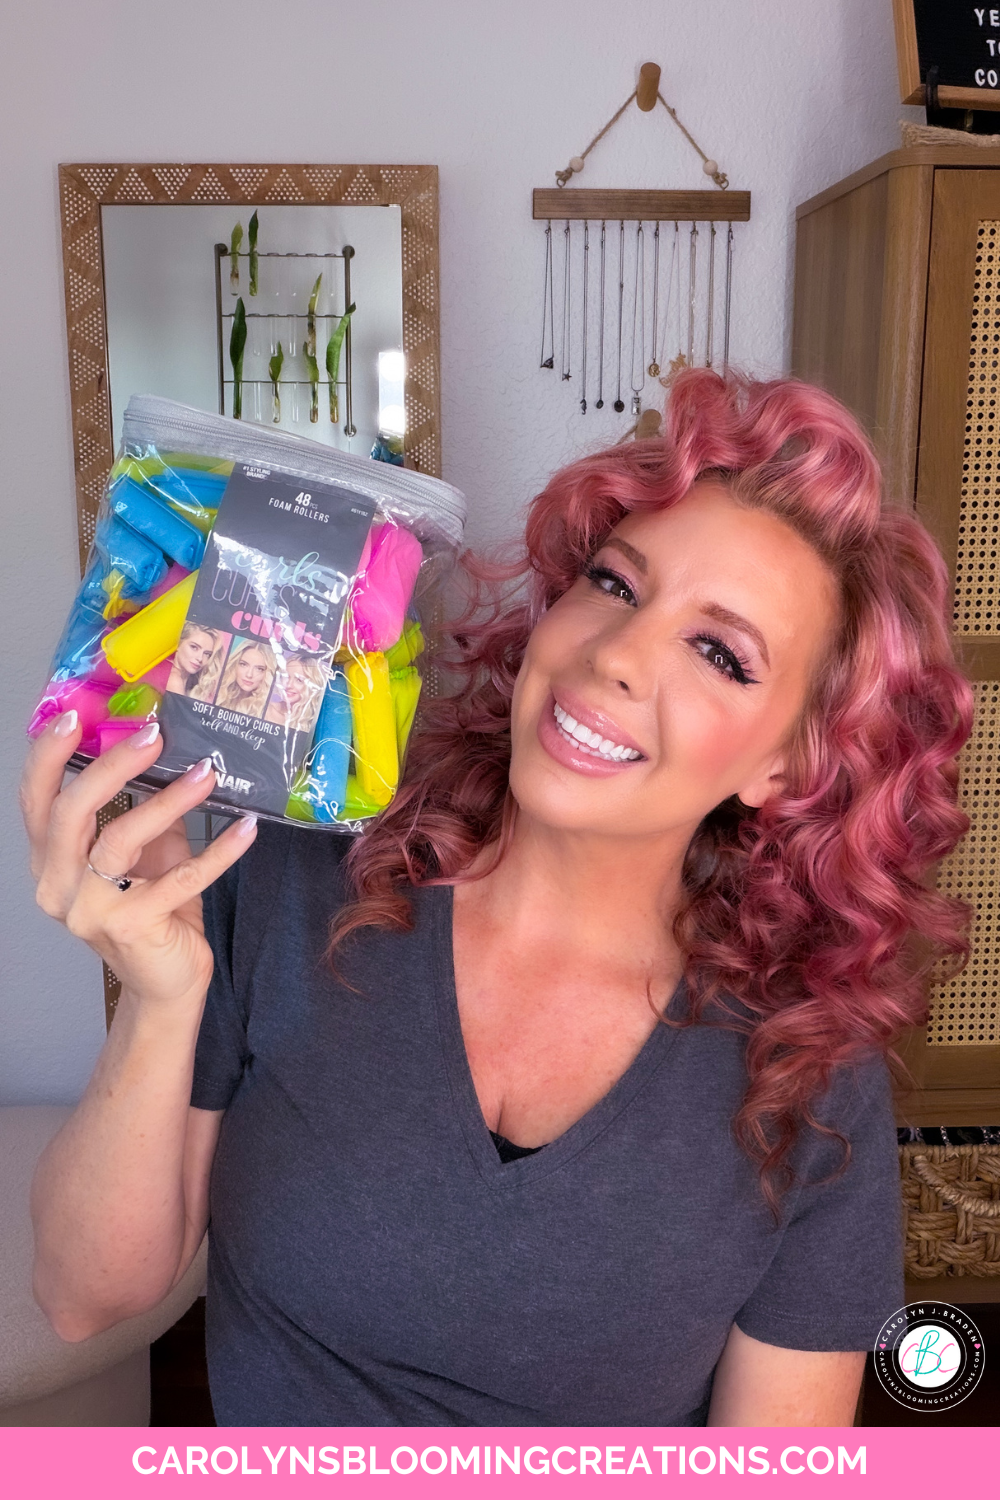
I bought a set of Conair neon sponge rollers in various sizes. I got them for just under $10. Instead of the banana curls I wanted as a child, I wanted large, voluminous curls, so I opted to use the largest roller in the pack on most of my hair. The second time I did a tutorial with these, I used a variety of sizes to get different sized curls.
Start with clean, wet hair
I first washed my hair and allowed it to air dry until it was only damp. If you have more fine, straight hair (mine is thick and wavy), you may not need to air dry at all. Find your hair type here in an article by Cosmopolitan. You could alternately sponge roll clean, dry hair, but to make a curl last, you should spray your hair with a water bottle before rolling to dampen it.
I used Conair sponge rollers for my big hair
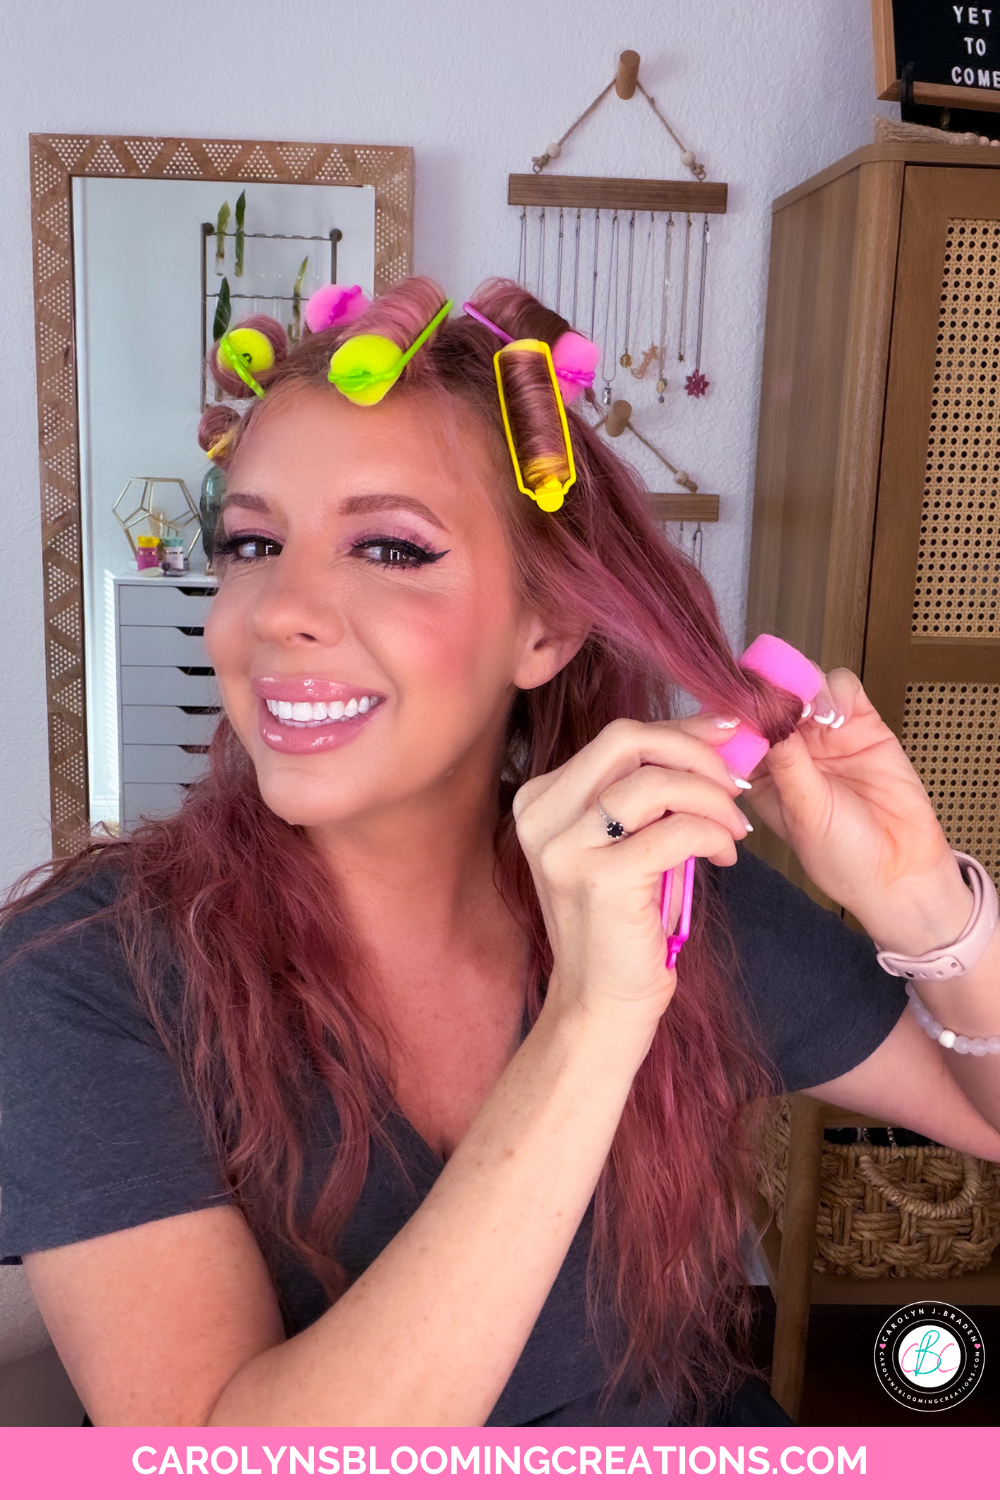
I then combed my hair with a wide tooth comb and started rolling. I started at the front of my head and sectioned out a 2-inch wide piece of hair, then started rolling my hair from the end down to the root. I rolled a bit on the loose side to produce big, loose curls.
My longer hair took a bit longer to roll
For the second version of this tutorial (with my rose gold hair color) I rolled a bit tighter and got tighter curls. I had better results with my curls when I added BRAID BALM to my hair as it helps hold curl and waves with many hair styles. Mousse would also be helpful.
Watch my sponge roller process in my one-minute YouTube video below or on my channel @carolynjbraden.
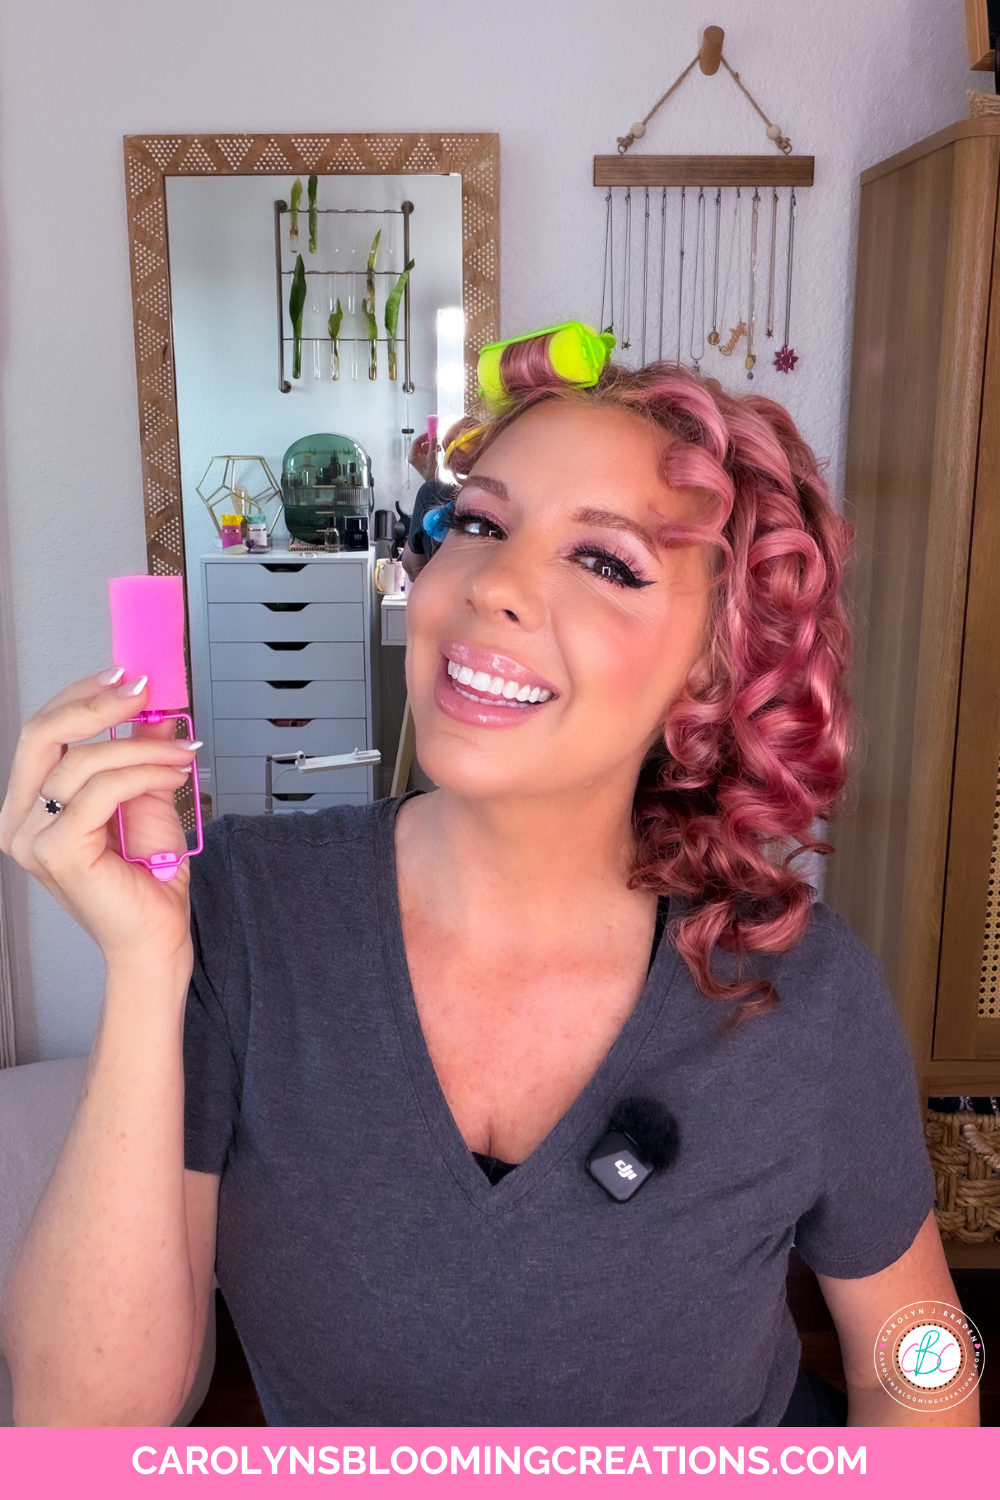
I used all the large curlers on the top and sides of my head, then used the medium-sized roller on the underside of my hair.
Sponge rollers are actually comfortable
The rollers clip together and stay in place fairly well. If you have shorter hair, I’d recommend wrapping the hair a little tighter than I did to help them stay in your hair.
My 2022 rolled hair
I tested out laying down on my pillow in these rollers to see if they were as comfortable as I remember them being as a child and they actually were. The sponge part makes them soft and cushy. My thick hair would take the entire night to dry, so if you do not have the overnight amount of time for these curls to set, you could try drying your curls using an alternative method. If you choose to sleep in the sponge rollers, you could wrap your hair in a bandana or sleep bonnet.
A bonnet hair dryer can dry curls fast
I found an old bonnet dryer in my in-law’s basement (as I completed my first tutorial during our Hurricane Ian evacuation in 2022, and staying creative helped my brain big time during our 4 month evacuation…yes, our Florida city was destroyed that bad and I did my best to stay happy and positive) and tested it out as a method to dry my sponge roller curls. I sat outside to use it as it smelled a bit weird when I first plugged it in. It is very old and had not been used in years, so I wanted to make sure it wasn’t going to catch on fire, lol!
My dryer bonnet tested great!
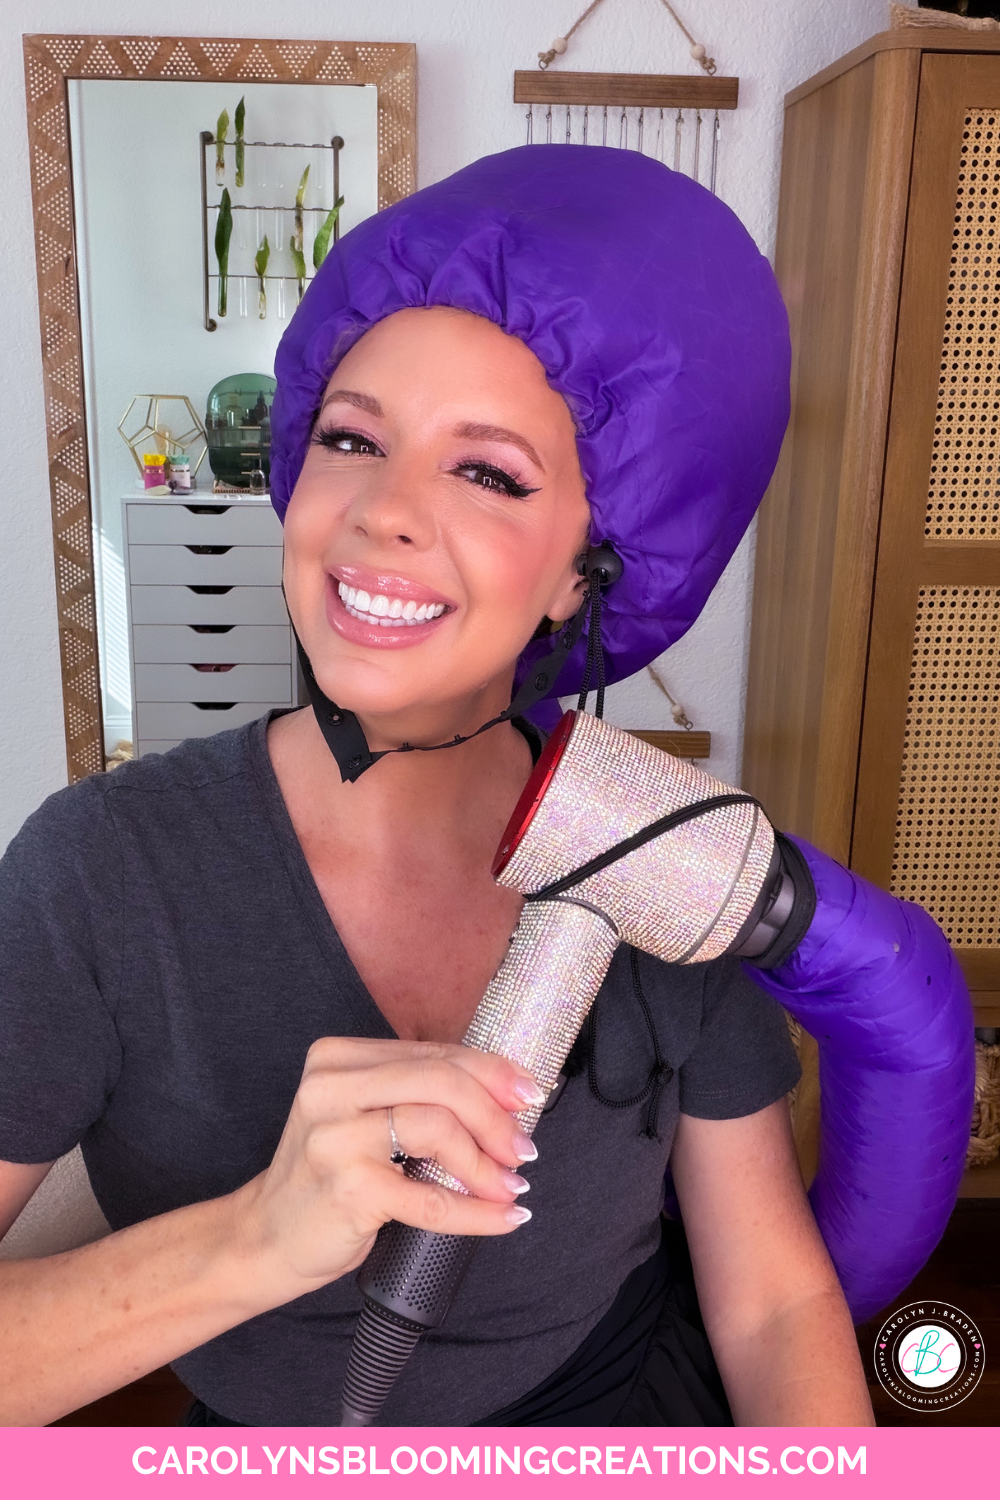
After a few minutes the smell subsided and I sat under it for about an hour to fully dry my thick hair. You could alternatively use a hair dryer to dry your curls. For the second tutorial, I used this blow dryer bonnet and used a LOW or NO heat setting and let it dry my hair for a little over an hour.
Half up curly hair style
I then removed the sponge rollers and revealed very BIG hair! I shook my curls with my hands to loosen them. Then I tamed my curls using a Spornette boar bristle brush, gently brushing the curls in a downward motion. I then smoothed some Moroccanoil Hydrating Styling Cream through my curls to tame and smooth them.
The Braid Balm was very effective!
For the second tutorial, I did not brush my curls. I used my fingers to loosen them and even tipped my head over and used my fingers to fluff up my roots too for extra volume. I smoothed on some Pureology Glow Catcher Oil for weightless shine and hydration.
After my sponge roller curly hair tutorial
I could have left my sponge roller curled hair loose, but I decided to style it a bit further. I pulled back my front section of hair and secured it with a ponytail holder. I then wrapped my ponytail holder with a piece of hair to hide it and complete the style. See my “how to hide ponytail holders” process in my short 1 minute video by clicking here.
My 2022 results
For the second tutorial, I left my hair down and it looked fabulous….almost like an old Hollywood hairstyle. The second round, using the Braid Balm, actually made my curls last longer AND the bonnet dryer that attaches to my hairdryer did a much better job drying my hair.
I love my results in 2026!
Overall, I like the look of sponge rolled hair, even as an adult. It’s a great heat-free hairstyle if you don’t use a hairdryer. I would recommend you try sponge rolling your hair and see what results you come up with. It may take some practice, but it can be fun. The rollers are super cute and colorful too!
Take Action
If you try any of my ideas, let me know how it turned out—or tag me when you try them because I LOVE seeing your posts💚 If you tag me using @carolynsbloomingcreations or @carolynjbraden, I’ll see it! Or tell me about it in the comments below.
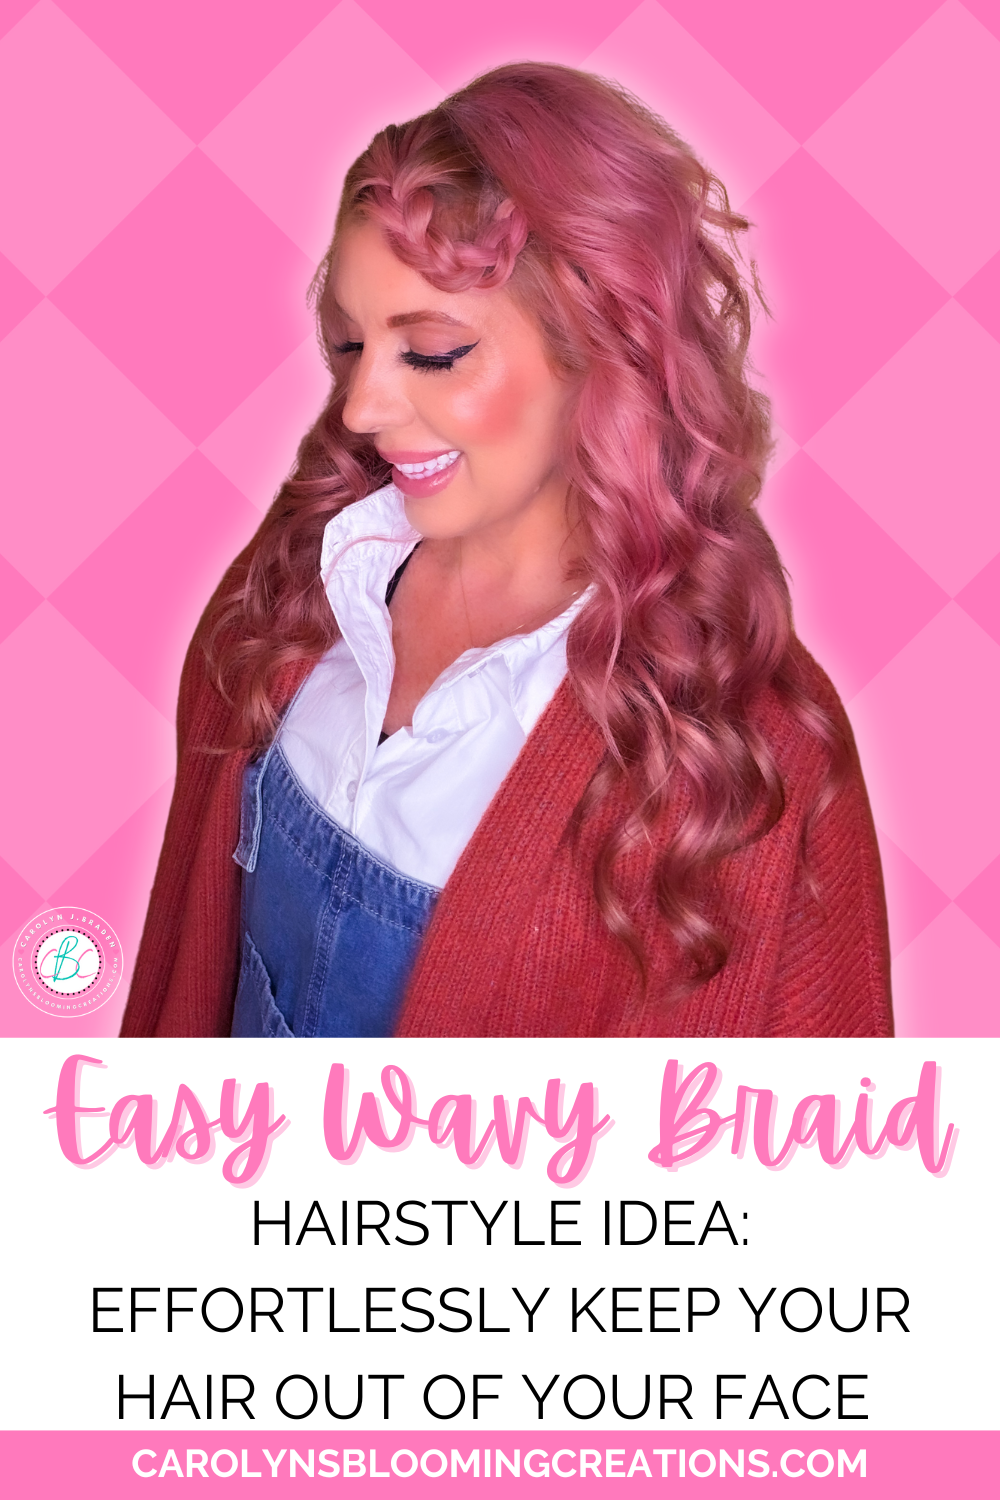
If you loved this article, then we know you’ll love this one too: Easy Wavy Braid Tutorial to Keep Your Hair Out of Your Face
Carolyn J. Braden is the owner of Carolyn’s Blooming Creations is a regular contributor and editor for CBC. She has been featured in numerous media publications such as InStyle Magazine, on HGTV, on Bustle.com, and more. She is the author of the books Georgia McMasters in Amethyst Lake Cemetery, How To Be Yourself: 3 Ways To Help You Being You, and the illustrator for the children’s book Bridging Connections. She is a former classroom teacher that now dedicates her life to educating others on how to live their most healthy, creative and happy life. Learn more about her visiting our About Us page.


