


Carolyn J. Braden • 3 Minute Read

How to Create Easy Bun Hairstyles with a Sponge Bun Maker
If you’d like to get a bit more volume in your bun hairstyles, try a sponge bun maker. Even the finest hair can look big and full with a foam or bun maker. They are lightweight and easy to wear in your hair all day. I used them to create space buns (like Princess Leia) and more. Read on to learn how to create easy bun hairstyles with a sponge bun maker.

Side view of my ballerina bun hairstyle
Sponge vs. Foam Bun Makers + 30% Discount
I used a foam bun maker many, many years ago. The only issue with a foam based one is that over time, it started to disintegrate, causing me to have to throw it away. Then I discovered a spongier bun maker made out of a material that reminds me of a gentle dish scrubber. This one lasted a lot longer and comes in many colors.

The back of the single ballerina bun hairstyle
I got my sponge bun makers in a kit I got on Temu. It came with several bun makers in different sizes, ponytail holders and u-shaped hair pins. If you shop Temu, use my link here or my discount code afe55197 for 30% off.
Where to buy bun makers:
Donut Bun Maker Kit for Light Hair Colors ($8.99, Amazon)
Various Bun Maker Kit for Dark Hair Colors (other hair color options are in this set, $6.99, get it on Amazon)
Donut Bun Maker Kit for Dark Hair ($8.59, Walmart)
Light and Dark Bun Maker Kit (25 pieces, $2.44, Temu)
I’ve also used a bun maker twist that I got from Beachwaver. Get a similar one here on Amazon. See my video for how to use it (it works best for half up hairstyles as mine is really small) above or via my YouTube channel @carolynjbraden.

This space bun is a great way to keep your hair out of your face while cooking!
Space Buns
I bought two bun maker kits so I could make space buns with the same sized bun makers. The reason why the “space buns” are called space buns is because they are similar to the buns Princess Leia wore in her hair in the movie Star Wars. Hers were more twisted than the buns I created though.

Back View of the Easy Space Bun Hairstyle
The space buns I created are also a bit higher on the head, making them a bit more comfortable than the Princess Leia buns that are basically over her ears. Learn more about “space buns” on Byrdie.com here. If you want to learn how to do the twisted buns Leia wore, check out the tutorial here on Vogue.com.
See me create the space bun hairstyle in my 1-minute video below or via my YouTube channel @carolynjbraden:
Parting your hair for the space buns
To create space buns, I first brushed out my hair. I LOVE my unBrush. The longer my hair gets, the more I love it to help detangle my hair when wet and dry. This style works well on non-washed 2nd or 3rd day hair. Unwashed hair has a bit more grip than squeaky clean hair, so if you want to create this style on freshly washed hair, I recommend adding a bit of dry shampoo to your hair first, then brush it out.
Dry Shampoos I like:
Not Your Mother’s Plump for Joy (adds lots of volume, get it on Amazon or Walmart)
Not Your Mother’s Beach Babe Dry Shampoo (adds texture, get it on Amazon or Walmart)
Viori Vanilla Coconut (Grab it at a 10% discount using code CAROLYNBRADEN or use this link to Viori’s website)

Adding the spongy bun makers
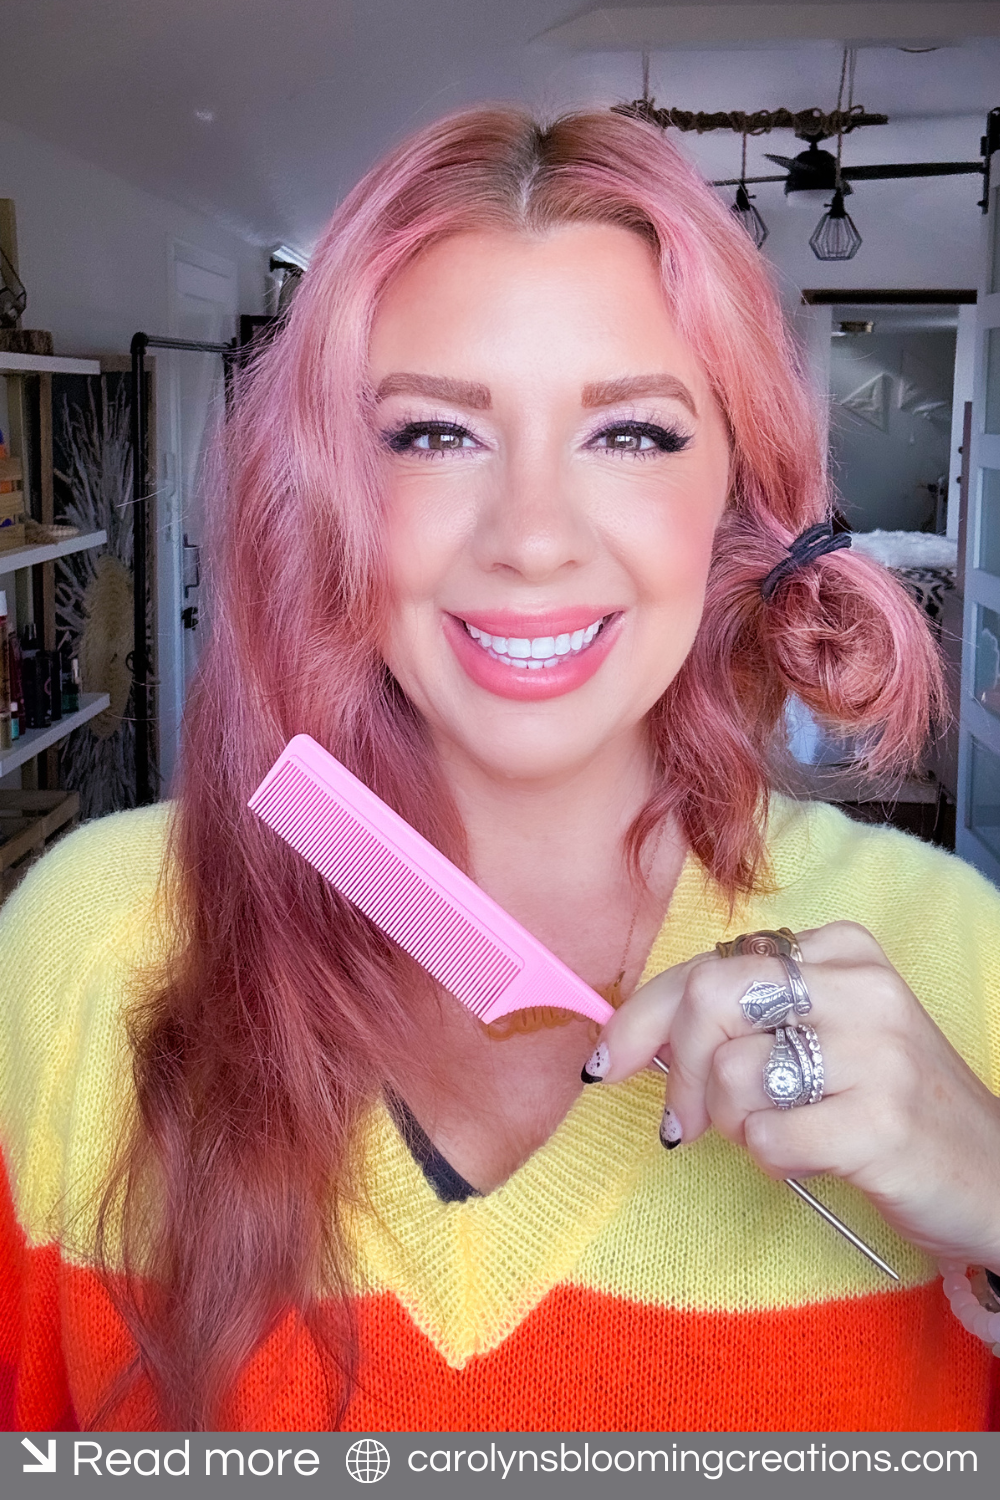
Next, I parted my hair in the middle using a rat tail comb. I pulled one side up into a high ponytail on one side of my head and secured it with a ponytail holder. I repeated it on the other side (basically, you are making “pigtails”).

Adding the u-shaped hair pins
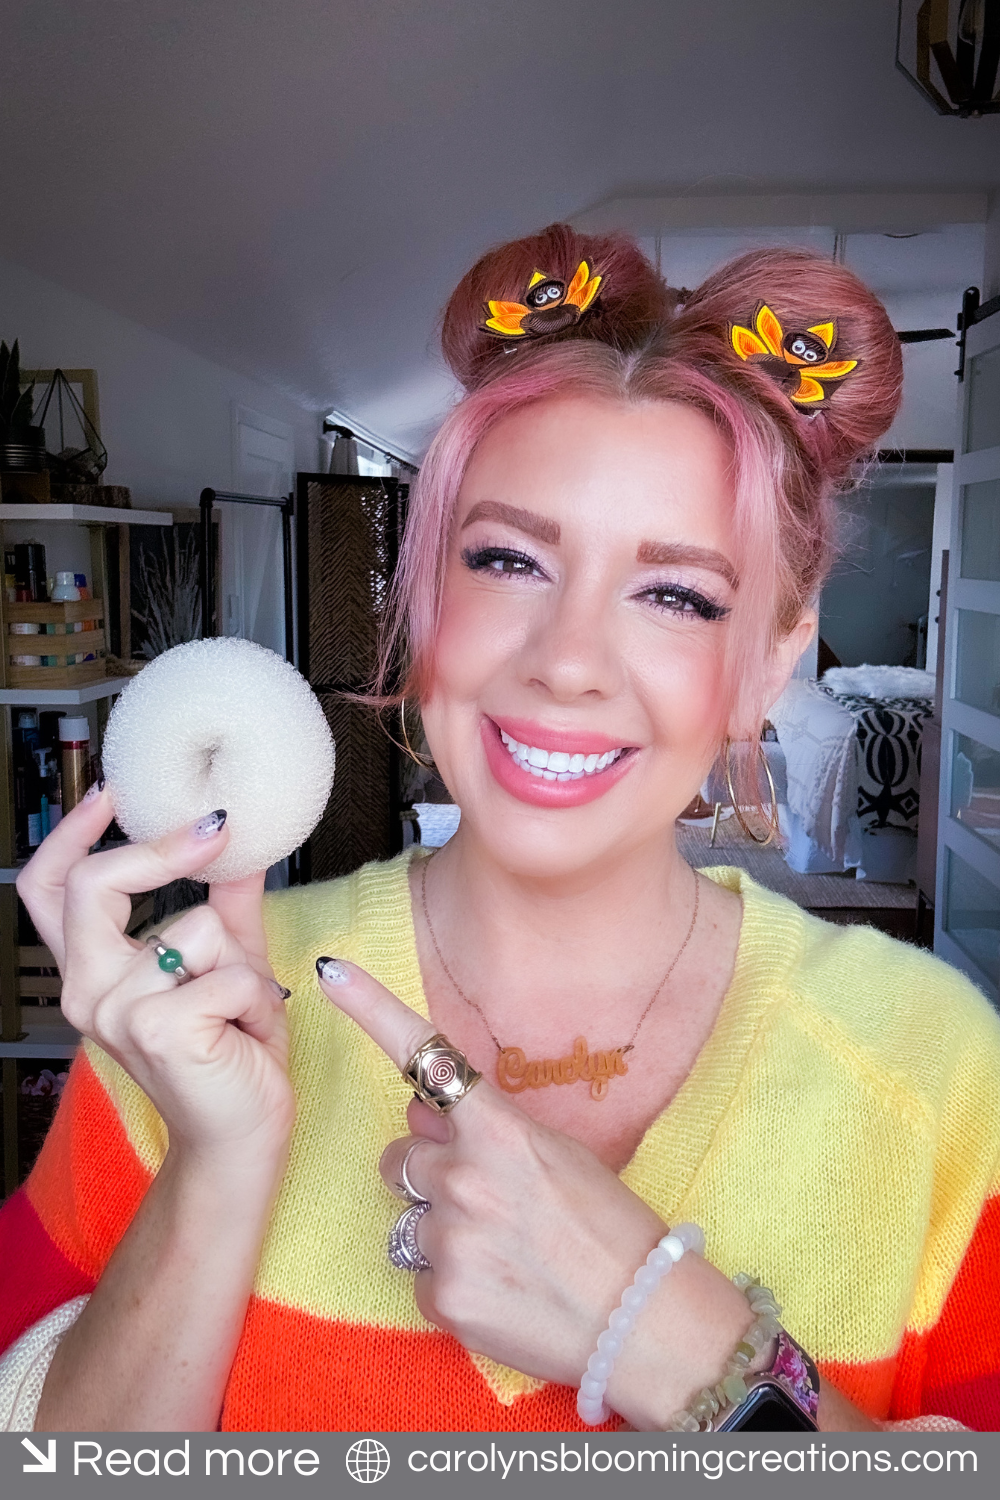
Then I pulled each “pigtail” through the hole in the center of the donut shaped bun maker and slid them all the way down to my head. I selected medium sized bun makers for this style. If you have short hair, or more fine hair, use a smaller bun maker.
I used medium sized bun makers for the space buns
I took a ponytail and simply wrapped it around the sponge donut, sort of pulling my hair around it to cover it completely. As I wrapped and tucked my hair around and under the bun a maker, I used the u-shaped pins to secure the hair around the bun.

My space buns are holiday ready!
Lastly, I sprayed it with some hairspray and added cute little turkey hair clips I got on Temu. Get 2 clips for $2.40 here on Temu. I created this style around Thanksgiving, so that’s why I added the turkey clips. Getting my hair out of my face while cooking a Thanksgiving meal is very helpful and the style is cute!

The single ballerina bun was created with a sponge bun maker
High Single “Ballerina” Bun
The next way to use your sponge bun maker is to do one simple ballerina style bun. When I was young, I danced and a bun hair style was very popular to keep my long hair out of my face. Adding the sponge bun maker helps make the simple ballerina bun bigger and more voluminous. It’s a great “rainy day” hairstyle because your hair won’t frizz out! I love wearing buns on rainy days.
Watch me create the ballerina bun in my 1-minute video below or via my YouTube channel @carolynjbraden:

I used a larger bun maker for a single bun
For this style, brush your hair out and pull it into a high ponytail and secure it with a ponytail holder. I created this on 2nd day hair, which again, helps have more grip. If you are doing this on clean hair, use that dry shampoo trick I talked about in the space bun tutorial.

I added a headband to elevate the style
For this style, I slipped a larger sponge bun maker onto my ponytail. I slid it all the way down to my ponytail holder, then wrapped (in a swirling motion) all my hair around the bun. I slid the u-shaped pins into the base of the bun to hold my hair.
I added enough until my style stayed, then sprayed it a little with some hairspray. Lastly, I added a cute fabric bow headband I got on Temu for around $5. Get it here on Temu.
If you love this article, then I know you’ll love this one too: How to Use a Topsy Tail Hair Looping Tool for Easy Hairstyles
Carolyn J. Braden is the owner of Carolyn’s Blooming Creations is a regular contributor and editor for CBC. She has been featured in numerous media publications such as InStyle Magazine, on HGTV, on Bustle.com, and more. She is the author of the books Georgia McMasters in Amethyst Lake Cemetery, How To Be Yourself: 3 Ways To Help You Being You, and the illustrator for the children’s book Bridging Connections. She is a former classroom teacher that now dedicates her life to educating others on how to live their most healthy, creative and happy life. Learn more about her visiting our About Us page.