


C.J. Braden • 3 Minute Read

How To Make a DIY Pipe Balcony Safety Rail
After removing the door to the 10’x10’ cupola space at the top of our Sanibel Island home, we needed a balcony safety railing. We needed something sturdy, stylish, and highly functional. Because we had made a pipe railing in our last home and had many items created out of pipe in our new home, we stuck with pipe as the material for this DIY project.
Read on to learn how to create a DIY pipe balcony safety rail.

Black spray painted pipes
Iron pipe is a great material to use throughout your home. It’s thick, it’s heavy duty and long lasting. The only downside to using this material is you can’t cut it, so you have to find the exact correct sizing of pipe OR piece together a few pipes to get the exact size you need.

Laying out the iron pipes for the balcony rail
For our particular sized space, we used the following materials, which we purchased from Lowe’s and Amazon:
three 12” inch iron pipes (3/4” inch in diameter)
one 8” inch iron pipe (3/4” inch in diameter)
four 36” inch iron pipes (3/4” inch in diameter)
5 flanges (3/4” inch)
2 elbow connectors
3 T connectors
20 black screws (sized to fit inside the flange holes)
1 can black spray paint (for metal)
rope netting (2 packs were used for this project, one for each side of the pipe rail)
drill

How to Assemble a Pipe Rail
If you are creating this project yourself, you will need similar items, but you may need pipes in different lengths to fit the space in your own home.
See us put it together in the quick video below or on our YouTube channel “Carolyn Braden”:

Spray Painted Iron Pipe Railing
We spray painted the pipes, as the ones we bought were just a plain silver color. The pipes that were already black were quite a bit more expensive, so that’s why we just spray painted ours. We removed the stickers, painted the iron pipes outside and allowed them to dry for 24 hours.

Attaching Flanges to a Pipe Railing
Before we purchased the materials, we took a lot of measurements and I drew out a plan. I create a lot of sketches for my designs, then my husband can usually figure out how to make what I envisioned. We work well together like that.

Attaching the Pipe Railing to the Wall
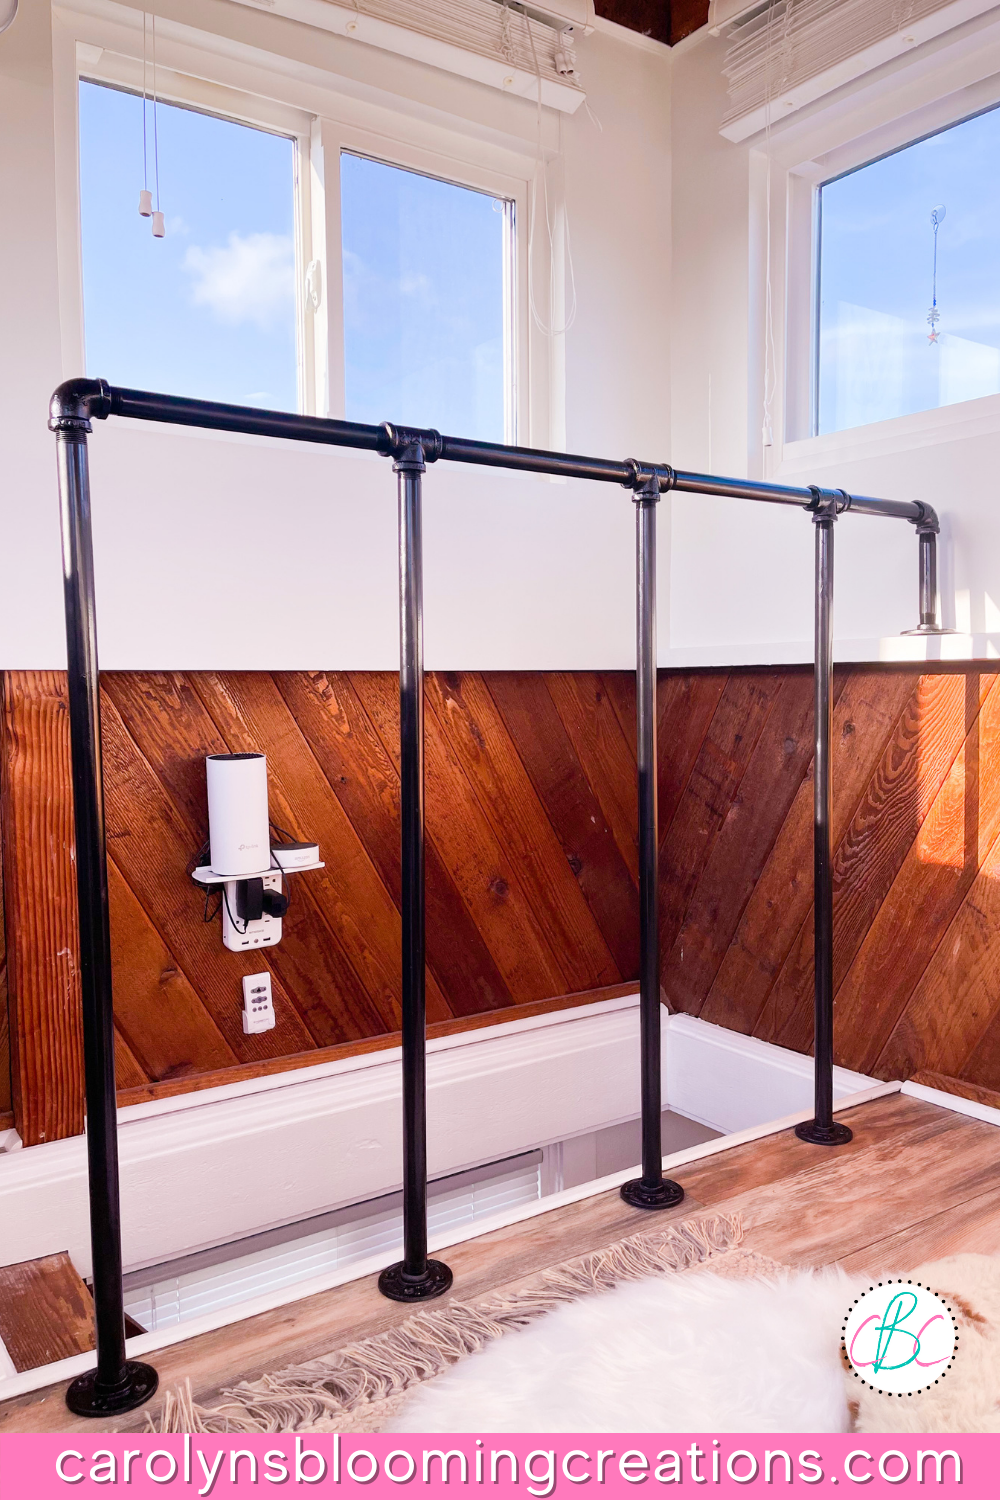
According to our design, we simply screwed all the pipes together for the top of the pipe railing, then screwed on the 36” inch pipes that we had already attached to the flanges.
First Stage of Pipe Balcony Rail
My husband used his drill to attach four screws to each flange on the floor. We used black screws to keep the color consistent. I helped him with placement while he screwed them into the floor to ensure we had them all aligned with the stair opening.

Pipe Safety Rail
While this pipe balcony rail would be fine as is, I knew my niece and nephew may play between the bars if I didn’t seal them up somehow. We could have made the bars closer together, but my design included adding a rope netting which would add the needed safety factor to the balcony rail.
If you are loving this article, we think you love this one too: Our Strange Space Makeover + DIY Tiny Room Organization
Pipe Rail Attached to Wall for Stabilty
We purchased black boat cleat hooks from Amazon as well as some rope netting. I didn’t purchase safety-rated netting, though it did deter my young family members from playing on the railing. If you want to do this project and have very young children, I’d recommend using a netting that is specifically for balcony safety or make the pipes closer together in your design.

Using Boat Cleat Hooks With Pipe Rail
After attaching the boat cleat hooks to the floor (and we attached one the wall), I used jute string to attach one of the rope nettings to one side of the rail. We live on an island and have a bit of nautical theme around our home, so I wanted the netting to appear loosely hung on the railing.

Attaching Rope Netting to Balcony Rail
After I attached a rope netting to one side, I attached the second to the other side. I also attached the rope netting bottoms to the boat cleats using some jute string. Again, this isn’t for pure safety; it’s merely a decorative element so it is a bit loose.

Attaching Rope Netting to Boat Cleat Hooks
The rope netting had some wooden disks attached to it (as part of the nautical look), so I left those on and let them loosely hang on the front side of the pipe railing.

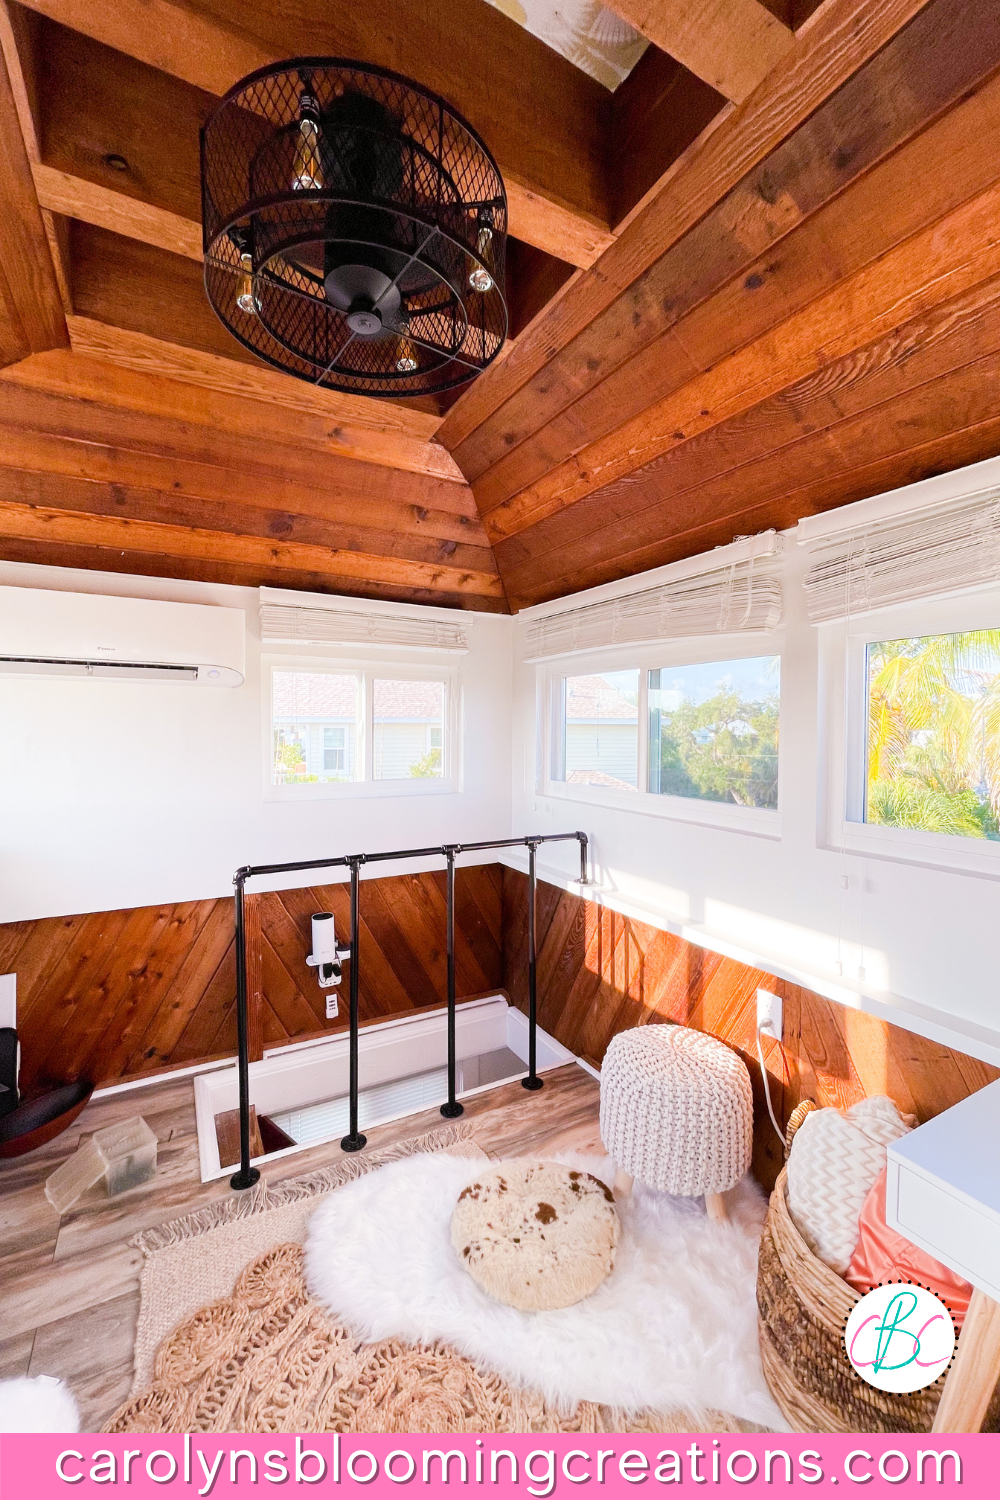
Balcony Safety Rail Prevents Falls
As you can see in the photos, this railing is a great thing to have because the opening to this space had nothing to protect you from falling out of the room. Originally, there was a hatch-like door, but we wanted it to flow into the room underneath it, so removing the door and adding the railing made practical sense.

Completed Balcony Safety Rail
The hatch door also made it seem like it was an entry to an attic space, and the cupola room is not an attic space. It’s a unique little room that has an awesome 360 degree view of our neighborhood and the nature preserve that surrounds the back of our house.
Get a full look at our home minutes after we purchased it in our YouTube video below or on our channel “Carolyn Braden”:

Nautical Design Pipe Rail
The DIY pipe balcony safety rail we created is very sturdy, prevents falls down the stairs and looks very cool. Attaching it to the wall added an element of stability for sure. It does not move no matter how much we hang on it!

DIY Pipe Balcony Safety Rail
If you plan to create this in your home, plan out the project in full detail before doing it. Take what we created and make it your own. It’s actually a very simple design that cost under $200. Most balcony railings you purchase are quite expensive compared to this project.
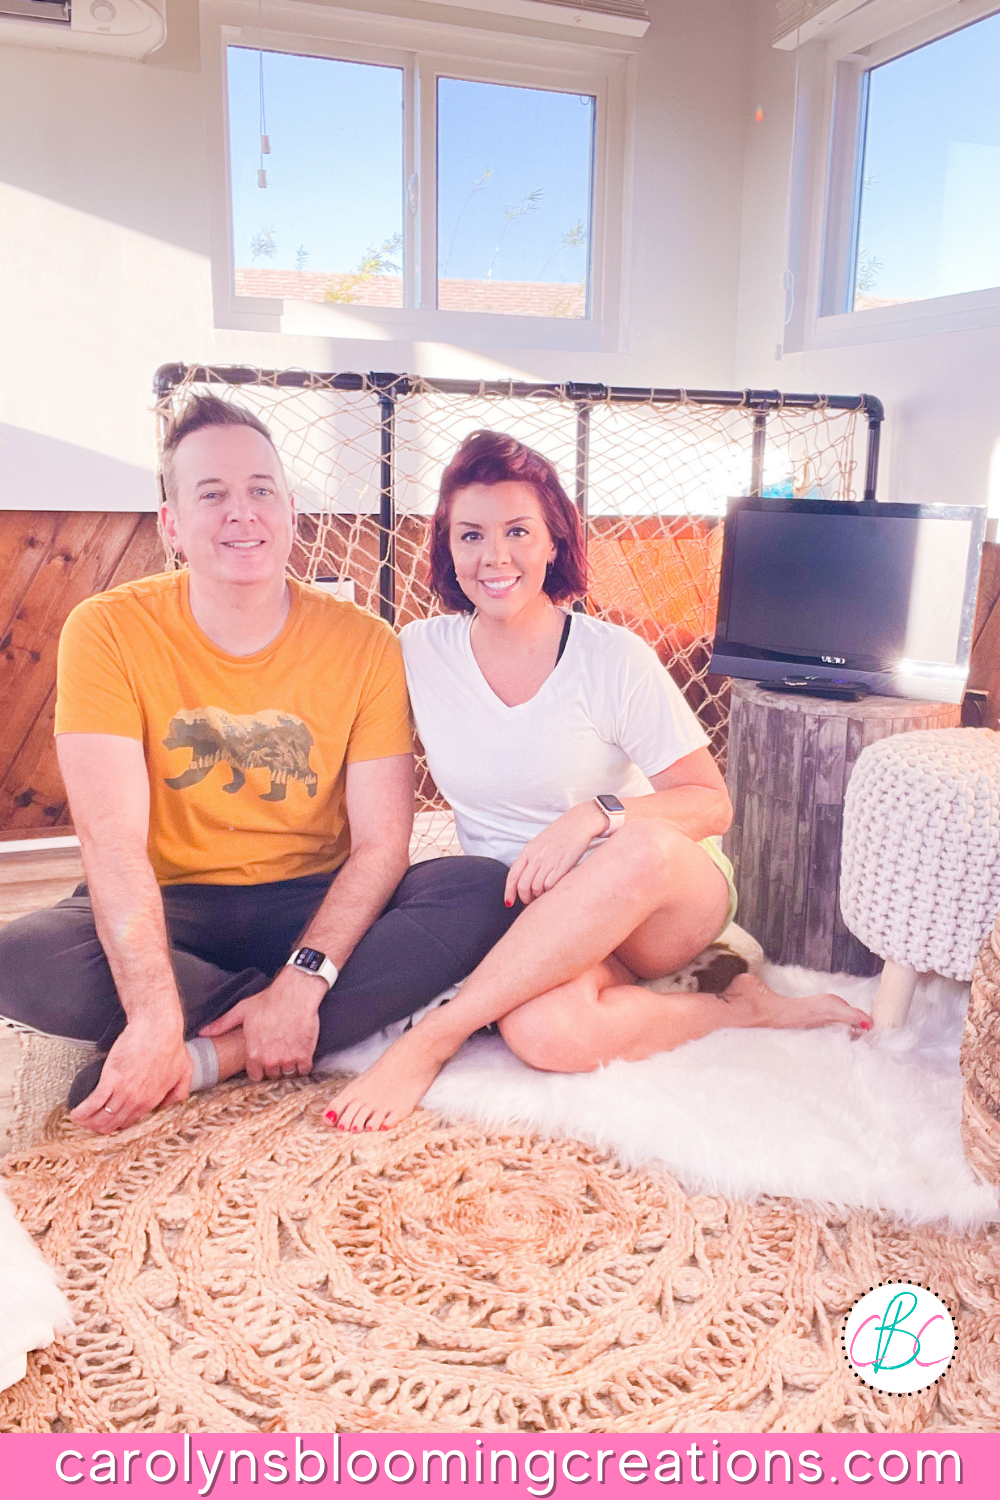
Tommy and Carolyn Braden DIY Projects
This railing made me feel confident that my niece was safe when she spent a week in this room over the summer.

Tommy and CJ Braden DIY Pipe Rail
Our next pipe project will be adding a stair railing to the small staircase that leads to this cupola space. We have a couple of designs in mind, so the results should be an interesting creation from us too!

Boho Room Ideas
If you have any questions about this project, leave us a comment below!

Layered Rug Look with Pipe Rail
C.J. Braden is a regular contributor and editor for Carolyn’s Blooming Creations. She has been featured in numerous media publications such as InStyle Magazine, on HGTV, on Bustle.com, and more. She is the author of the books Georgia McMasters in Amethyst Lake Cemetery, How To Be Yourself: 3 Little Ways to Get Back To You Being You, and the illustrator for the children’s book Bridging Connections. She is a former classroom teacher that now dedicates her life to educating others on how to live their most healthy, creative and happy life. Learn more about her visiting our About Us page.