


Our Sanibel Island, Florida bungalow cupola makeover is complete! Well, almost complete. We have to shorten the blinds and add a safety rail, but I couldn’t wait to share the makeover any longer. I love figuring out what to do with strangely sized spaces, and this provided me with yet another challenge. This was a beautiful room that was in need of some major TLC, and between my husband and myself, we gave it just that.
Read on below to learn all about this renovation.
Our cupola on our Sanibel Island home
Photography by Carolyn J. Braden, Graphic by Carolyn J. Braden using Canva
Pin me! carolynsbloomingcreations.com
You may be wondering what a cupola is. A cupola is traditionally a small dome on top of a larger dome, adorning a roof or ceiling. While most are only decorative, the one on the top of our home was actually a 10 foot by 10 foot room, accessible by a small staircase from inside the home.
If it’s a room or closet, it’s usable space, no matter the size, in my opinion.

The cupola before the renovation
Photography by Carolyn J. Braden, Graphic by Carolyn J. Braden using Canva
Pin me! carolynsbloomingcreations.com
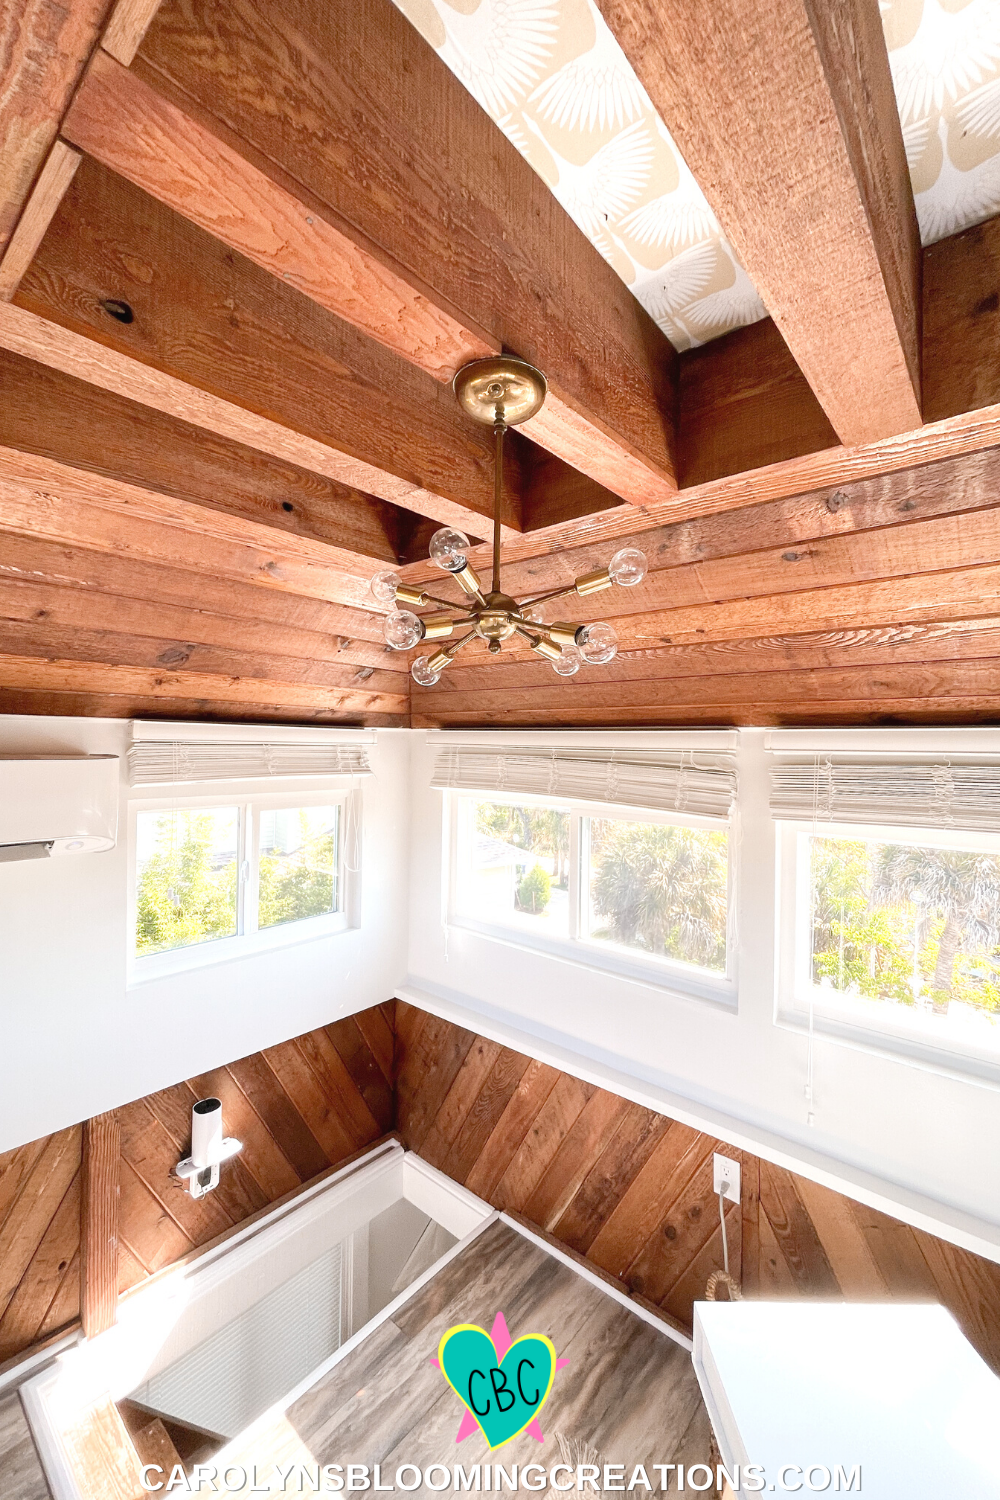
When we first bought the house in October 2020, the windows that lined each wall would not all shut. It had a loud, grimy room air conditioner hanging out a wall. Because the air conditioner hadn’t been turned on in months, it was stuffy and smelled like a sauna due to the cedar planks that lined the ceiling and base of the walls.

The cupola with the sputnik light added
Photography by Carolyn J. Braden, Graphic by Carolyn J. Braden using Canva
Pin me! carolynsbloomingcreations.com
Within a month of owning the home, we had an HVAC company removed the old wall A/C unit and install a mini split. We had them installed in our previous home during an attic renovation we completed, and loved them. They attach to a wall, are super quiet and are very efficient. It heats and cools the space perfectly.
The company had to patch the wall under the mini split and we had to have a contractor bring someone in to patch the siding on the outside of the home to cover the space where the old A/C unit was. Luckily we found some leftover siding in the garage of the home, so this was a rather inexpensive portion of the project.

The cupola before removing the old rug
Photography by Carolyn J. Braden, Graphic by Carolyn J. Braden using Canva
Pin me! carolynsbloomingcreations.com
We added a vintage sputnik light as a ceiling light. We owned for years but never knew what to do with it until we bought this house. Luckily there was already wiring in the ceiling (though there was no light there when we bought the home) that allowed us to add a light easily.

Removing the old rug from the cupola
Photography by Carolyn J. Braden, Graphic by Carolyn J. Braden using Canva
Pin me! carolynsbloomingcreations.com
We rolled up and removed the outdoor carpet someone had wedged into the space at some point. We also had new windows installed. We installed hurricane rated windows to the entire house for lower-cost insurance and safety purposes. After getting numerous estimates, we had Lowe’s install new windows in this space and the entire home. They did a fantastic job.

The cupola hatch door
Photography by Carolyn J. Braden, Graphic by Carolyn J. Braden using Canva
Pin me! carolynsbloomingcreations.com
After removing the carpet, we removed the door. It was a hatch-like door that didn’t make sense to us. We made the room under it a sort-of extension to the cupola, so keeping the door off made it flow. We decided a decorative safety rail would be a better option and will add that soon.

The cupola with the rug removed
Photography by Carolyn J. Braden, Graphic by Carolyn J. Braden using Canva
Pin me! carolynsbloomingcreations.com
Once the carpet was gone, we installed some Pergo flooring. We installed this same type of flooring in our last home, in the attic space, so we had all the tools and know-how to to this. We learned from watching YouTube videos, so if you ever want to install your own flooring, it’s fairly simple to learn how to do. It just takes patience and time.

Laying Pergo flooring in the cupola
Photography by Carolyn J. Braden, Graphic by Carolyn J. Braden using Canva
Pin me! carolynsbloomingcreations.com
We chose a lighter wood to help make the space appear larger. It took us about three to four hours to finish laying it in our small space.

The finished Pergo flooring
Photography by Carolyn J. Braden, Graphic by Carolyn J. Braden using Canva
Pin me! carolynsbloomingcreations.com
After the flooring was complete, we trimmed it with some quarter round. We also trimmed out the staircase leading up to the room. Then we painted the room in one of our favorite whites, Melting Icicles, by Behr. We’ve used this color on numerous rooms over the years. It’s a white that is mellow, changing colors in a way as the light in the home changes throughout the day.

The Sanibel Island bungalow owners, Carolyn and Tommy Braden
Photography by Carolyn J. Braden, Graphic by Carolyn J. Braden using Canva
Pin me! carolynsbloomingcreations.com
This is us, taking a break and enjoying our first evening in the almost-finished space. Renovations of any size are hard work but worth it.

Hanging the peel and stick wallpaper in the cupola
Photography by Carolyn J. Braden, Graphic by Carolyn J. Braden using Canva
Pin me! carolynsbloomingcreations.com
Next we decided to add some peel and stick wallpaper to the ceiling. It was just plain wood before and I figured the wallpaper would look really nice. I chose a gold and white bird pattern to go with some of my decor and to echo the beautiful birds that fly around our nature filled backyard.

Hanging the peel and stick wallpaper in the cupola
Photography by Carolyn J. Braden, Graphic by Carolyn J. Braden using Canva
Pin me! carolynsbloomingcreations.com
Our verdict on this addition: Yes, the peel and stick wallpaper looks nice but we don’t think it will last. It was difficult to hang and very difficult to smooth out. Despite following all the directions and cleaning the wood prior to hanging it, it doesn’t seem to want to stay completely stuck on the corners. We used squeegees and rollers to try to smooth it out, but it still isn’t perfect.

The finished peel and stick wallpaper
Photography by Carolyn J. Braden, Graphic by Carolyn J. Braden using Canva
Pin me! carolynsbloomingcreations.com
The space was sort of working against us from the beginning, with the wood being somewhat hot (it’s on the other side of a roof that gets hit with the Florida sun all day, every day) and had some nails poking through the wood from the roofing.
The wallpaper lined ceiling in the cupola
Photography by Carolyn J. Braden, Graphic by Carolyn J. Braden using Canva
Pin me! carolynsbloomingcreations.com
It has stayed put for a few days now with only having a couple of corners coming up. We stuck them down with some double sided 3M hanging tape, which worked well. We may pull it down in the future and just paint the ceiling, but it looks good…for now.
We may remove it later on, depending on how it holds up. We chose the peel and stick variety because we’ve applied traditional glue-on wallpaper before and due it it being wet, we didn’t think it was a good solution for the wood ceiling. We may find a different ceiling solution in the future.
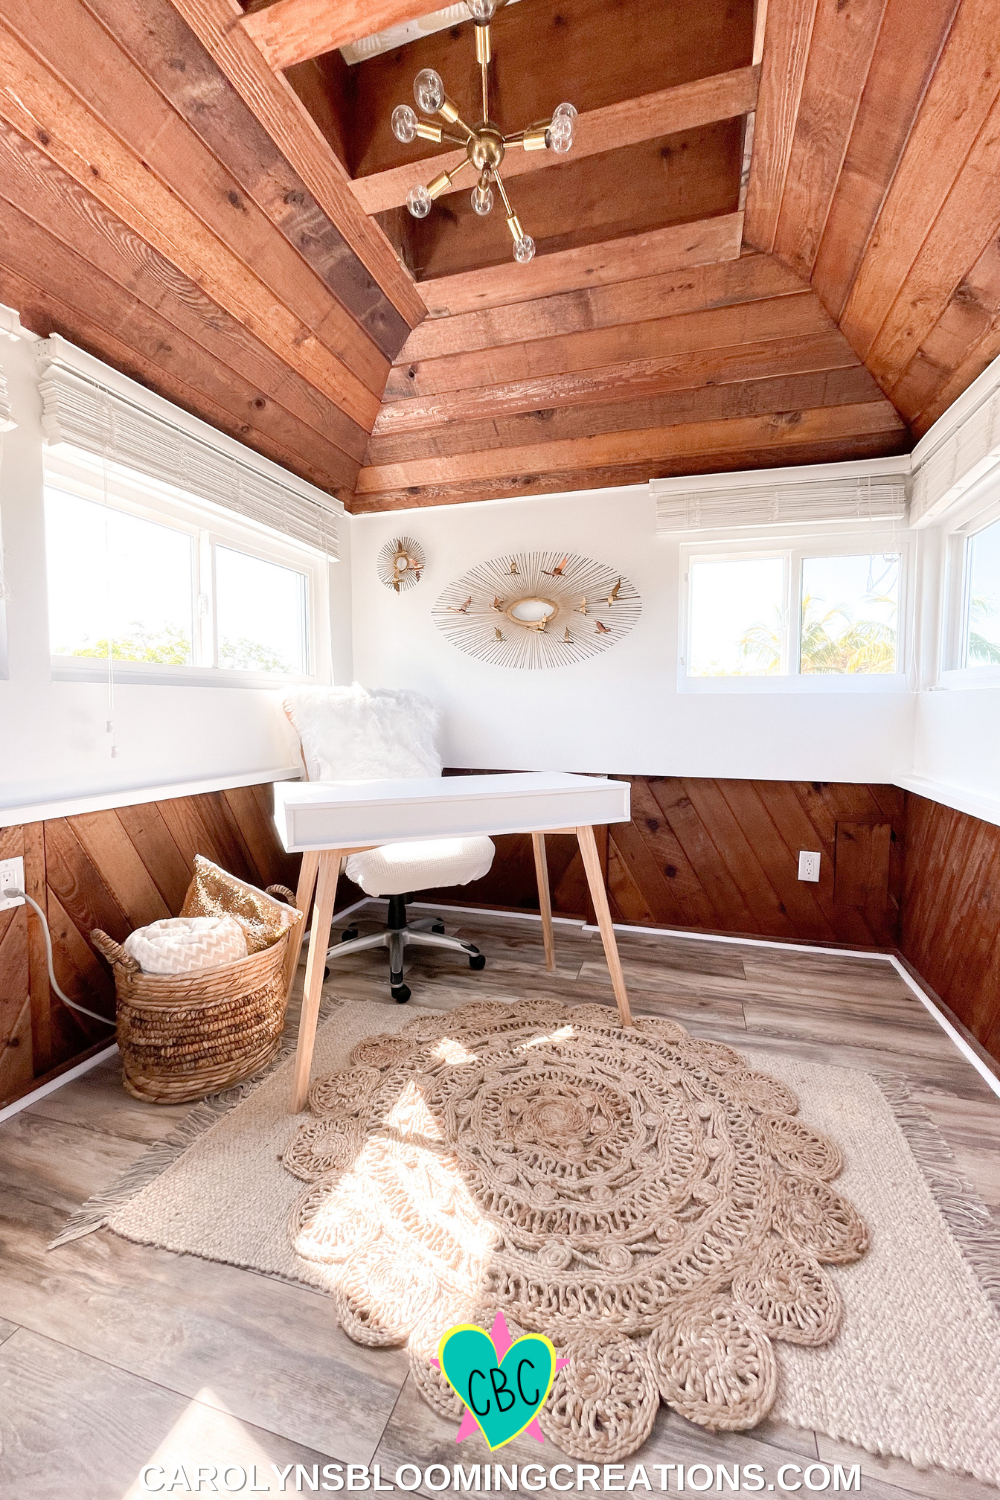
The cupola after the renovation
Photography by Carolyn J. Braden, Graphic by Carolyn J. Braden using Canva
Pin me! carolynsbloomingcreations.com
I had the desk already (a purchase from Amazon). I like to keep my desk clear since I use it for so many creative things (my illustrations, web design, video editing, etc). I layered two rugs I already owned. The 3’x5’ one being from Target and the circular “boho” rug being from Amazon. The basket filled with blankets from Target.

The cupola after the renovation
Photography by Carolyn J. Braden, Graphic by Carolyn J. Braden using Canva
Pin me! carolynsbloomingcreations.com
We hung our vintage brass bird wall art behind my desk. It fit the whole “bird’s eye view” theme of the space in general.

Vintage Brass Bird Wall Art
Photography by Carolyn J. Braden, Graphic by Carolyn J. Braden using Canva
Pin me! carolynsbloomingcreations.com
My office chair was almost brand new and very comfortable, but I didn’t think it’s color fit the room. To resolve this issue, I ordered an office chair cover from Amazon and it fit perfectly. I then hung a faux fur rug (a lightweight one that I have in several rooms of my home) over the back of the chair.

The cupola after the renovation
Photography by Carolyn J. Braden, Graphic by Carolyn J. Braden using Canva
Pin me! carolynsbloomingcreations.com
The windows give a 360 degree view of the entire area around the home. Our backyard is a nature preserve that can never be built on and we love this. Looking out and seeing all of the birds fly over the beautiful trees is peaceful and relaxing.

Our router on a small shelf fit perfectly over the staircase
Photography by Carolyn J. Braden, Graphic by Carolyn J. Braden using Canva
Pin me! carolynsbloomingcreations.com
We needed a wi-fi extension for the room, so we added another router. It had to be in the space right above the stairs to get a good connection so we found a little plug and all-in-one shelf on Amazon. It worked perfectly.

My art supply organization
Photography by Carolyn J. Braden, Graphic by Carolyn J. Braden using Canva
Pin me! carolynsbloomingcreations.com
ART SUPPLY UPDATE 9/14/21: I patiently waited for some baskets to go on sale at Target and my patience paid off! I organized all my art supplies on my shelving unit into a variety of coordinating baskets.

Organized shelving unit

Organized art supplies
I already had the storage shelf unit from my previous home. I added some gold hardware to the corners to dress it up a little more. It stores my illustration and reiki supplies.

Home organization ideas

Looking out the cupola windows into the nature preserve backyard
Since I am a certified Reiki practitioner, I framed my certifications and hung them on the wall behind my art supplies.

Looking out the cupola windows into the nature preserve backyard
I filled a wood bowl that belonged to my grandmother with crystals I’ve collected for many years.

The mini-split in the cupola
The mini split is controlled by a remote. This is helpful because sometimes when I’m working, I get a bit chilly and can easily use the remote to turn it down. On cooler fall and winter days, we’ve turned it off, opened all the windows and enjoyed a wonderful breeze coming into the room.

Our finished cupola renovation
Overall, we are very pleased with how the room turned out. It’s now a totally usable space with a beautiful view. I see myself adding some meditation cushions soon as well as some plants in the future along with the safety rail.
While we were able to keep the cost lower with doing most of the changes ourselves, it still was on the more expensive side of home renovations. If you are thinking about renovating a room in your home and you own your home, you can consider setting up an equity line with your bank or loan lender. While we didn’t have to do that with this renovation, we have in the past, and it was an easy thing to do when in need of renovation or other financing needs.