


Carolyn J. Braden • 3 Minute Read

How to Paint Seashells or Rocks and Resin Seal
Article originally posted: 7/26/22
Article updated: 8/13/24
If you found one of my hidden painted seashells, welcome! If you want to learn about my seashell painting process, learn what you should do with the found shells, and see some great painted shell examples, read on. If you want to learn about me (the artist), click here.

These are some shells we’ve found hidden on Sanibel Island
It took me a year and a half of living on Sanibel Island before I found my first painted seashell. They were there all along, but I guess I wasn’t ready to find one yet. The first one I found had a pink starfish with a cute little face on it. It brightened my day because it was so colorful and it was a hidden treasure! Everyone loves to find hidden treasures.

Some I painted to gift and keep in 2024
Sometimes I leave them for others to find after I’ve found it, sometimes I collect them to keep for my own collection, and sometimes I gift them to other people when I feel they need them. I loved the concept of finding hidden treasures, so I decided to paint some of my own.
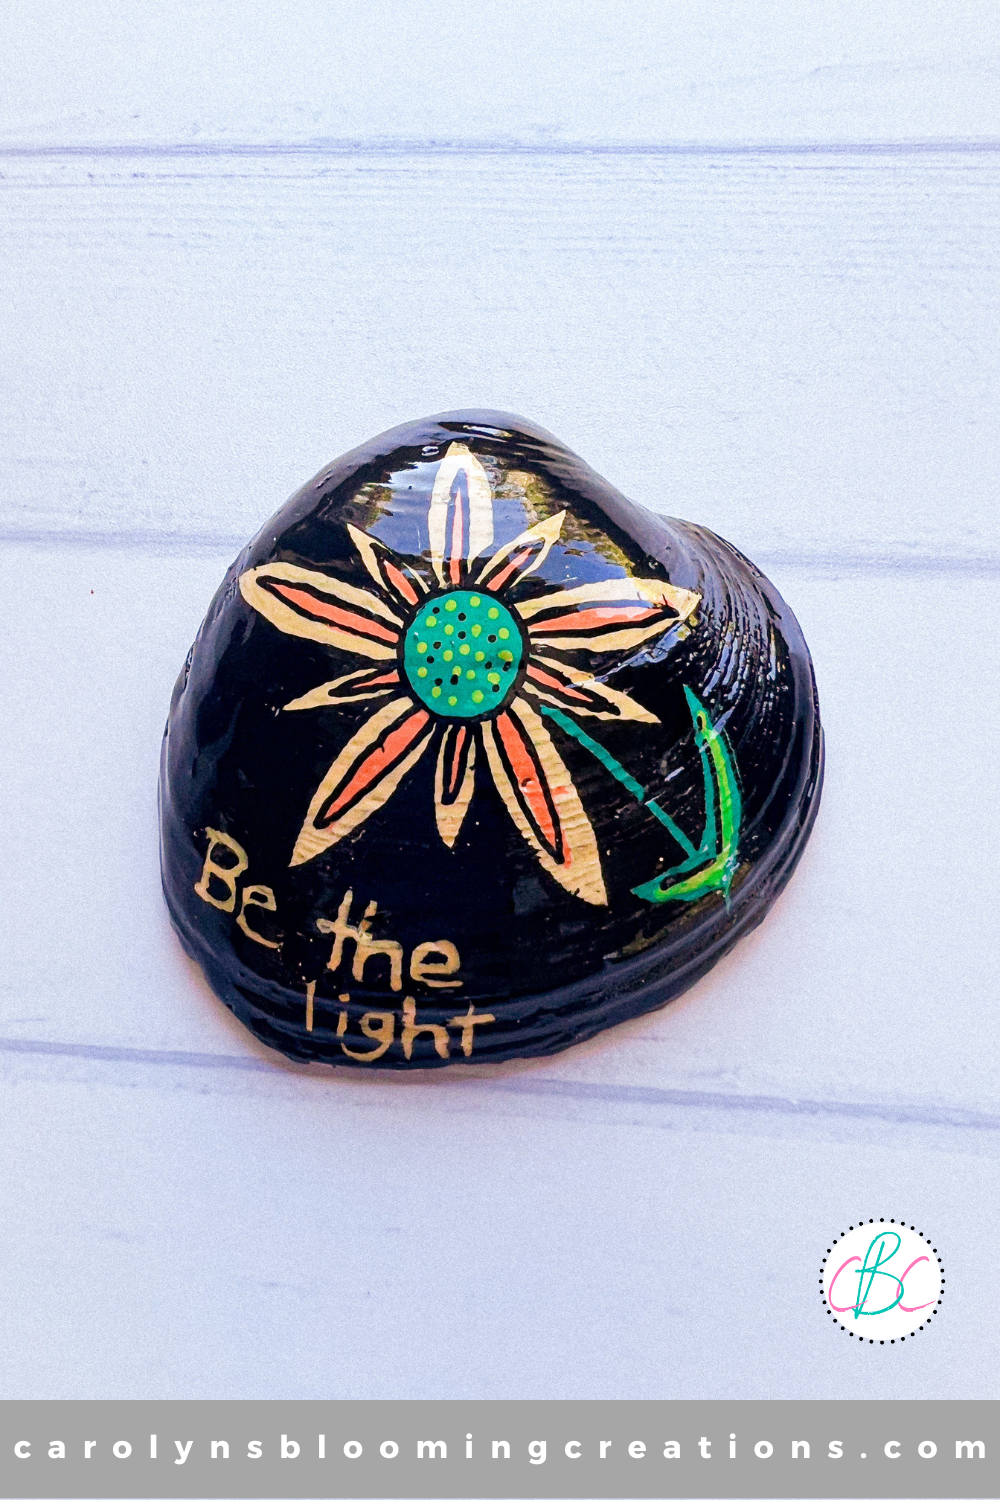
Sunflower design on a Sanibel shell
The concept is the same as painted rocks. They are just little hidden gems meant to brighten someone’s day when found. You can keep, rehide or gift any shells you find.
If you love seashell art, check out my seashell ornament tutorial on my Pinterest page @carolynjbraden or below!

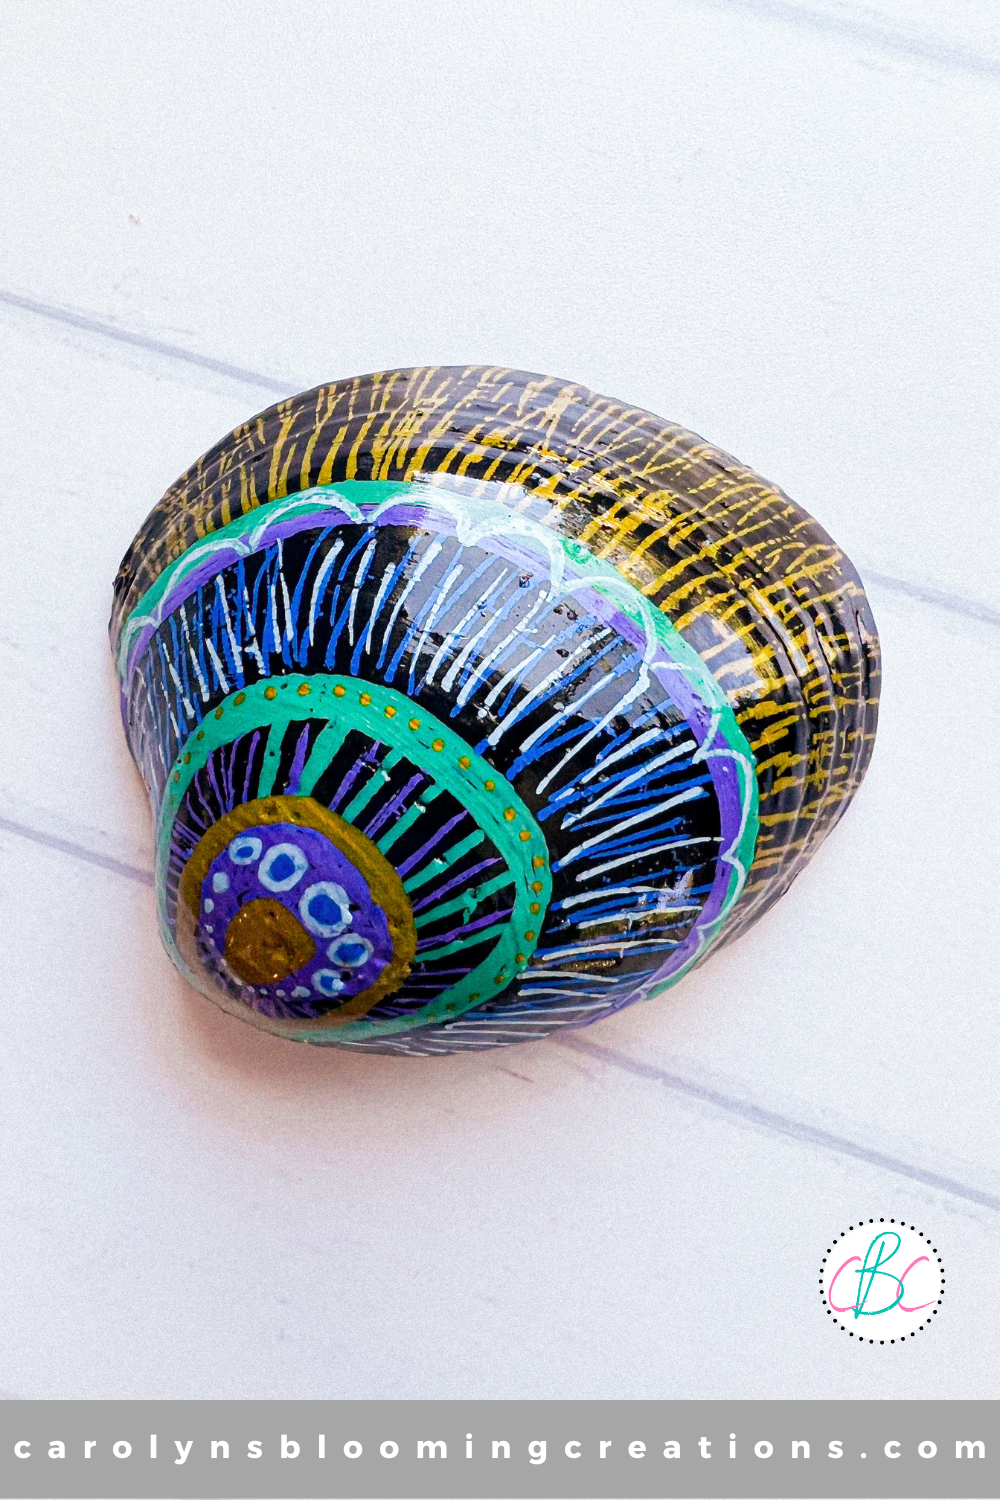
Blue and pink abstract seashell art
After I started to find several shells around the island, I decided to give some of that joy I encountered with each shell I found back to others. If you don’t want to paint any shells or rocks, the Martha Stewart website has 32 cute shell craft ideas here you could try instead.
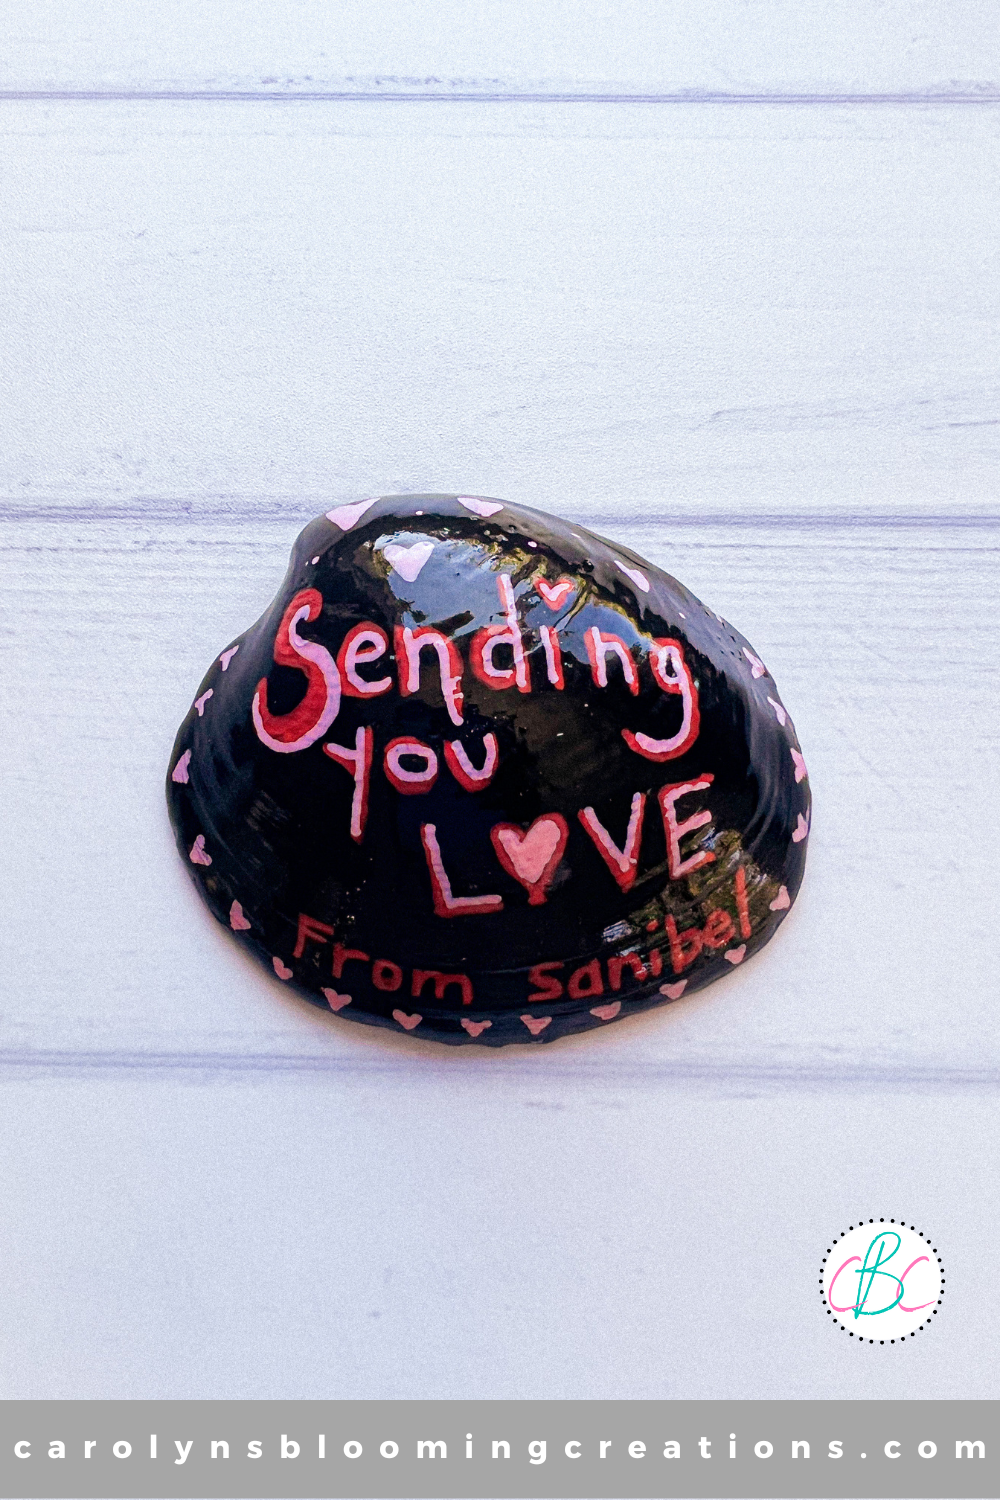
Love From Sanibel Painted Seashell by Carolyn Braden
Being a former art teacher and now a full time creator for this website, my own website, I knew to use acrylic paint, but I was concerned about the shells enduring the heat and rain of SW Florida. Post Hurricane Ian (which happened in September 2022, we found several painted shells that had been washed around the island from the severe flooding, and the ones that had been sealed well held up well. Read about our Hurricane Ian experience here.

Seashell art is like rock art
I started to experiment and came up with a painting and sealing process that worked very well for me, so I wanted to share it with others, as the process would work for shells and rocks. They would look nice in a garden or around landscaping too.

Butterfly seashell art design by Carolyn Braden
See my glitter and resin seashell creation process below or via my YouTube channel @carolynjbraden:
There are so many things you can use to paint rocks or seashells, but here’s a comprehensive list of what I use (these items will work on shells AND rocks).
Most of my links will take you to Amazon, but if you shop Temu (their craft supply prices are great too!) use my link here and search for products using the titles I’ve listed below or use my discount code afe55197 to get 30% off (for new Temu app users).
I’ve also included some Walmart links if you shop there because they have great craft supply prices too!
Supplies:
acrylic paint (the FolkArt brand of acrylic paint is cheap and awesome! Here’s a link to set of 12 at Walmart for $10!)
TOOLI acrylic paint pens (Here’s a similar set at Walmart)
a set of small and large paint brushes (Here’s a similar set at Walmart of many sizes)
dotting tools (for perfect dot designs which also work for nail art designs! Here’s a similar set at Walmart.)
clear resin for sealing the shells (you could use clear acrylic paint sealing spray paint like Aleene’s Spray Gloss Finish but resin makes it really look nice! Here’s a similar UV resin at Walmart)
wax paper
cardboard
Optional: If you don’t have a lot of sunlight, or are creating on a cloudy winter day, you can use a UV light for nails. This one on Amazon is the upgraded version of the one that I have had for many years and it will work to cure resin.

Resin coated shells and rock tutorial
Check out my one minute painted shell video tutorial below or on my YouTube channel @carolynjbraden:

Original You Are Loved Seashell art design by Carolyn Braden
How-To:
As far as my process, I have found that smoother shells that are around 4 inches or larger are the best “canvases” for painting. Thicker shells are better too as I’ve found some thinner shells around the island that were painted, but they were broken or cracked when I found them.

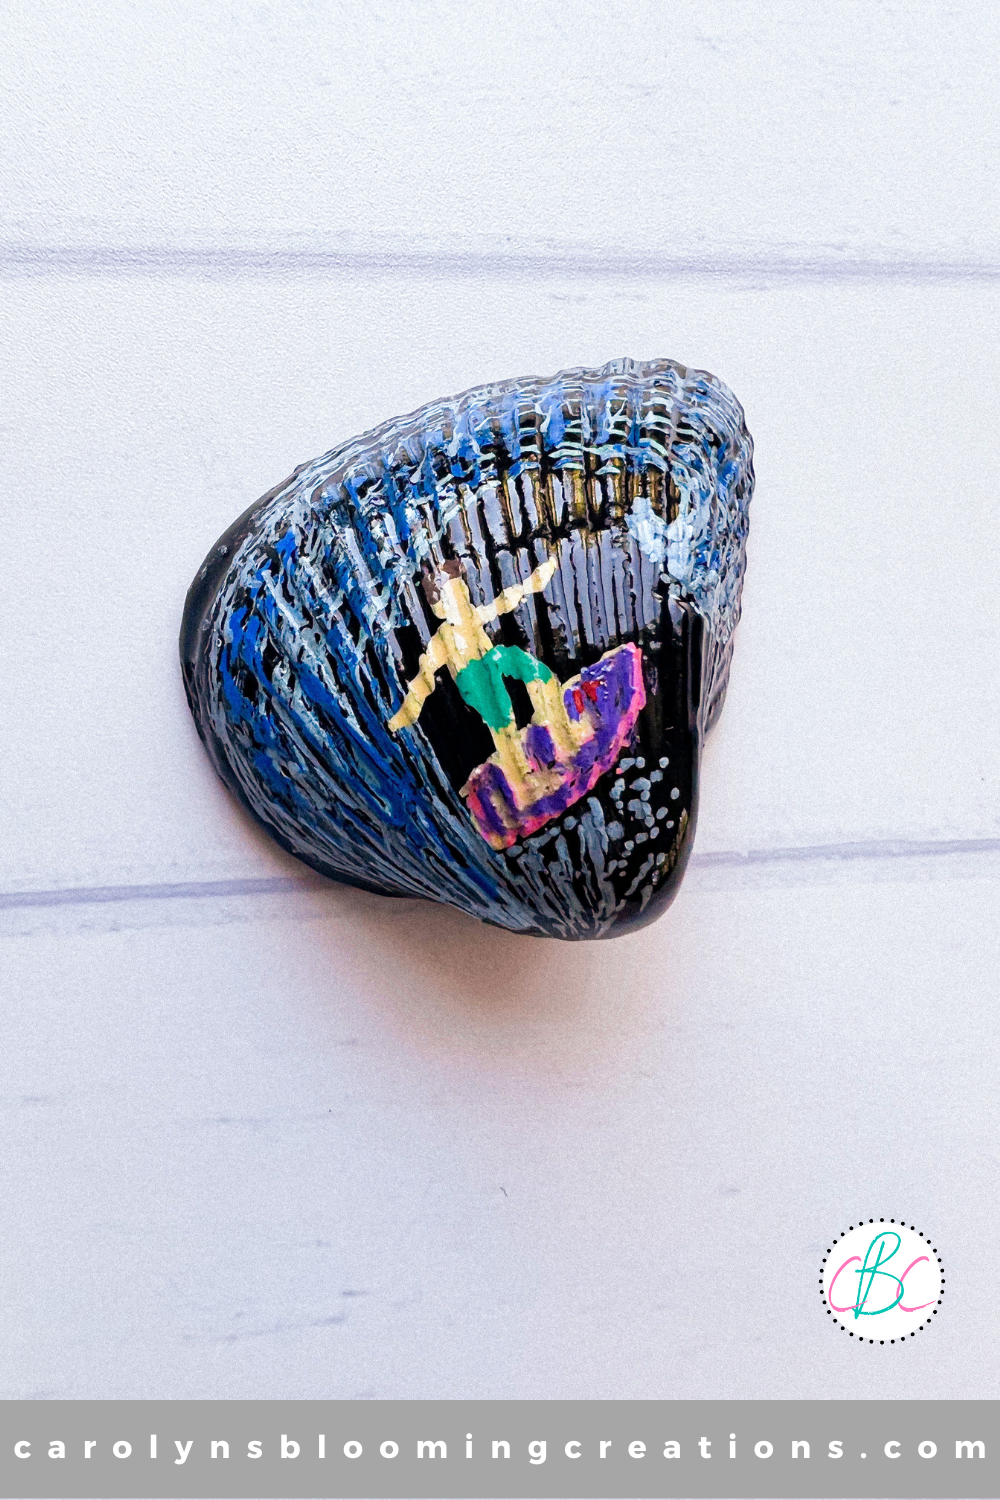
Abstract Painted Seashell Design
After finding the perfect shells to paint, I wash them with some mild soap and water and let them air dry completely. Then I will either leave them natural or I will paint them in one or more acrylic paint colors to be a “background” for my art.
I allow the background to completely dry. I set them on a wax paper lined plastic restaurant style tray while I paint for easy clean up.
In 2009, seashells I found on Sanibel inspired me to make this ribbon wreath. View it below or via my YouTube channel “Carolyn Braden”.
Seashell art can be abstract
I then scour Pinterest for some inspiration, or just let my imagination come up with some ideas. My illustration sketches sometimes help me too. Then I either use acrylic paint or the TOOLI acrylic paint pen to paint my designs.

A painted rock I created in 2024
I start with an initial design, then add details, basically building the complete design up the way I build my cakes (like this gorgeous angel food layered cake I made in 2024); one layer at a time. I let each layer of paint dry before starting the next on most of my designs.

Resin makes the shell look super smooth and shiny
I also sign the back of the shells and direct people to my website, where you can learn more about me, the artist, and learn where you can and cannot hide the shells and rocks how you should not “collage” onto the shells, and more. Also, I DO NOT sell my shells. They are and will always be free to those that find them.
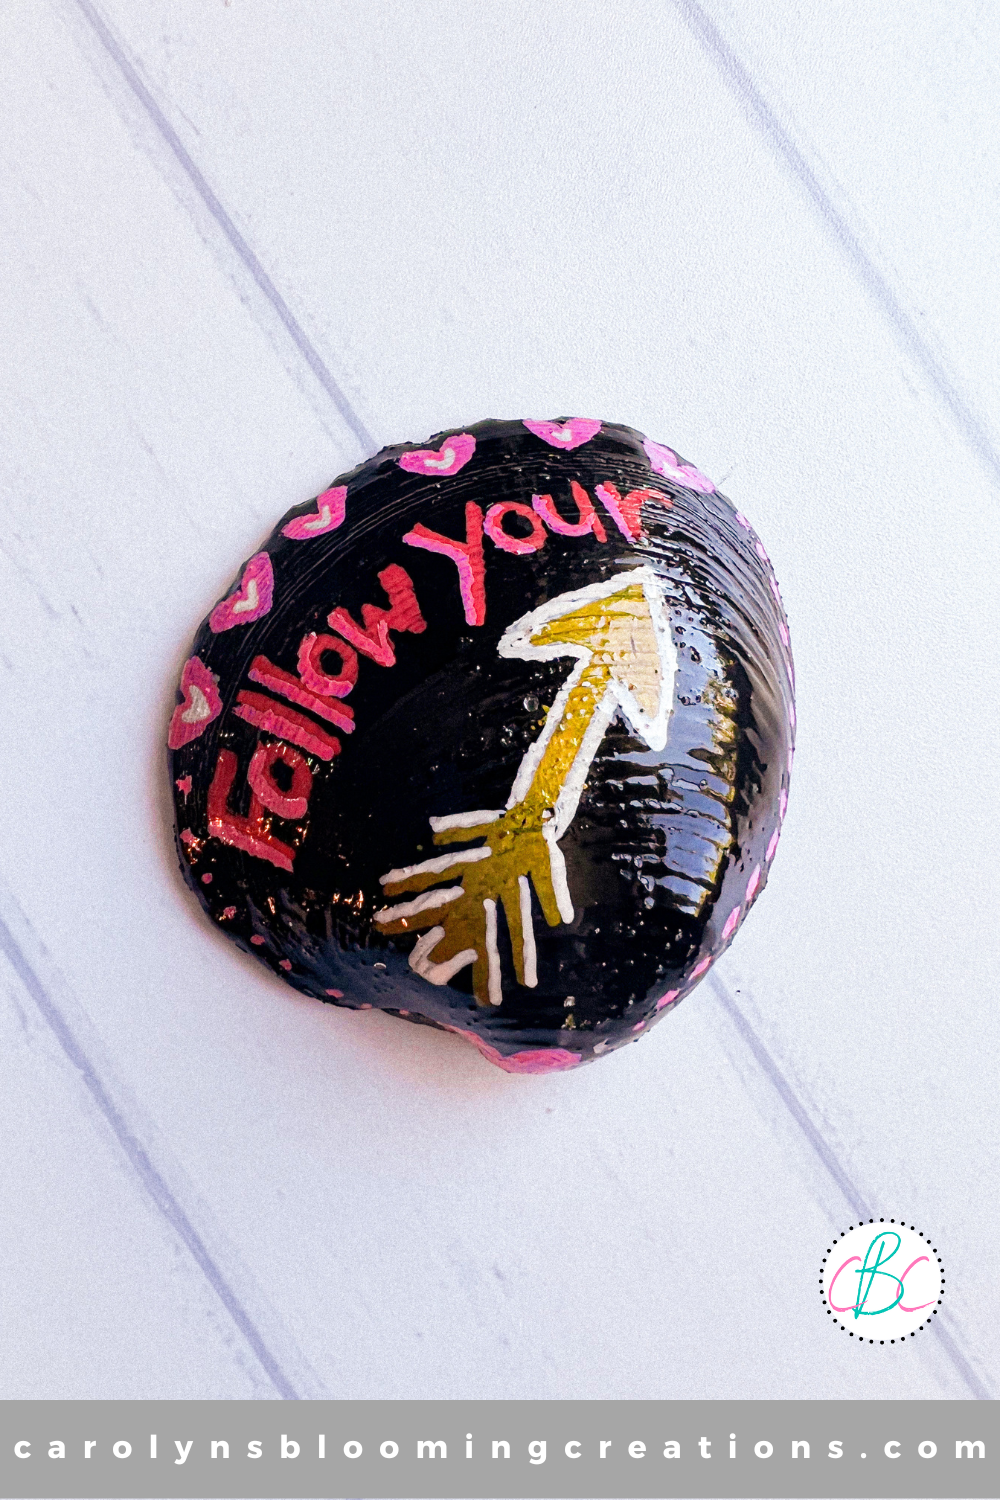
Seashell or rock art can be inspirational
After the design is complete, I allow it to dry, then place it on top of a piece of cardboard lined with wax paper. I pour some clear resin onto a paper plate or a piece of wax paper, and dip a larger paint brush into it and spread a very thin layer over ONE SIDE of the painted seashell.

Sanibel Island Painted Seashells
Once one side is coated in resin, I place them (on their wax paper lined cardboard “tray”) on my porch and let the sun’s UV rays do the work of hardening the resin. On a sunny day, it takes less than 10 minutes to harden. On an overcast day, it’s taken my shells about 10 minutes exactly.

I gifted this one I created to a friend that lost her husband
Once the first resin coated side is cured, I paint the other side with a thin layer of resin and then cure that side. You can use a UV light (like one you use for gel nail polish), but because we have a lot of sunny days in Sanibel, I just use the natural sunlight. On a cloudy or rainy day, the UV light is great. When I experimented with my UV nail light, it took 10 minutes to fully cure.
The 1-minute video tutorial above shows my indoor UV light curing process.

You Are Love painted seashell by Carolyn Braden
If you find your resin is still sticky after curing, you may want to place it back in the UV light source for a few more minutes. After fully curing, your painted rocks or painted shells will be warm and the resin MAY feel a little soft.
They will harden as you let them sit or you could rinse them in cold water to speed up the hardening. If you have any rough edges on your shells, lightly sand them with a fine grit sandpaper.

Try painting rocks or seashells in many designs
My entire process of finding, cleaning, painting and resin coating my seashells can take me a few days. I try not to be in a hurry and skip any steps. Taking your time ensures your shells and the artwork will last for years.
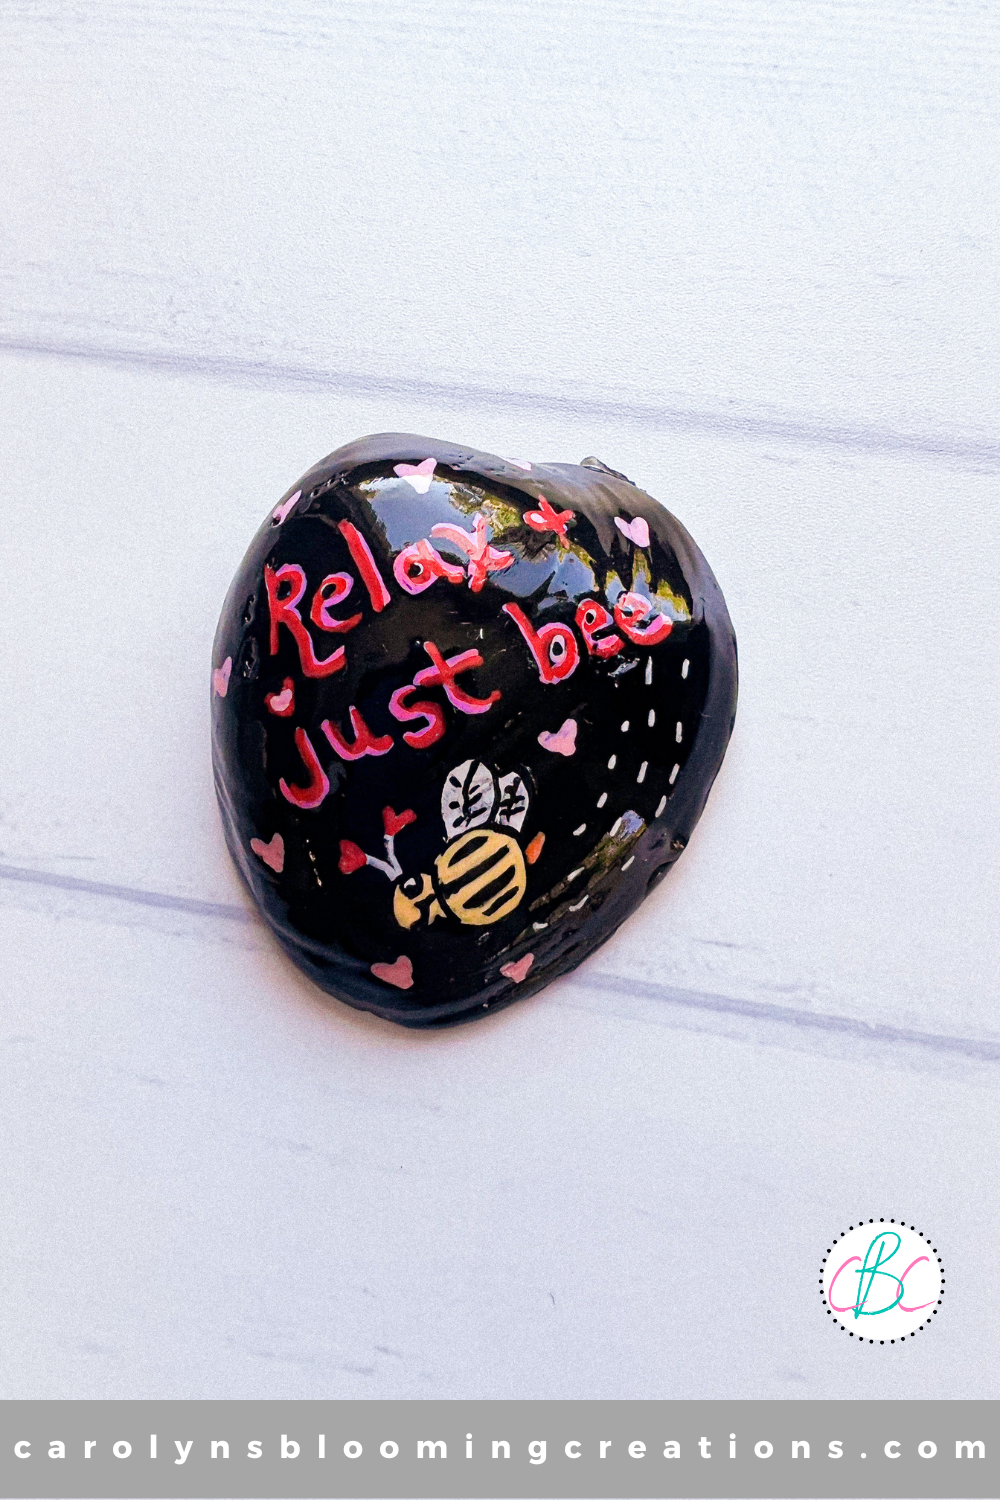
Relax and Just Bee Motivational Quote
That’s my process! Now that I have completed my first batch of shells to hide, I cannot wait to start hiding them! In my first “batch”, I did some one of a kind designs, and then came up with a series called “You Are Loved/Love”. I’ve experimented over the years and have come up with many designs.
Rock art or seashell art design inspiration
I know there are many other ways people paint seashells and paint rocks. If my method is not right for you, I encourage you to try what works for you. I do know that some people that have used other materials (like clear spray paint) and their artwork has smeared. If this happens to you, spray them from a little further away.
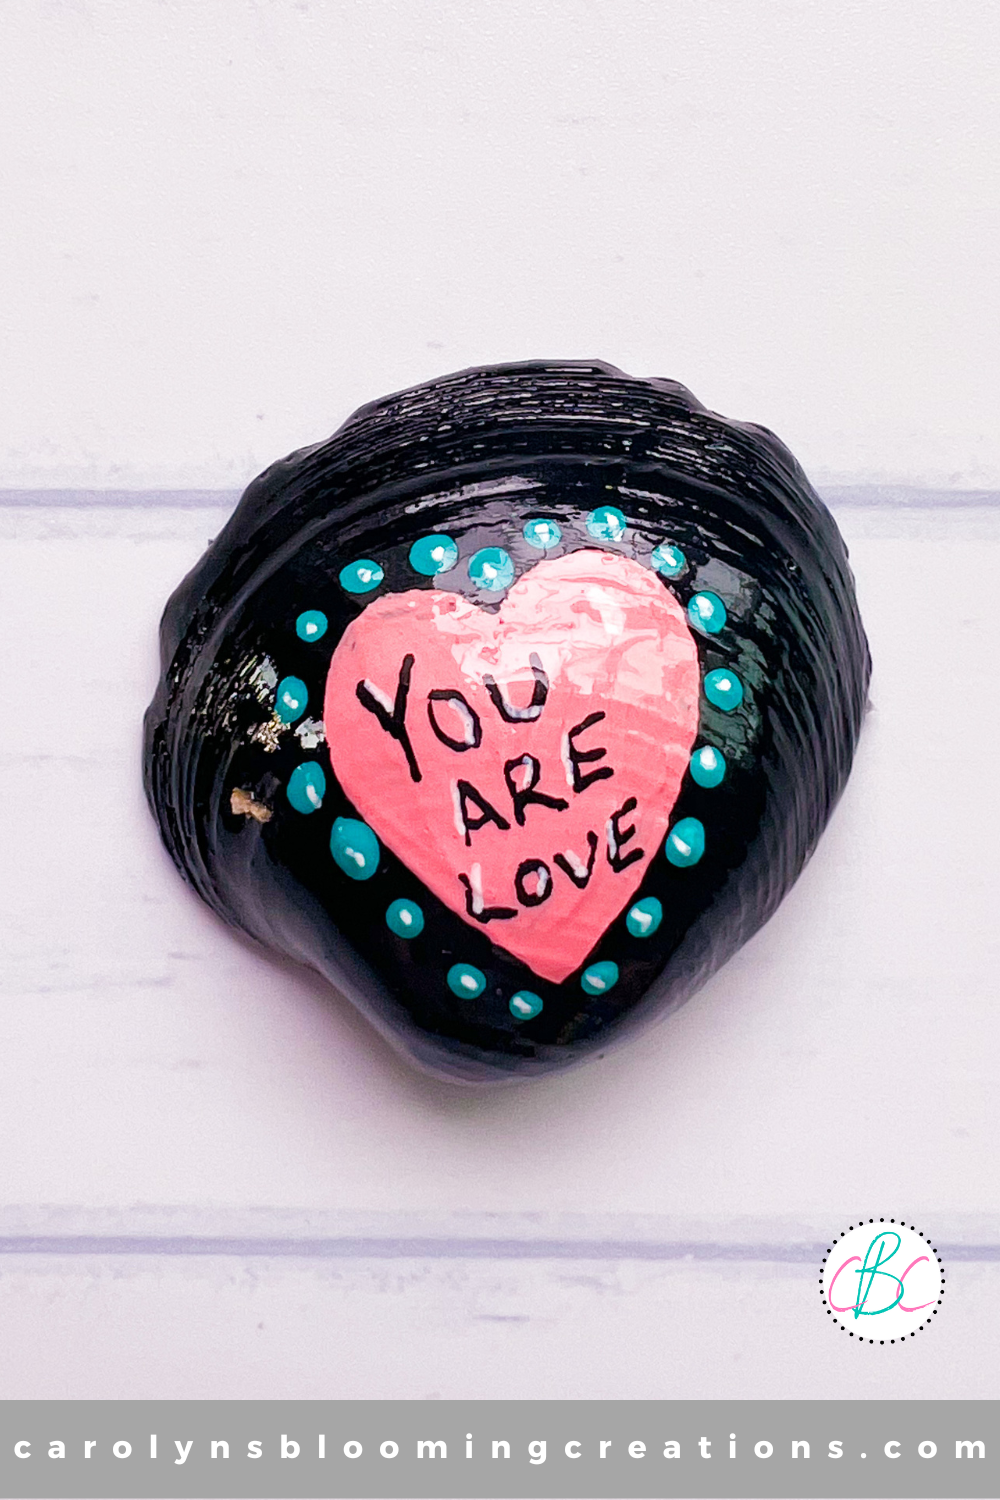
You Are Love Motivational Painted Seashell
If you love this article, we know you’ll love this one too: Evil Eye Claw Clip + Simple Travel Craft Ideas
Did you find one of my shells, use this tutorial, or have your own ideas to share? Leave a comment below and tell us!
C.J. (Carolyn) Braden is a regular contributor and editor for Carolyn’s Blooming Creations. She has been featured in numerous media publications such as InStyle Magazine, on HGTV, on Bustle.com, and more. She is the author of the books Georgia McMasters in Amethyst Lake Cemetery, How To Be Yourself: 3 Little Ways to Get Back To You Being You, and the illustrator for the children’s book Bridging Connections. She is a former classroom teacher that now dedicates her life to educating others on how to live their most healthy, creative and happy life. Learn more about her visiting our About Us page.