


Carolyn J. Braden • 4 Minute Read

How to Make a Garden Party Themed Fascinator
Original post: 2/12/25
Updated with video tutorials: 4/22/25
Perhaps I’ve been watching too many episodes of Emily in Paris or Bridgerton, but I just cannot get enough of flower adorned everything! I have always loved blooming flowers (maybe that’s why I call my website “Carolyn’s Blooming Creations”) and incorporate them into many of my creations. From cakes to crafts, flowers make things gorgeous and my latest garden party fascinator is definitely one to try to make, even if you have no reason to wear it.

Posing with my fancy dog, Minnie Pearl…she has a garden party hat I made too!
Why Do I Make Fascinators?
Being from Louisville, Kentucky, my love of hats, tiaras, fascinators and more seems to be born into me. My home city hosts The Kentucky Derby horse race events every year in April-May and the hats and fascinators are a big part of it.
I’ve created many over the years and anytime inspiration hits for a new design, I make one. I don’t always have a reason to as I don’t attend too many festive events calling for a fascinator or hat, but maybe making up a reason to wear one again is in my future.

The back of my Garden Party facinator
All Dressed Up and No Where to Go
If you don’t have a reason to make or wear a fun hat, tiara, or fascinator, wear one around the house. Sometimes I do and wrote about where this started in my Queen of Love Galentine Tiara tutorial. See that here. I see myself hosting a garden party at some point in the future or perhaps maybe a tea party.

I love how it turned out!
Creating fun things for yourself and your friends and family to do don’t have to be tied to any event. You can just host events because you feel like it. Give everyone a reason to get dressed up and have fun just for the heck of it sometimes. Perhaps you can host a fascinator making party and have everyone make one and then wear it out to dinner or an event together. Many women in Louisville Kentucky get together to make their Derby hats and fascinators and have fun while doing it!
See my 1-minute glittery cowgirl fascinator tutorial in my video below or via my YouTube channel @carolynjbraden:
My Love of Flowers
I always make sure I have fresh flowers for my kitchen, even if it’s a $5 bouquet from the grocery store. If you love fresh flowers, don’t wait on someone to buy them for you. Just buy them for yourself! They make me smile every time I look at them.

You could wear this to a Galentine’s event!
Trader Joe’s has really great fresh flowers that are affordable (making a DIY wedding even more affordable!), so if you have one in your area, check them out. I buy their unicorn flowers every time they come in stock…the pastel rainbow colors make me smile so much!

As seen in this photo: my henna tutorial is on my website too!
My Garden Party Fascinator Inspiration
After watching all the flower adorned parties and events seen in the shows Bridgerton and Emily in Paris, I had an idea to make a flower filled fascinator and after many months of thinking, I finally put it together.

My casual but fancy attire
My sister-in-law gave me a pink corset set that was an accidental purchase from Amazon (and they were told to keep it by Amazon) and it’s bright pink color made me know I needed to add pink to the blues, golds and purples I had already planned on using.
I added some pink to match the corset, and the corset became part of the outfit I’d wear with the fascinator. Funny how inspiration can come from the littlest moments. It also reminded me of an “old western” look, so this whole look could have multiple uses.
I had ordered a wire pearl headband from Temu many months ago and decided to use it as the base. I usually use plain headbands, but the pearls on this one seemed to be a tiny perfect addition.

The corset was surprisingly comfortable!
The Garden Party Fascinator + Discount
Now for the tutorial. Here are the things you’ll need. If you want to shop Temu, use code afe55197 for 30% off (for new app users) or use my link here. I shop Temu for many craft items as the prices are often the lowest that I can find, which helps me make more crafts. My links below either link out to Amazon, Walmart, or Temu.
See which of my recent fascinator creations I can dance in best in my 15 second video below or via my YouTube channel @carolynjbraden:
Headband (You can use a basic ½ inch or thicker plastic headband like this set on Amazon if you can’t find the one like mine from Temu)
Gold Vinyl or Faux Leather (I used a piece out of this set from Amazon)
Various faux flowers (I got mine from Hobby Lobby but Amazon has boxes with pretty mixes of flowers in colors that work well together)
Scissors
Feathers (I used these gold feathers and these giant wispy feathers from Amazon and some peacock feathers and some smaller gold feathers from Hobby Lobby)
Optional: a cereal bowl or a circle tracer

My garden party fascinator supplies
See me create this in a 1-minute video below or via my YouTube channel @carolynjbraden:
How To:
Lay your vinyl and felt pieces on top of each other. Lay a bowl (I used a cereal bowl) on top of the pieces and trace around it using a fabric marking pencil. Use scissors to cut it out. I kept them layered while cutting to make them both the same.

Tracing out the circle for the fascinator base
Glue the circles together using a low temperature on a hot glue gun (if you have pearls or décor on your headband….if you don’t, follow the next steps).

Gluing the circles together
If you have pearls on your headband like I did, I had to cut a slit in one side of the circle and glue it to the headband, making it basically fit around the pearls. If you do not have pearls or anything on your headband, you can layer the headband between the felt and the vinyl and glue it on the headband that way. I’ve done this for other fascinators and it’s much easier.
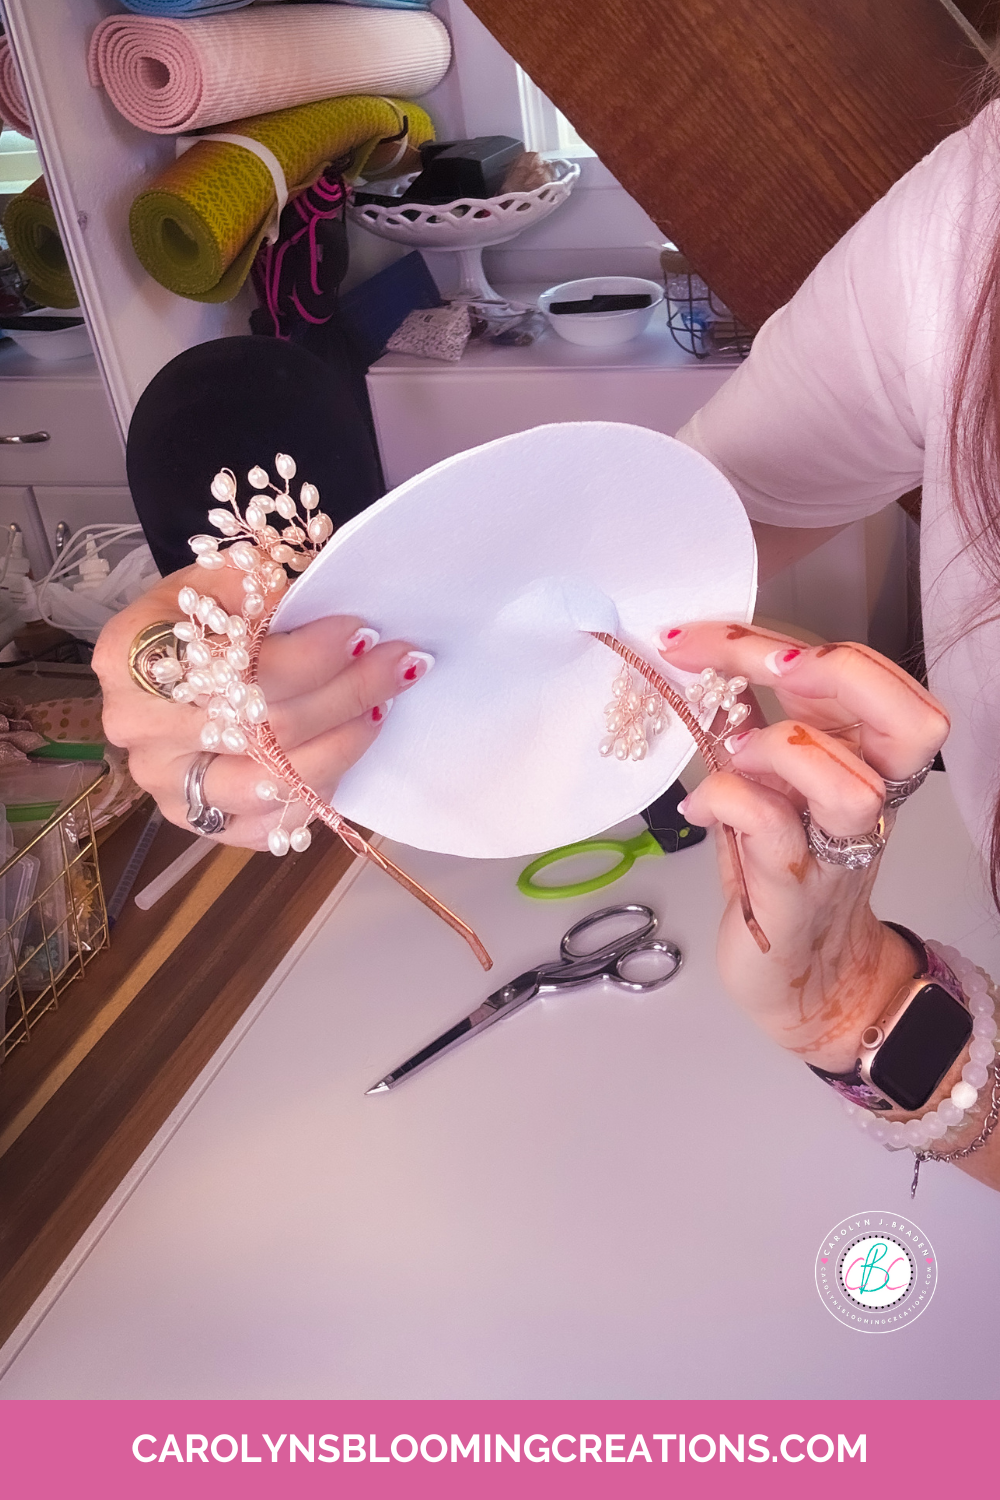
Gluing the base to the headband
Next, I trimmed the gold feathers and hot glued them to the base I created. You do not have to do this, but I wasn’t sure how much of the base I wanted to see, so I covered the front with feathers and left the back open for most of the flowers. I basically just wanted to make sure the base was pretty in case I didn’t want to use too many flowers.

Gluing the gold feathers to the base
Then I used wire trimmers to trim some flowers off their stems and started gluing them to the base.

I glued on the large flowers first
I started with the large blue flower and the pink flowers, layering as needed.

Adding a pink rose
I had some long flower stems in pinks and purples and glued them down the gold feathers on the front of the fascinator base. I trimmed off individual purple hydrangeas and glued them on the front and some on the back.

Adding long purple and pink flower stems
Lastly, I added feathers. I added the large ostrich feathers, smaller beige feathers and the peacock feathers, which tied in nicely with the blue flower.

Adding the feathers last
All in all, it turned out exactly as I had pictured and came together in a couple of hours. If you have a vision before starting, it helps!

I do think an Emily in Paris character would wear a similar fascinator
I paired my garden party fascinator with the pink corset and layered three tulle skirts to create a look to go with it. You could wear this with many dresses, making sure to pick colors that coordinate with some of the fascinator colors.

The back of a fascinator needs to be as pretty as the front
I’d wear this to my future garden or tea party, whenever I can host one. I found images from a lunch party I put together years ago and this would have been a perfect thing to wear!

The completed Garden Party Fascinator
If you loved this article, then we know you’ll love this one too: How to Hot Fix Rhinestones on a Winter Beanie
Carolyn J. Braden is the owner of Carolyn’s Blooming Creations is a regular contributor and editor for CBC. She has been featured in numerous media publications such as InStyle Magazine, on HGTV, on Bustle.com, and more. She is the author of the books Georgia McMasters in Amethyst Lake Cemetery, How To Be Yourself: 3 Ways To Help You Being You, and the illustrator for the children’s book Bridging Connections. She is a former classroom teacher that now dedicates her life to educating others on how to live their most healthy, creative and happy life. Learn more about her visiting our About Us page.