


Carolyn J. Braden • 3 Minute Read
Turn $4 Plastic Eggs into Stunning Chalk Painted Masterpieces (Easy DIY!)
If you love a good budget DIY that looks high-end, this one is about to become your new obsession. I took a pack of $4-dollar store style matte plastic eggs and turned them into gorgeous, vintage-inspired farmhouse style ornaments using chalk paint, a little texture, and some creative finishing touches. The best part? These look like boutique decor pieces—but cost next to nothing.
I love how they turned out!
Shop the Post
Support me as a creator and shop my links with no extra cost to you! See my creation come together via my Amazon Shop plus get buying links at affordable prices!
We also love shopping CVS (the ExtraCare card savings stack helping you to save!) and here are some of our CVS finds to stock up on (especially when you get that 40% off coupon!) and love Walmart (Walmart+ gets you free shipping and delivery on many items)!
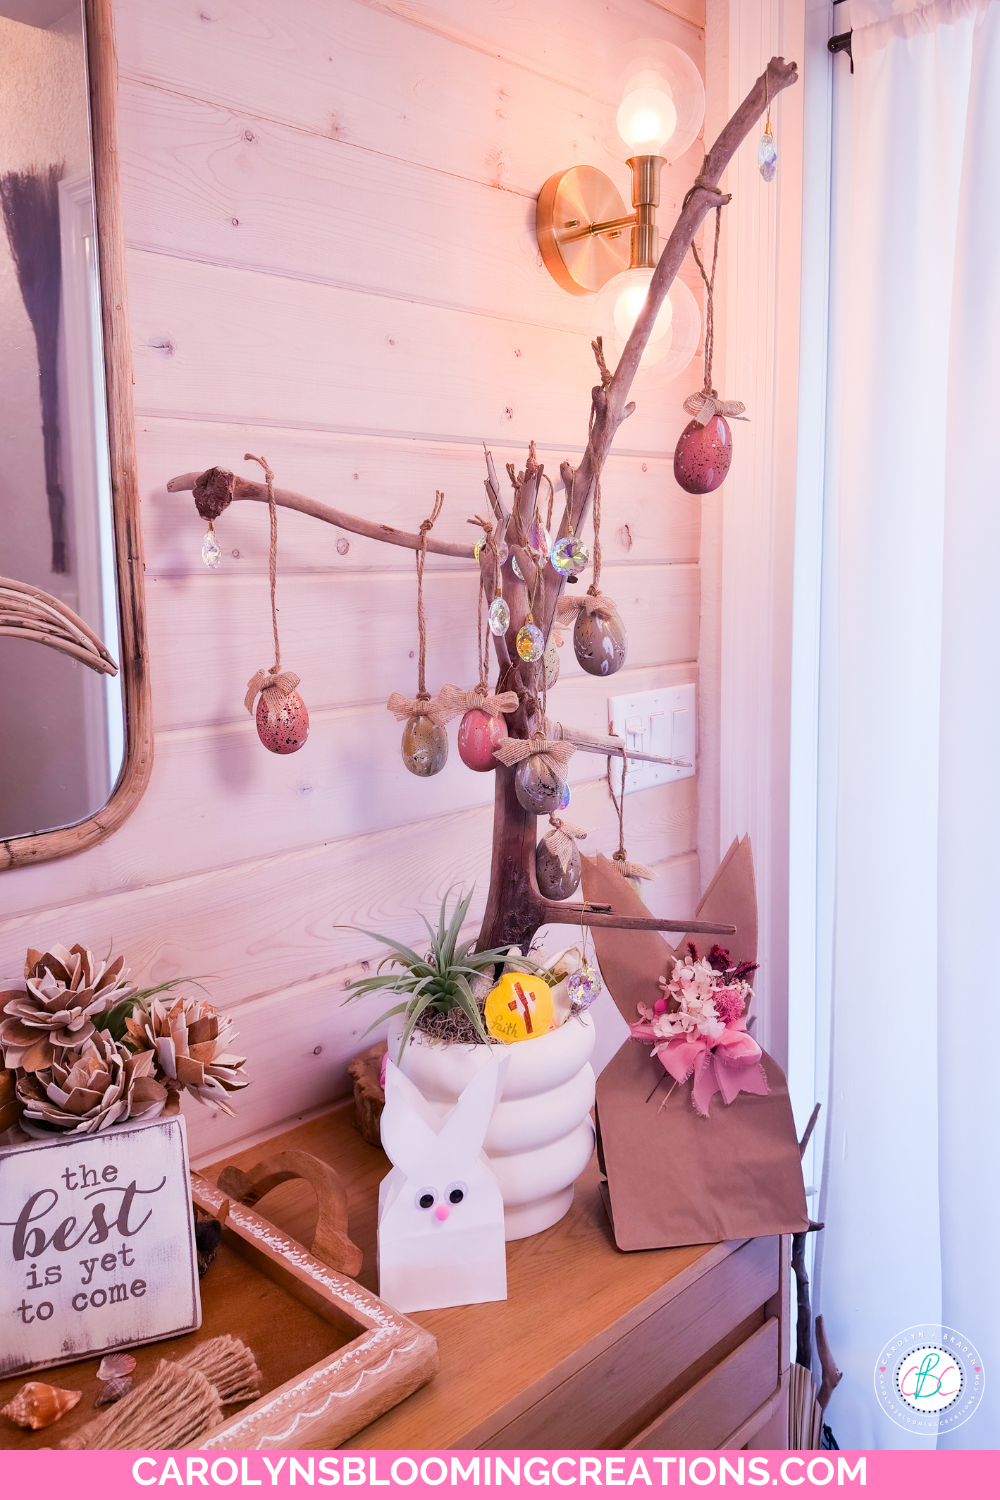
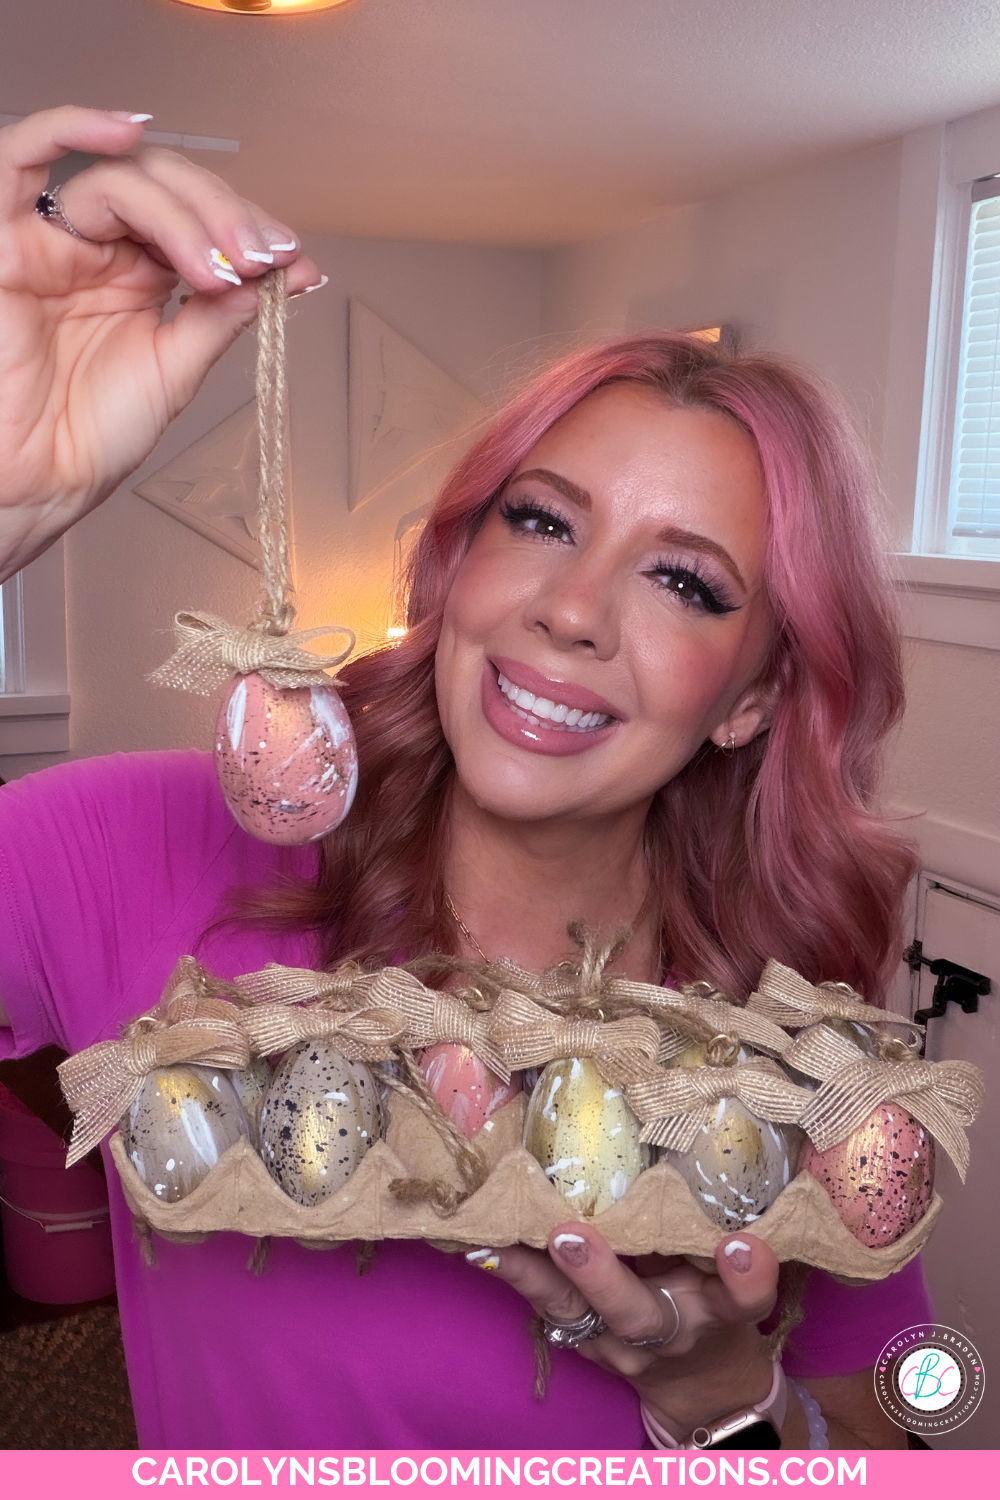
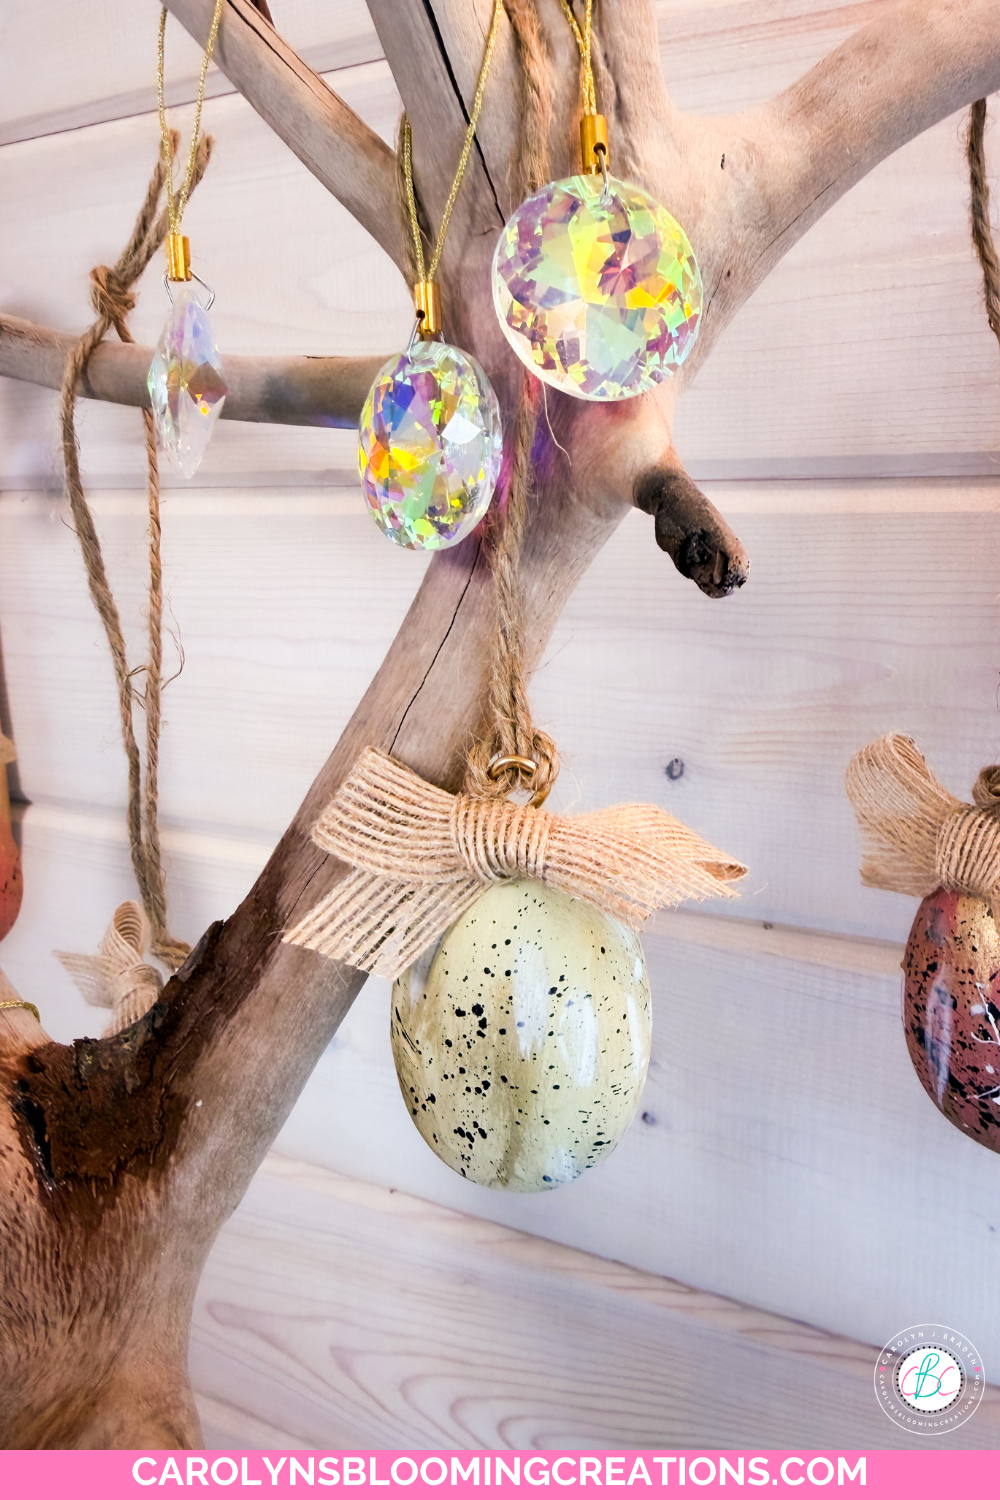
They look perfect on my driftwood tree!
Bookmark or pin this one by clicking the Pinterest SAVE button on the images in this article for crafty magic in an instant.
More Product Loves
You can also get the products I’ve featured and more of my product loves via my Target shop here or my CVS Store here (use your ExtraCare card to double up on savings!) or via my shop my store here or below:
The Creative Inspiration
After making so many egg ornaments over the years and some fun pink deviled eggs, I spotted some plastic eggs at CVS and knew I could create something fun with them. Eggs are very symbolic for new beginnings/rebirth and much more, so with Easter vibes in the air as well as many positive life changes, I took my love of making ornaments and chalk paint and new beginnings and made these little eggy painted masterpieces.
They look so chic!
🌿 Styling Tip: Display Them Like a Pro
I hung mine on my all-season driftwood tree that I made, and the result is chef’s kiss. It’s the perfect neutral, coastal-meets-rustic decor piece that works beyond Easter.
See my drifwood tree creation that I dress up according to season in my 1-minute YouTube video below or via my channel @carolynjbraden:
You could also:
Omit the eye hooks and add them to a centerpiece bowl
Place them in cute Easter baskets for easy spring home decor
Hang them on branches in a vase
Use them as gift toppers
I love all the colors!
Here’s exactly how I did it 👇
What You Need to Create Chalk Painted Easter Egg Ornaments from Plastic Eggs
Links go out to either the brand website, Amazon, CVS, Walmart, Sam’s Club, Target, or Lowe’s where we source our supplies based on discounts, budget and pricing.
🛍️ What I Used
Joyward plastic eggs from CVS ($3.50 find using my ExtraCare card 🙌) or Amazon has some too. These are a bit matte and do not separate, making painting them a breeze.
Annie Sloan Chalk Paint (your favorite colors and use what brand you like, I used Scandinavian Pink, Coco, and Versailles by Annie Sloan)
Light grit sanding block (use about a 220 grit and I got mine at Lowe’s)
Black and white acrylic paints (I love this set from Amazon)
Small craft paintbrushes (for splatter effect) and an old soft rag or sock (for the wax)
Plastic garbage bags or lightweight dropcloth (splatter painting is so messy!)
Jute string or twine
Hot glue gun set (use a low temp)
Floral foam or Styrofoam
Scissors
Driftwood tree (mine is an all-season DIY I made!)
Check out my 1-minute video tutorial for this project on my TikTok now or via my YouTube channel @carolynjbraden!

The Scandinavian Pink color is one of my favs
🎨 Step-by-Step: How to Make Chalk Painted Eggs
1. Start with Your Base
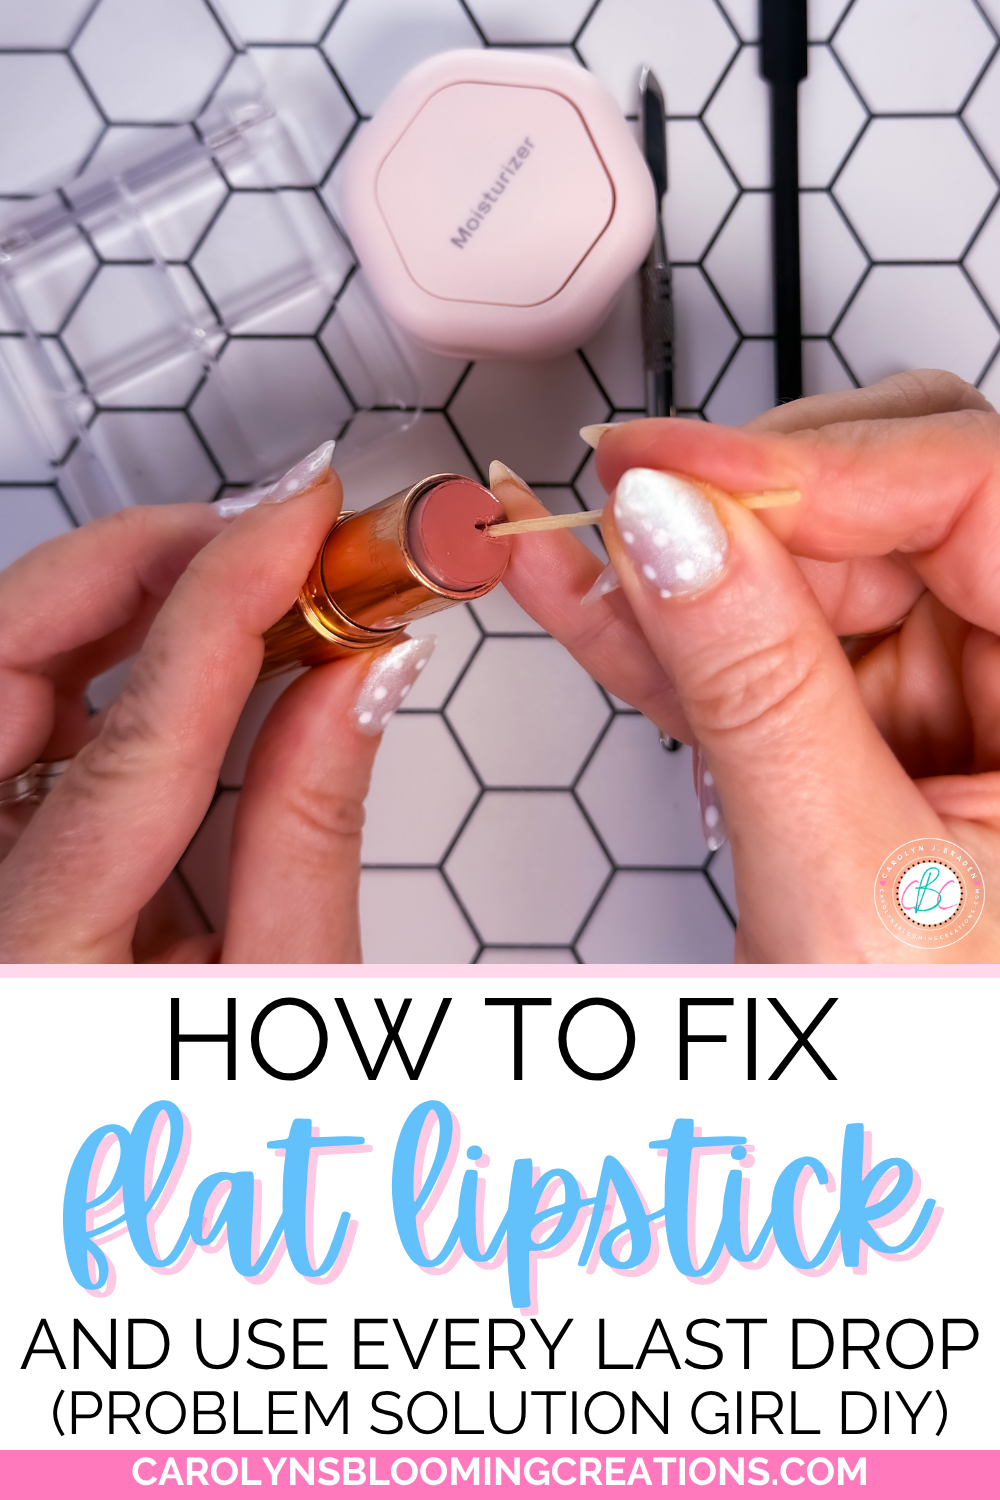
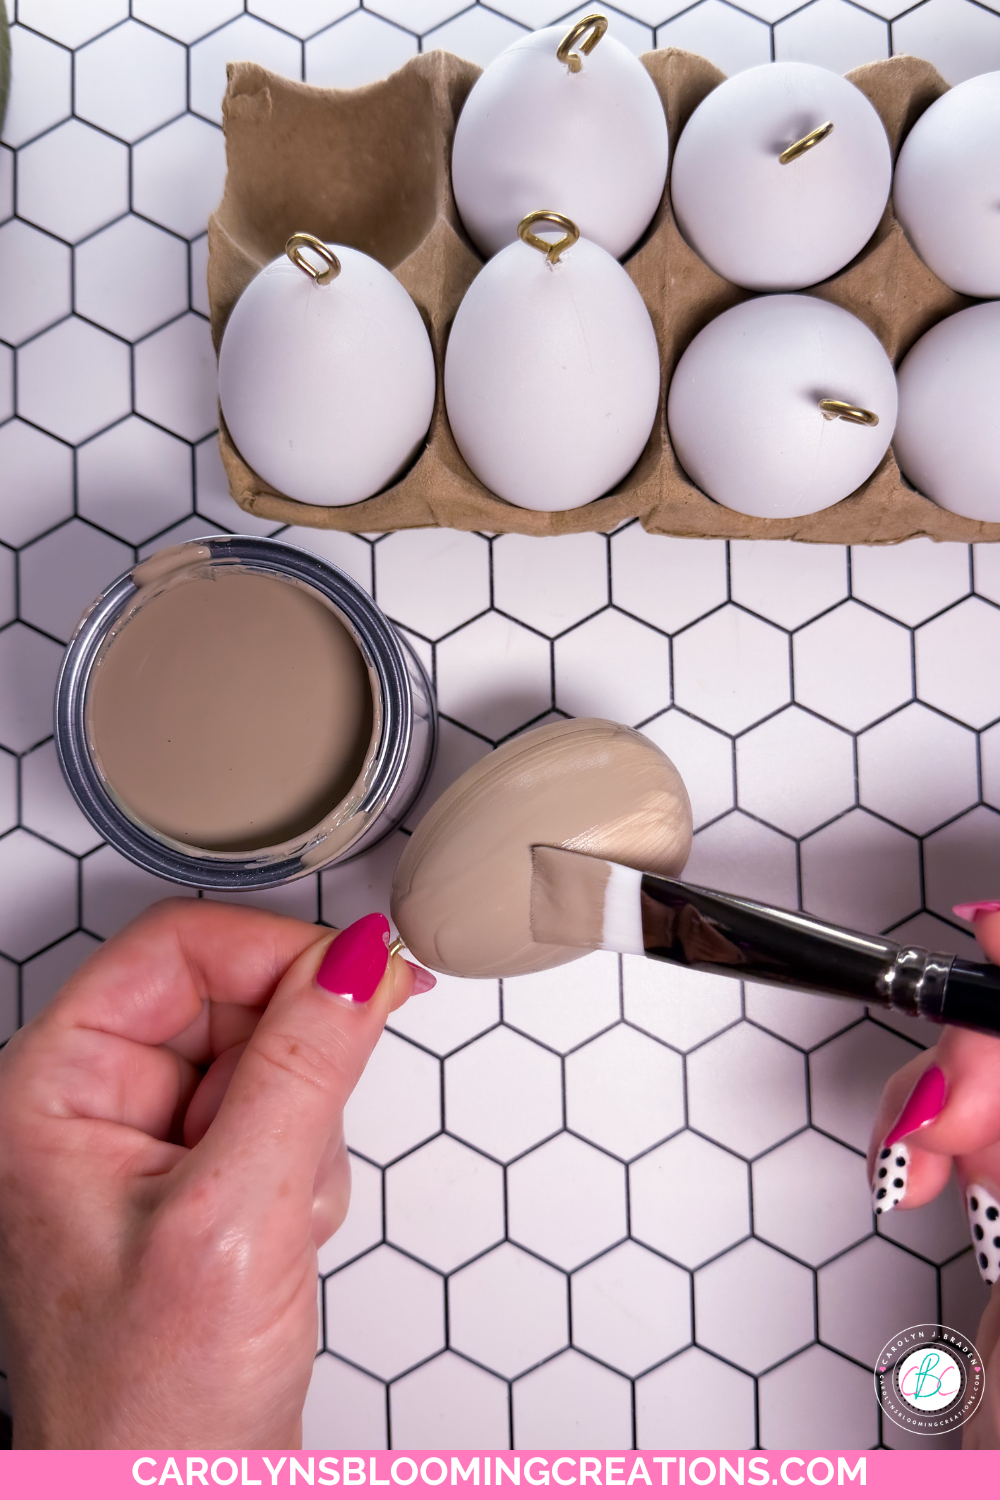
Open up your plastic eggs and give them a quick wipe to remove any dust or residue. No priming needed—chalk paint sticks beautifully to plastic. My eggs are whole, meaning they don’t separate like other plastic eggs.
Screw eye hooks into the top of each by pressing and twisting them. It’s a bit difficult at first, but it’ll go in. Use jewelry pliers if it’s too difficult for your hands.
I painted three coats
2. Chalk Paint Magic
Apply your first coat of Annie Sloan Chalk Paint with a smooth brush. Don’t worry about perfection—slight texture adds to that vintage, handmade look. Let dry, then add a second coat and third coat if needed. I needed three coats.
I stored mine on their eye hooks in floral foam, touching up the bottom if I got a fingerprint on it while putting it in the foam.

The foam helps the ornaments not roll around
Pro tip: Soft neutrals, muted pastels, and earthy tones are trending right now for that farmhouse/cottagecore vibe.
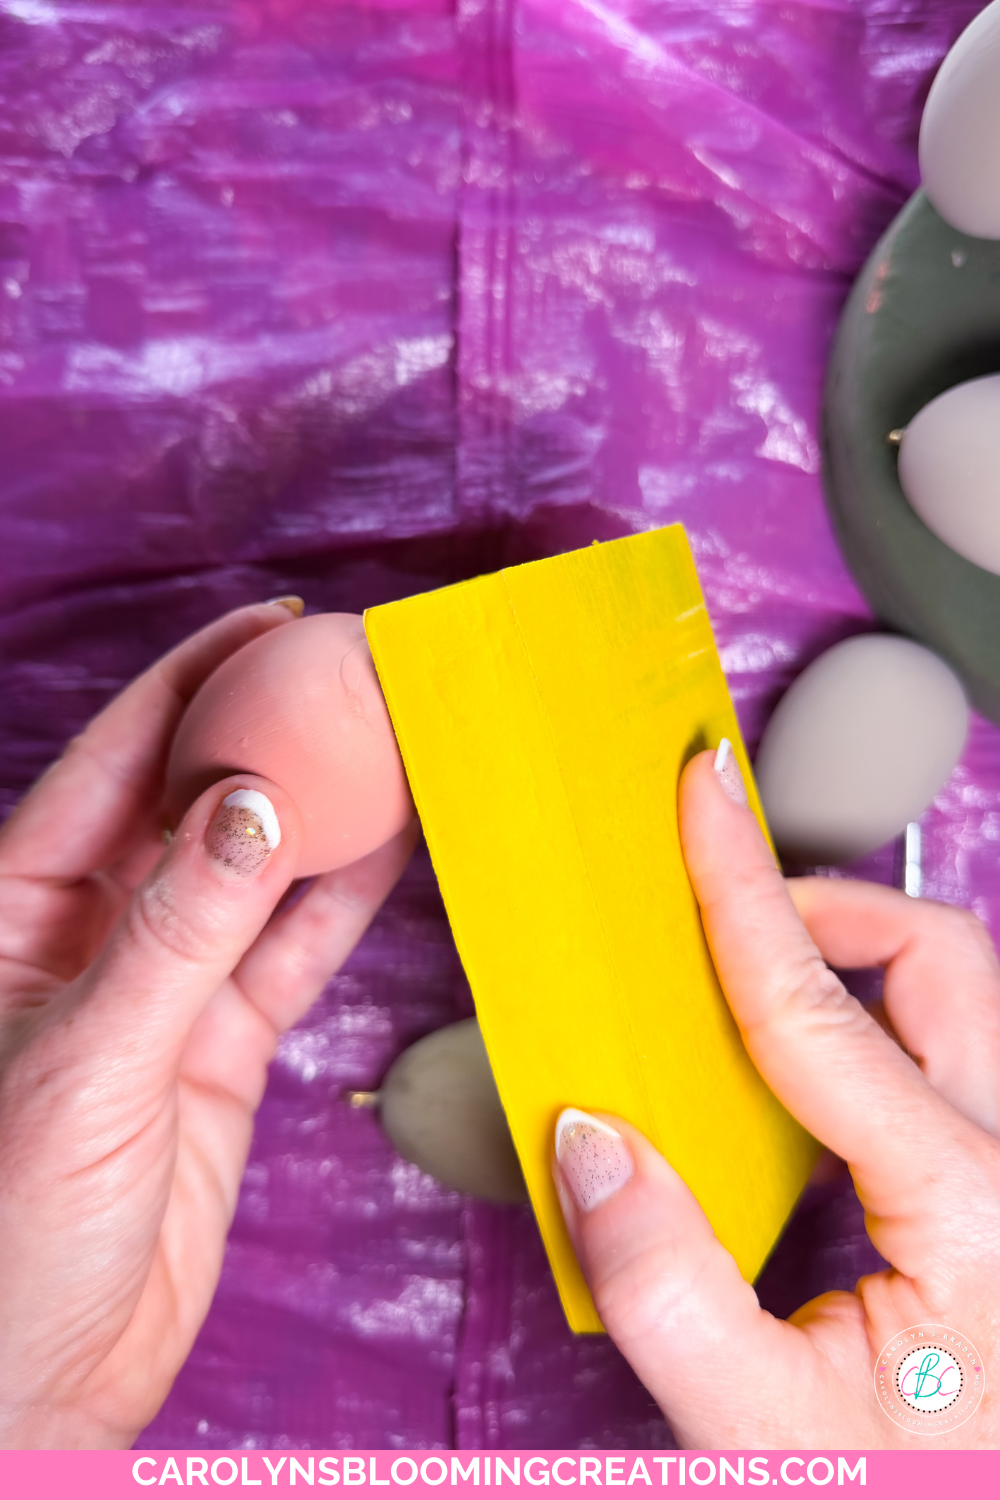
Sand lightly if desired
3. Lightly Sand for Texture
Once fully dry, take a light grit sanding block and gently distress the surface. Focus on raised areas to give your eggs that worn, antique feel.

The wax gives it a nice glimmering touch
4. Elevate with Gold Wax
Using your finger or a soft cloth, lightly rub a super thin layer of Annie Sloan Gold Wax onto the eggs—especially over textured or sanded areas. This creates a soft metallic glow that makes them look extra luxe. I went minimal because if you coat the entire egg with wax, the paint may not stick. You could also use gold acrylic paint.

Splatter painting is fun but so messy!
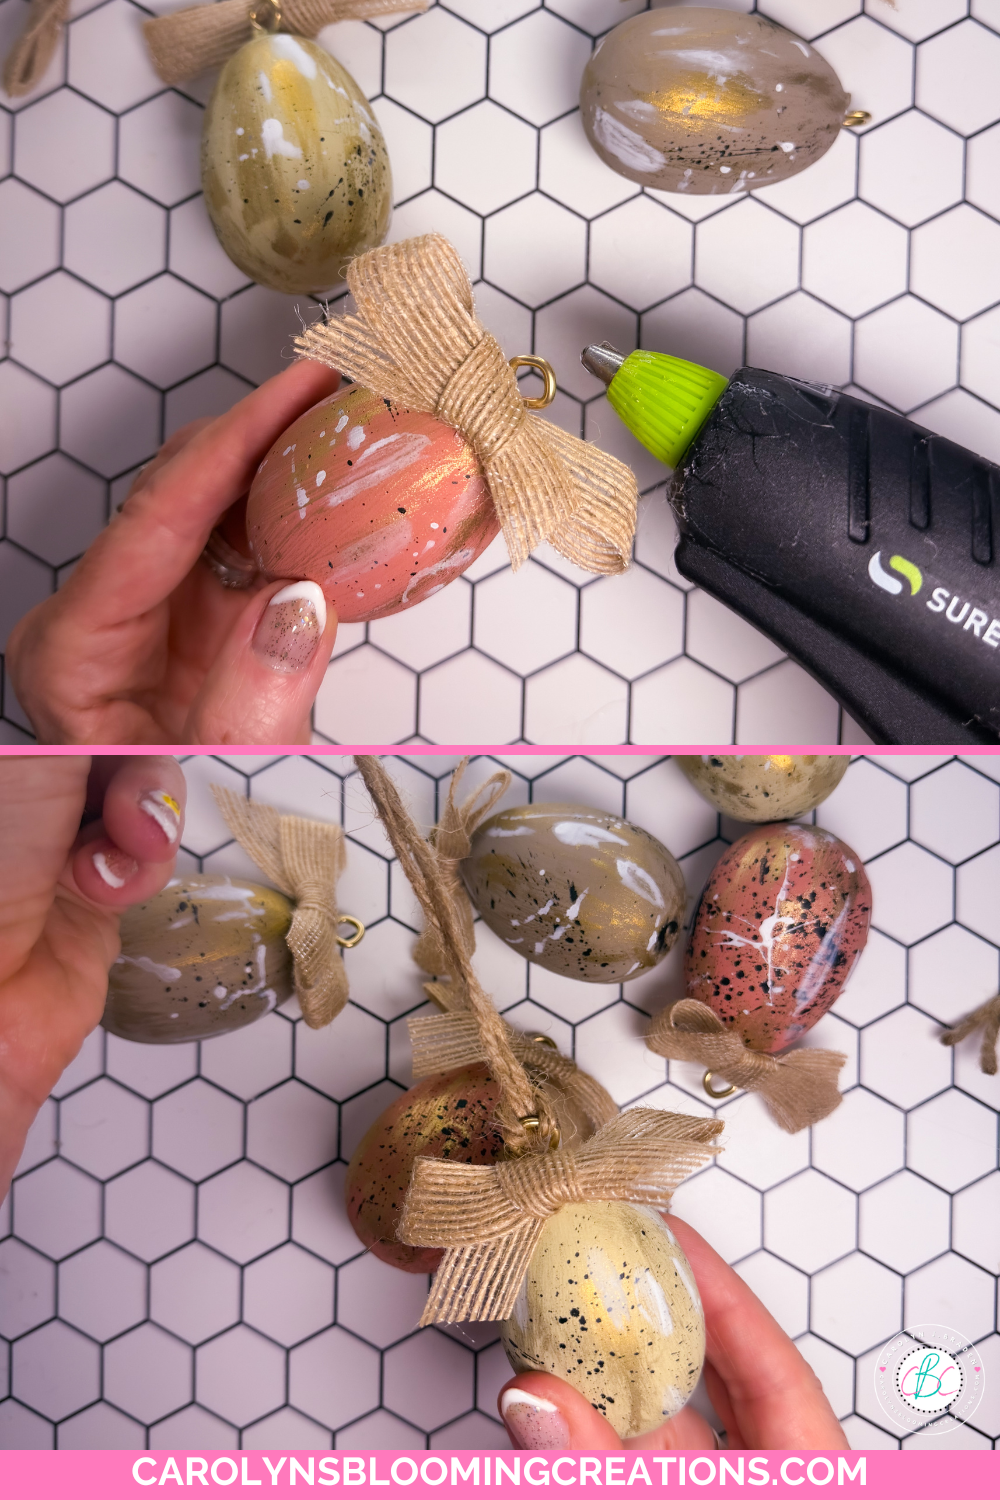
5. Add a Splatter Finish
Hang a drop cloth around your paint area (trust me, even if you think you won’t make a mess, you will!). Dip a brush into one color of acrylic paint, thinning out with a bit of water if needed, then lightly flick it across the eggs for a subtle splatter effect. This step adds dimension and a designer touch. I also painted on some swipes of white paint too.
Let dry completely.
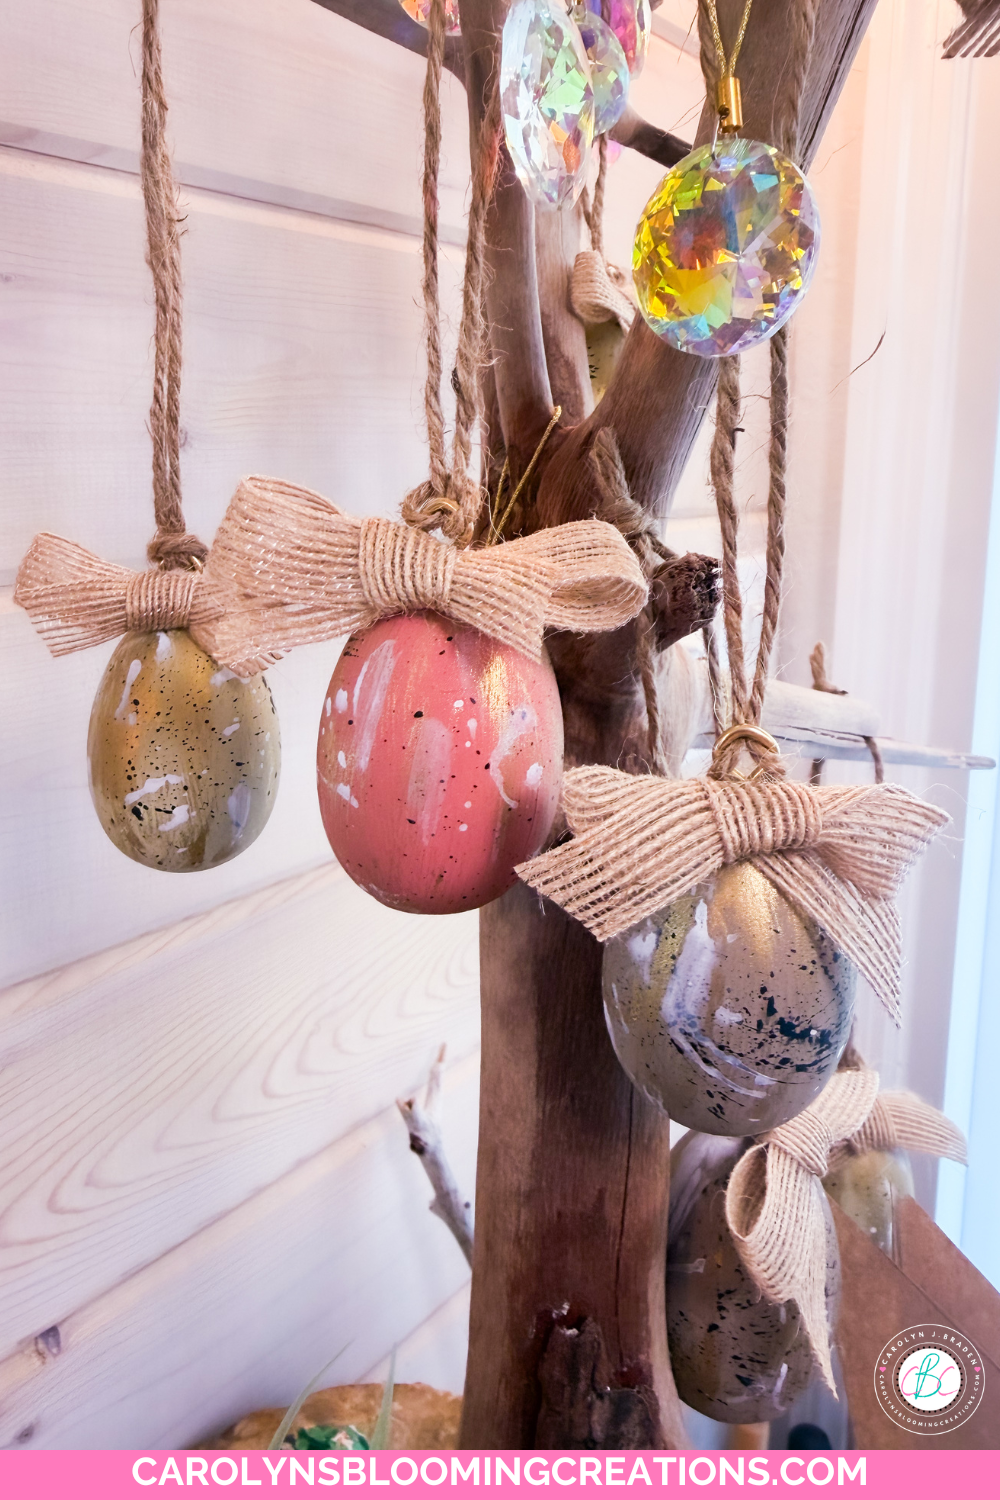
The finished ornaments
6. Add Jute Ribbon Details
Cut small pieces of jute ribbon, tie into bows and hot glue them onto each egg. You can tie bows and put them at the top of each egg, wrap them around the center, or keep it simple—whatever fits your style.

So pretty and they match my hair and my home decor
7. Turn Them into Ornaments
Attach a loop of jute string to each egg with hot glue so they can hang.
✨ Final Thoughts
This DIY proves you don’t need to spend a lot to create something beautiful. With just a few simple supplies and a little creativity, those basic plastic eggs turn into stunning chalk painted masterpieces that look straight out of a boutique.

They look cute next to my bunny bags!
Take Action
If you try any of my ideas, let me know how it turned out—or tag me when you try them because I LOVE seeing your posts💚 If you tag me using @carolynsbloomingcreations or @carolynjbraden, I’ll see it! Or tell me about it in the comments below.
If you loved this article, we know you’ll love this one too: How to Make DIY Bunny Bags for Easter Treats and Gifting
Carolyn J. Braden is the owner of Carolyn’s Blooming Creations is a regular contributor and editor for CBC. She has been featured in numerous media publications such as InStyle Magazine, on HGTV, on Bustle.com, and more. She is the author of the books Georgia McMasters in Amethyst Lake Cemetery, How To Be Yourself: 3 Ways To Help You Being You, and the illustrator for the children’s book Bridging Connections. She is a former classroom teacher that now dedicates her life to educating others on how to live their most healthy, creative and happy life. Learn more about her visiting our About Us page.