


Carolyn J. Braden • 3 Minute Read
DIY Polymer Clay Sand Dollar Trinket Bowls | Easy Coastal Craft Tutorial
If you're looking for a quick and easy summer craft that brings coastal charm into your home, these DIY Polymer Clay Marbled Sand Dollar Trinket Bowls are the perfect project. Made with Sculpey polymer clay, alcohol inks from Amazon, and a sand dollar clay cutter, these adorable beach-inspired bowls can be completed in under an hour and make beautiful home décor, thoughtful handmade gifts, and practical catch-all dishes. I’m keeping one in my kitchen to hold my rings during all my cooking experiments.
Whether you're decorating a beach house, dreaming of the ocean, or simply love coastal crafts, these sand dollar bowls are a fun project to enjoy any time of year.

I painted each one a bit differently
🛍️Shop the Post
Support me as a creator and shop my links with no extra cost to you! See my creations come together via my Amazon Shop plus get buying links at affordable prices!
We also love shopping CVS ❤️ (the ExtraCare card savings stack helping you to save!) and here are some of our CVS finds to stock up on (especially when you get that 40% off coupon!) and love Walmart (Walmart+ gets you free shipping and delivery on many items) and Sam’s Club for extra savings on beauty, fashion and we love their furniture too!
We also love Lowe’s (see our Lowe’s storefront here) for all our home improvement projects and gardening loves.
📕Bookmark or pin this one by clicking the Pinterest SAVE button on the images in this article for creative magic in an instant.
👉More Product Loves❤️
You can also get the products I’ve featured and more of my product loves via my Target shop here or my CVS Store here (use your ExtraCare card to double up on savings!) or via my shop my store here or below:
My Creative Inspiration
I NEVER take any live sand dollars from the ocean (it’s illegal here in Florida to take live shells), but right before Hurricane Ian hit Sanibel in 2022, 2 years after I moved here, all kinds of sand dollars washed up onto the beach. I collected ones that were obviously deceased and kept them.
They are so delicate when dried, but when alive, they are very strong as I often find them in the ocean, closely observe their brown bodies and little hairy feet, then gently place them back into the sand in the water.
A sweet sand dollar poem
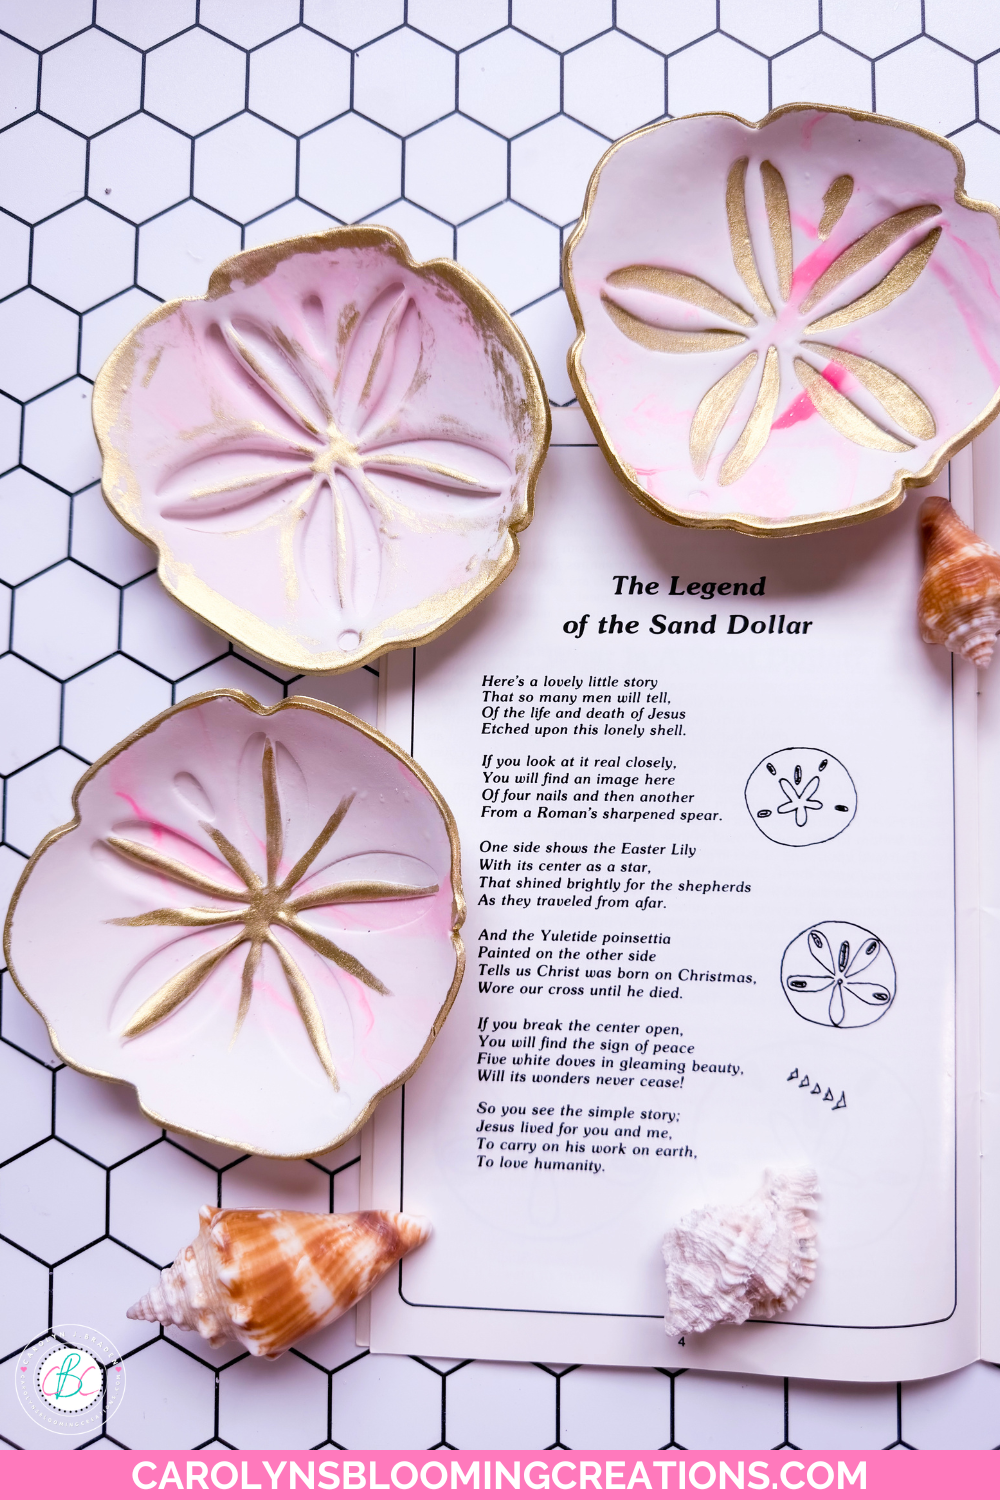
I love these little symbols of hidden strength (I love the sand dollar “legend” poem as seen in my article here from a sand dollar book I have and from one I found online) and kept that in mind when making these delicate sand dollar bowls. While they appear breakable, polymer clay makes them quite strong, allowing these to make great gifts for the beach lovers in your life.
I am like the sand dollar too. I may appear breakable, but the devastating storm called Ian did not break me. In fact, it made me stronger, along with EMDR trauma therapy and supportive people. And I am thankful to be able to see this life event this way.
I found this book in a road side FREE library and it definitely served as some inspo
Why You'll Love These DIY Sand Dollar Trinket Bowls
These miniature bowls are both decorative and functional. Use them as:
Ring dishes while cooking or washing dishes
Jewelry holders on a nightstand or vanity
Catch-all bowls for keys, coins, and small treasures
Beach house décor accents
Handmade gifts for birthdays, holidays, hostess gifts, or Mother's Day
Coastal wedding favors or bridal shower gifts
They're especially perfect for beach lovers who enjoy bringing a little bit of the shore indoors.
See my cute REAL oyster shell ghost ornament DIY here or in my YouTube video below or via my channel @carolynjbraden:
Customize Your Design
One of the best things about this craft is how versatile it can be.
You don't have to marble the clay if you prefer a solid color. White, aqua, seafoam green, coral, sandy beige, and coastal blue all make beautiful beach-inspired options.
You can also skip the bowl shaping entirely and use the sand dollar cutter to create adorable ornaments. Simply add a small hole before baking and finish with ribbon or twine for a coastal Christmas ornament, gift tag, or beach-themed decoration.

My finished trinket bowls
A Quick and Easy Coastal Craft for Any Season
This DIY polymer clay sand dollar trinket bowl project is perfect for summer crafting, rainy days, beach house decorating, or creating handmade gifts throughout the year.
Because it requires only a few supplies and minimal crafting experience, it's a beginner-friendly project that produces professional-looking results. The marbled clay combined with metallic gold accents creates a beautiful coastal aesthetic that's both elegant and functional.
If you love beach décor, coastal crafts, polymer clay projects, or handmade gifts, these sand dollar trinket bowls are sure to become a favorite craft you'll make again and again.
👀Check out my 1-minute 📹 video tutorial for this project on my TikTok now or above via my YouTube channel @carolynjbraden!

These can be made in under an hour!
Supplies Needed
🔗Links go out to either the brand website, Amazon, CVS, Walmart, Sam’s Club, Target, or Lowe’s where we source our supplies based on discounts, budget and pricing.
Small amount of pink polymer clay
4.25 inch Sand dollar cutter from Prism Clay Co. (purchased via Michael's Crafts online or you can shop it on their website here which is FULL of cute clay cutters or this a tiny bit smaller sand dollar cookie cutter from Amazon could work)
Small oven-safe ramekins or bowls
Gold alcohol ink (I used alcohol inks from Amazon)
Fluffy brush (like a blush brush)
Parchment paper
Stone pastry board or heat safe surface for cooling bowls
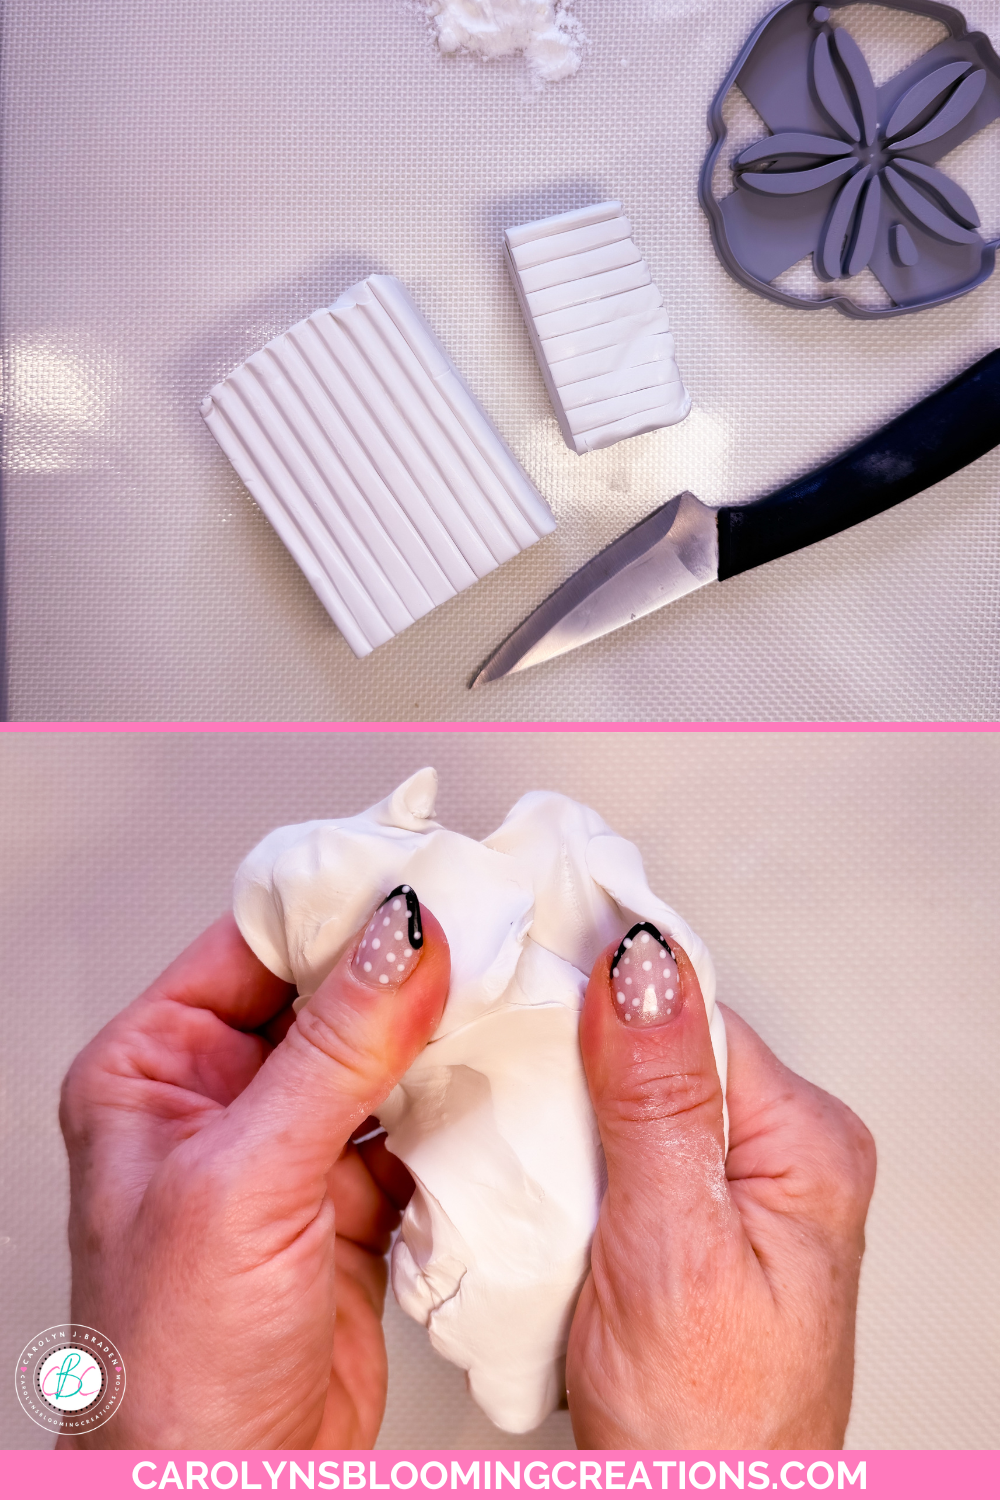
Knead the clay first
How to Make Marbled Sand Dollar Trinket Bowls
Step 1: Create the Marbled Clay
Start with white polymer clay and knead it until it becomes soft and workable.

Marbling the clay a bit
Add a small amount of pink polymer clay and continue mixing it with your hands until a beautiful swirled marble effect appears. Be careful not to overmix if you want the marbling to remain visible.
Once combined, roll the clay into a ball.

Corn starch helps the cutter not stick to clay
Step 2: Roll Out the Clay
Place the clay ball onto a silicone mat and flatten it with your hands.
Using a rolling pin, roll the clay into a thin, even sheet. I rolled mine to approximately the thickness of the sand dollar cutter from Prism Clay Co.

A perfect cut!
Step 3: Cut the Sand Dollar Shapes
Lightly tap the sand dollar cutter into cornstarch before each cut to help prevent sticking.
Cut three or more sand dollar shapes from the clay, re-rolling any leftover clay as needed. Push the cutter into the clay fully for the full design to appear. Mine was a bit flexible, which is helpful. Do a double cut if needed, placing the cutter right back into the same place the second time.
To remove the shapes, gently bend the silicone mat and carefully peel the sand dollars away. Use a fluffy brush to dust away the corn starch.

I may make ornaments next with this cutter…I love it!
Step 4: Form the Bowl Shape
Place each sand dollar into a small oven-safe ramekin or bowl, just on the top.
Gently push or drape the clay so it takes on a shallow bowl shape. Any small oven-proof bowl will work for this step.
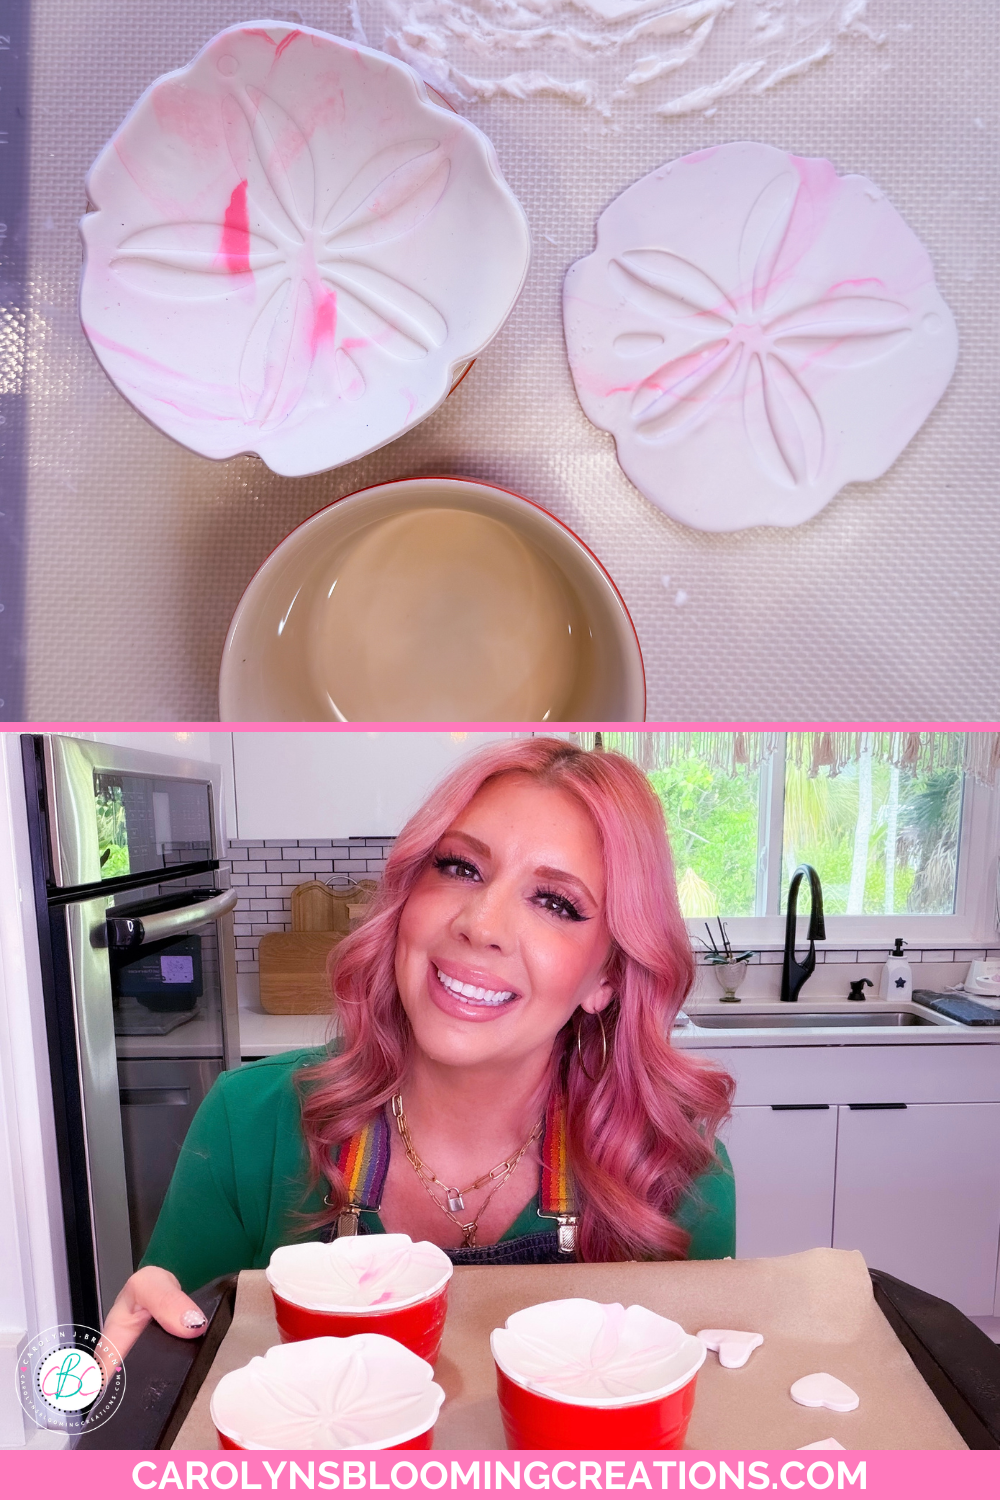
Turning them into bowls
Step 5: Bake
Bake according to the polymer clay instructions at 275 degrees Fahrenheit for 15 minutes.
Using an oven mitt, carefully remove the hot sand dollar pieces from the ramekins.
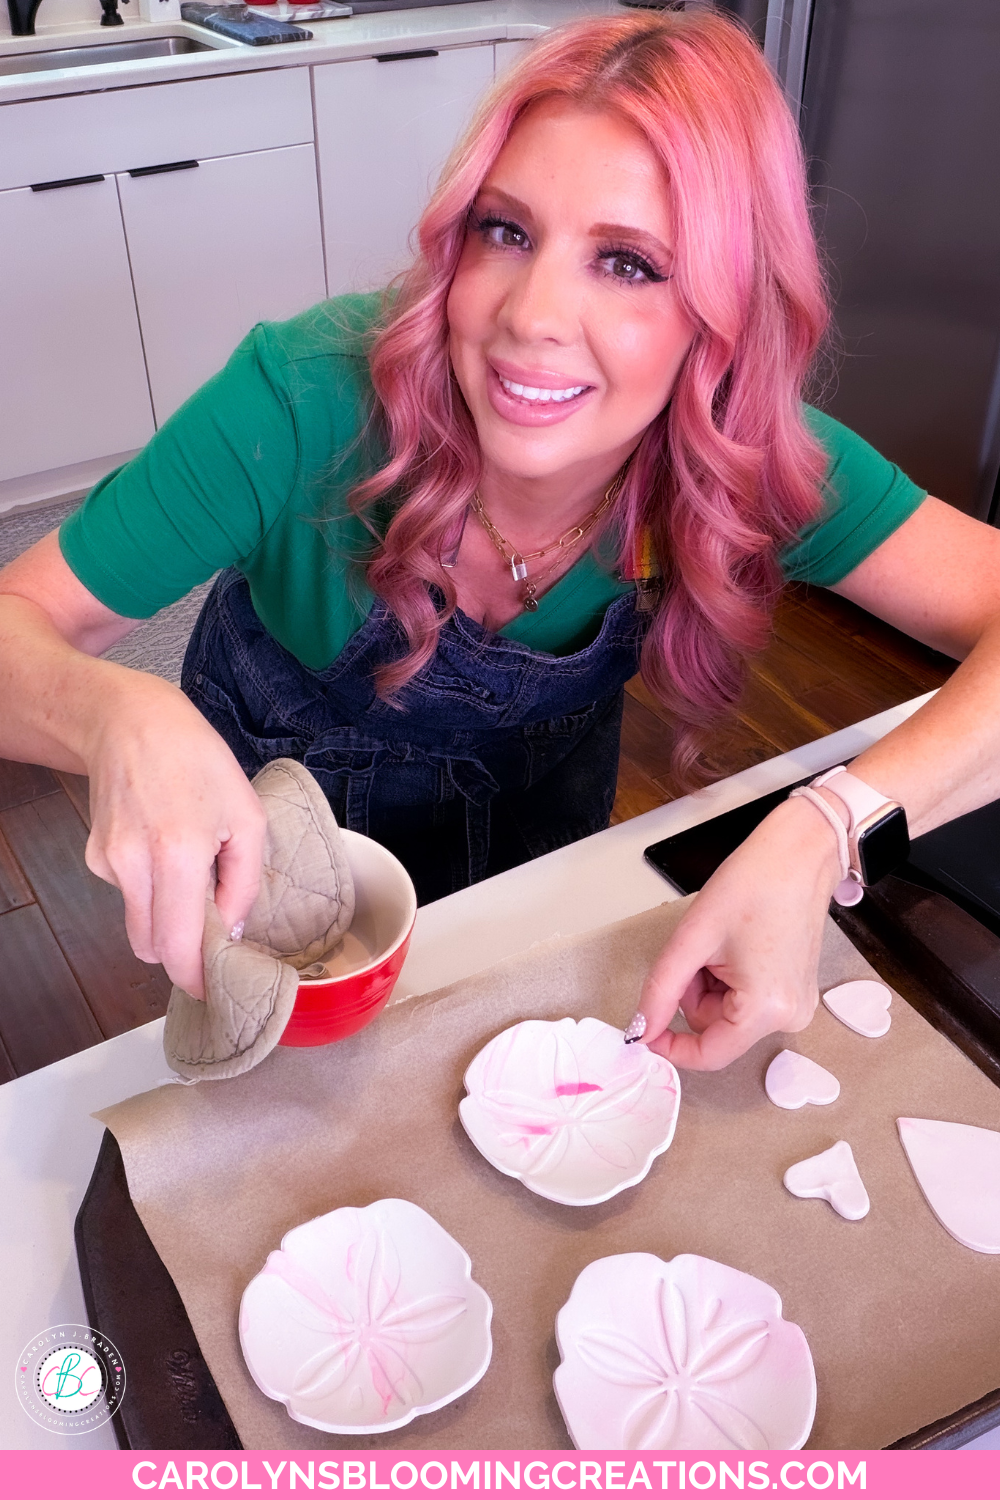
Removing from the ramekins to bake a bit more
Place them directly onto the baking tray and bake for an additional 5 minutes to ensure the bottoms are completely baked.
Transfer the bowls onto a parchment-lined stone tray for cooling.
Allow the bowls to cool for several minutes before handling.

Adding alcohol inks to the clay, or you could use gold paint
Step 6: Add Gold Alcohol Ink Accents
Using a small brush and gold alcohol ink, add highlights and accents to enhance the details of the sand dollar design.
Allow the alcohol ink to dry completely before displaying or gifting your finished bowls.

A perfect ring holder!
🎬Take Action
If you try any of my ideas, let me know how it turned out—or tag me when you try them because I LOVE seeing your posts💖 If you tag me using @carolynsbloomingcreations or @carolynjbraden, I’ll see it! Or tell me about it in the comments below.
If you loved this article, we think you’ll love this one too: Easy Alcohol Ink Air Dry Clay Seashell Bowls
Carolyn J. Braden is the owner of Carolyn’s Blooming Creations is a regular contributor and editor for CBC. She has been featured in numerous media publications such as InStyle Magazine, on HGTV, on Bustle.com, and more. She is the author of the books Georgia McMasters in Amethyst Lake Cemetery, How To Be Yourself: 3 Ways To Help You Being You, and the illustrator for the children’s book Bridging Connections. She is a former classroom teacher that now dedicates her life to educating others on how to live their most healthy, creative and happy life. Learn more about her visiting our About Us page.