


C.J. Braden • 5 Minute Read
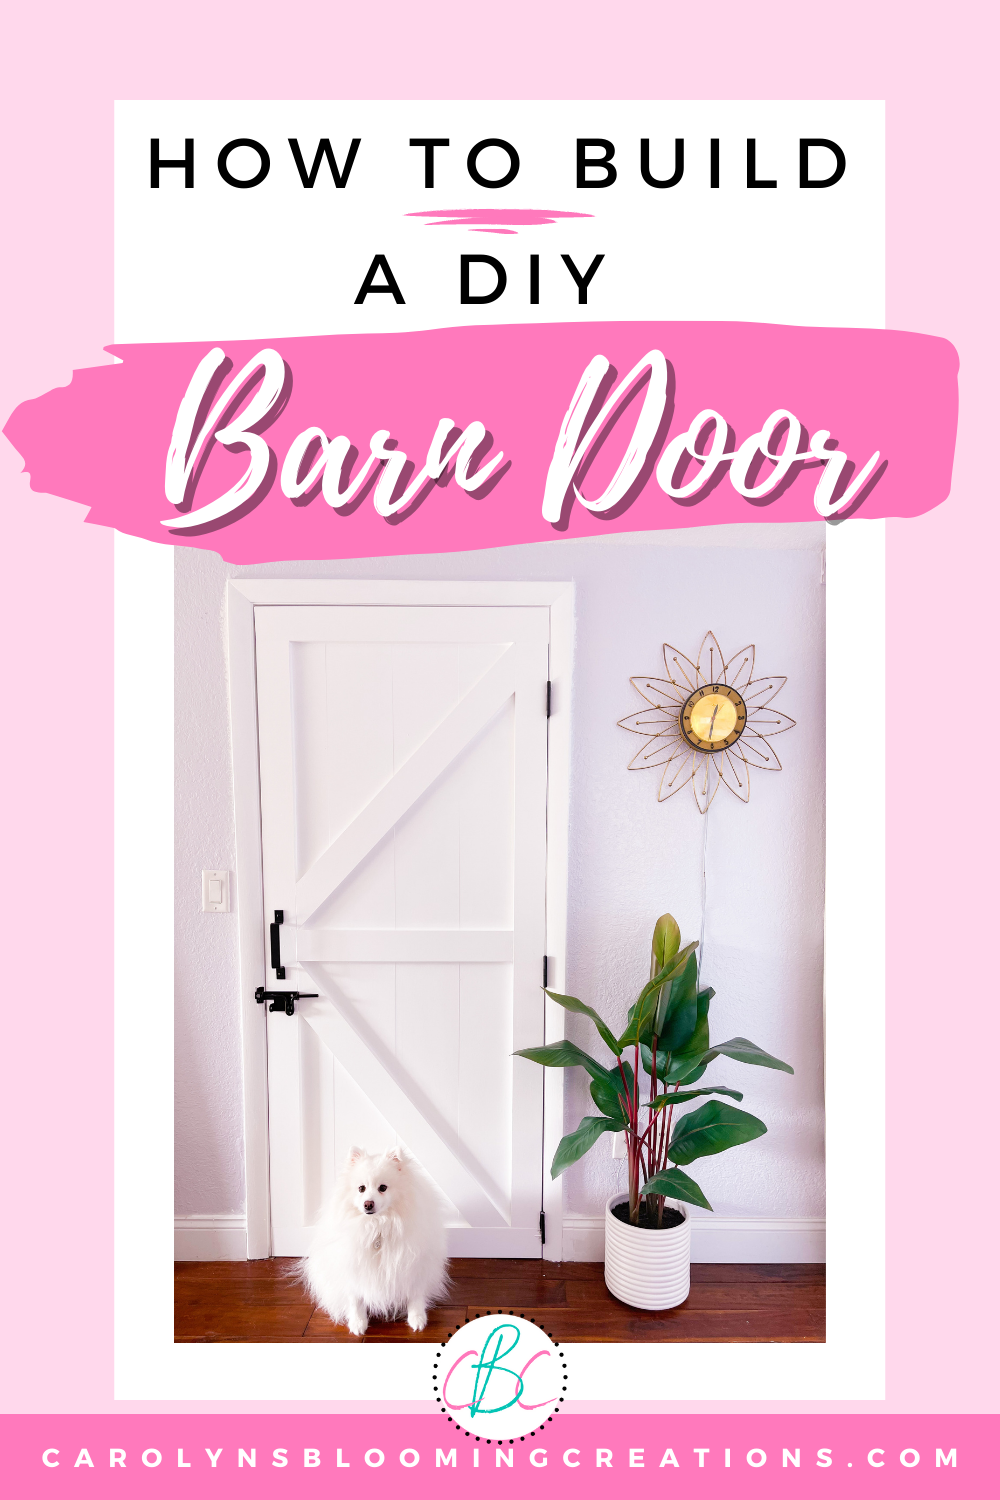
How to Build a DIY Barn Door
In need of a very particular sized door for our attic space access (32” x 73 1/2”), we searched and searched all over stores and the internet for a perfect wood door in which we could easily adjust the size. This didn’t happen.
We quickly learned that many doors that claim to be solid wood in their listing truly are not. Most doors on the market are hollow core and made of very little actual wood, despite claiming to be solid wood. We could have made a hollow core or composite door “work”, but it would have been more difficult than it needed to be and knew it probably wouldn’t look great.
Read on to learn more about how we gave up our “perfect sized door” search and decided to build our own DIY barn door.
Our design can easily be resized according to anyone’s door needs! Our total cost and labor time is listed at the end of the article.

DIY Barn Door Before Photo
The current door was very old, not very pretty, and just needed to go. Because this door is in our bedroom, we needed it to look nice and be very solid to help keep the warm attic air out of our bedroom. It was definitely leaking air, and while we could have simply sealed it better, we decided it needed to be replaced.
It had mildew on it (from the cool air of the bedroom mixing with the warm attic air for many, many years and not being sealed by the previous owner) and while I was able to clean it up a bit, it was overall just gross.

DIY Barn Door After Photo
After a trip to a local woodworker’s shop, we thought about having them make us a door, but after seeing the cost, my frugal husband started really looking at the doors in the shop. He decided then and there that it was actually a simple construction and he knew he could replicate it himself.
Get our quick video tutorial on our YouTube channel “Carolyn Braden” or watch it below:

How to Assemble a Barn Door
After looking at several barn door styles, I decided on an overall traditional design. We then sketched it up and purchased all the materials. We purchased three 1’x10’x8’‘s and one 1’x2’x8’ of select pine from Lowe’s and glued them together to form a basic door. You can adjust the type of wood and sizes according to your own door needs. We laid out the door first on some saw horses to get a basic idea of what it would look like.

Gluing a DIY Barn Door
Using Titebond Original Wood Glue, he glued the wood edges together to form a basic flat door panel and clamped them together with 36” clamps. We bought the glue at Lowe’s and the clamps at Harbor Freight, but Amazon and many other retailers have them in stock as well.

Clamps and Tightbond Wood Glue for DIY Barn Door
You could cut the boards to the needed door size before gluing them together, but being our first door, my husband decided to glue them together first and then cut them to size.

Clamping to Dry The DIY Barn Door Glue
We let the glue dry for 24 hours before cutting the door to size. My husband, Tommy, then cut the new door to fit the door space using measurements from the previous door and from the doorway. Measurements need to be exact, so take your time when completing this step.

Measuring a DIY Barn Door
Tommy used a circular saw to cut the door to size. To help cut a straight line, he clamped a scrap board above the measurement line as a guide.
Not feeling up to making your own door, but want to buy one and install it yourself? Try our helpful tutorial + video: How to Install a Door and Handle

Cutting the Extra Wood off a DIY Barn Door
We purchased three 1’x4’ select pine boards for the “decorative” front elements. He measured out four to “frame” the door front based on our original design and cut them to size.

Adding a Barn Door Design
Using the Tightbond wood glue, he glued them onto the front of the door.

Gluing the Barn Door Design
He clamped them down with 4 inch ratchet clamps.

Clamp to Dry the Barn Door Face Design
He did this “framing” to all four sides of the door.

Gluing the DIY Barn Door Face Frame
He then laid out some pine pieces diagonally and measured them for the last decorative element.

Laying out Barn Door Face Design
He cut the diagonal pieces of wood with a jigsaw.

Cutting Barn Door Angles
He then used the wood glue to glue them into place.

Gluing Barn Door Face Design Angled Wood
He used a nail gun to secure the decorative wood pieces as well. He felt the glue would hold up on it’s own, but he wanted to be extra sure.

Using a Nail Gun to Secure Barn Door
While you could leave your door a natural wood and seal it with a clear varnish of some sorts or stain it, we decided to paint it white so it would blend in with the wall a little better. I loved the natural wood, but white just made more sense given where the door is and the fact that all our doors are white in the house.

Priming DIY Barn Door
Tommy first primed the door with a basic white paint primer.

Painting the DIY Barn Door White
He then used a basic interior white paint. It took about 4 coats to totally cover the wood.

How to Hang A DIY Barn Door
He then needed to measure where to cut the edge of the door for the hinges. At this point, you could also use this door for a sliding barn door! All you need a barn door kit. We have several barn style sliding doors in our house. If you aren’t feeling up to making your own sliding door, you can always buy a barn door kit like we did for other areas of our house.

Measuring Hinges Using Old Door
He placed the new door on top of the old door for exact measurements and traced out places for the hinges.

Chiseling Out For Barn Door Hinges
He then used a wood chisel to carve out the places for the hinges.

Attaching DIY Barn Door Hinges
We ordered matte black hinges from Amazon for the door to match the other door hinges in our home. We’ve been updating all our door handles and hinges to matte black for an updated look.

Attached Barn Door For Attic Space
Tommy then bought some door seals at Lowe’s and placed them along the door frame on the attic side. This prevents the warm/cool air leakage from our bedroom into the attic space.

Our DIY Barn Door Closure
We opted for a barn door style matte black sliding lock and handle due to this being a door that we only use sometimes. If you are in need of cutting out a hole for a traditional handle on the door, we made a video that can help you with this. Watch it below or on our YouTube channel “Carolyn Braden”.

Completed DIY Barn Door
We love how it turned out! Tommy truly did an amazing job. The only thing he had to adjust on the door was the bottom. After installing the door, we discovered our floors were slightly uneven, so it caught just a bit as we opened it. He had to take the door off the frame, place it back on the saw horses, and sand the bottom until it stopped catching on the floor.

Our Mini American Eskimo, Minnie Pearl, and DIY Barn Door
The overall cost was about $150.00 due to us already having the primer and paint and saws, which is a huge cost savings than buying a door from a retailer or having one custom made. We also were able to get this done in about a week, factoring in dry time and the fact that Tommy works full time at his day job.
What questions do you have? Ask us in the comments section below!
Also, leave a comment if you tried this project or liked what we created. We love to hear from our readers!
C.J. (Carolyn) Braden is a regular contributor and editor for Carolyn’s Blooming Creations. She has been featured in numerous media publications such as InStyle Magazine, on HGTV, on Bustle.com, and more. She is the author of the books Georgia McMasters in Amethyst Lake Cemetery, How To Be Yourself: 3 Little Ways to Get Back To You Being You, and the illustrator for the children’s book Bridging Connections. She is a former classroom teacher that now dedicates her life to educating others on how to live their most healthy, creative and happy life. Learn more about her visiting our About Us page.