Carolyn J. Braden • 3 Minute Read
How to Hot Fix Rhinestones on a Winter Beanie
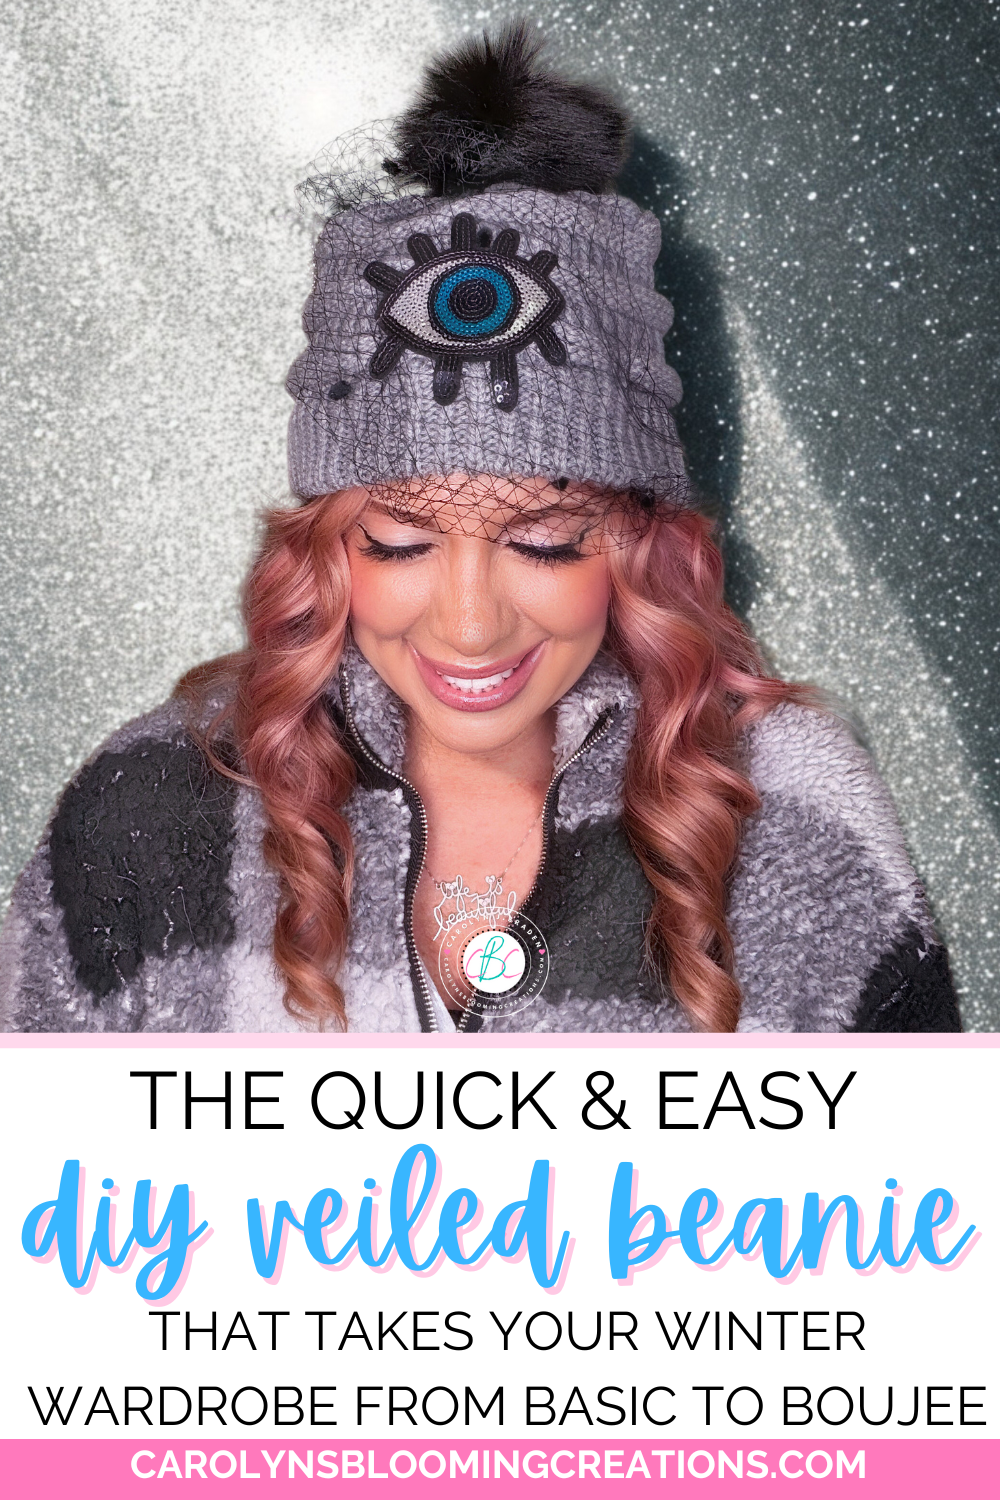
In 2024, I completed a flatback pearl beanie project just in time for the cold weather we encountered while visiting family in Indiana for Thanksgiving. I glued the pearls on that hat, which cannot be washed. After testing that hat, I decided to teach myself how to hot fix attach rhinestones and pearls so I can wash the items. Read on to learn how to hot fix rhinestones on a winter beanie.
About to bling up the YouTube beanie they sent me
Me + YouTube
YouTube must have been on the same idea path as me because they sent me a YouTube “gift” for being a member in one of their groups. I have been working really hard to grow my channel and they noticed. I got to select one free gift at the end of 2024 and I chose the beanie. It was cute, but I knew I could make it even cuter with rhinestones.
Follow me on YouTube…my channel is @carolynjbraden
Not following me on YouTube yet? Here’s a link to my channel @carolynjbraden. I post many helpful DIY and craft tutorials, product tutorials, life hacks, pet and wildlife videos and more! See my pearl beanie “car craft” in my video below:
Why Hot Fix?
While my pearl beanie turned out cute, the glue really doesn’t hold up well in washings. I did a bit of research and learned that hot fixing rhinestones would be better for fabrics. I don’t wash my hats often, but when I do, it’s usually because I have makeup on them. Hot fix rhinestones have a more durable and washable glue on the back that can be washed, though I still would wash hats like this beanie in a sink by hand.
My finished bling beanie
How Does Hot Fixing Work?
You basically heat up the glue with a hot fix tool that sort of looks like a Dremel tool or a wood burning tool. You attach a tool at the end of the heat element that fits the size of the rhinestone or pearl you want to “heat up”. You place the rhinestone or pearl on the fabric, place the heated tool on the rhinestone and it activates the glue, attaching it to the fabric.
Hot fixing the rhinestones will help the beanie be able to be washed
Hot Fix, Glue or Rivets?
More permanent ways to attach rhinestones and other embellishments is by using ones that are attached with rivets. These actually can put small holes in fabrics, so if you are using a more delicate fabric, gluing or hot fixing is best. HOT FIX will last longer than GLUE onto fabric. If you are not attaching the rhinestones to fabric, glue is the best option.
The back of the beanie had to be blinged up too!
For example, my rhinestone baby wipe container is plastic, so I used glue to attach them. If you are needing to attach rhinestones or other embellishments to things like jeans or leather or thicker fabrics, rivets would work best. Using rivets reminds me of the popular tool called the “Bedazzler” that came out when I was a kid. You can get a Bedazzler still on Amazon and I may need to get one for future crafts!
I love how my bling beanie turned out!
How Can I Tell the Difference Between Hot Fix or Not?
Not all flatback pearls and rhinestones are hot fix, meaning they don’t have the glue on the back that can be heated. Look specifically for “hot fix” rhinestones if you are wanting to try this. Here are some hot fix rhinestone kits you can buy on Temu, Amazon or Walmart. If you shop Temu, use my link or my code afe55197 for 30% off (for new app users):
Now for the project. Here’s what you need to hot fix rhinestones to a beanie or other fabric projects. See it come together in my 1-minute video tutorial below or via my YouTube channel @carolynjbraden:
Supplies:
Hot Fix Rhinestone Applicator (This is the one I used and got it on Amazon for $12 and it came with some rhinestones, a wax pencil and a pair of pointy tweezers)
Hot Fix Rhinestones (This is the set I bought on Amazon for $9.99)
Beanie (YouTube sent me mine, but you can buy similar ones on Amazon or Walmart)
Optional:
Pom Pom (This is optional, I got my set on Amazon for $14)
Needle
Thread (I love this little sewing kit on Amazon for $7)
Hot fix rhinestone tools
How to:
Lay your beanie out on a flat surface that can get warm or hot from using the tool.
Practicing on scrap fabric first
Screw the tool that fits the sizes of rhinestones you plan to attach onto your tool. Quick tip: I ended up using a larger tip so I could heat up several rhinestones at a time…it definitely worked! Heat up your hot fix tool. Mine came with a stand to prop it up on and it heated up in about 2 minutes.
Use a wax pencil to pick up a rhinestone and place it where you want it to be attached. I practiced on a piece of scrap fabric first, which I recommend.
Leave the hot fix tool on the rhinestones for 20 seconds
Place the heated tool tip onto the rhinestones for about 20 seconds. Remove the tool and the rhinestone will be attached but allow the rhinestones to cool completely before wearing. If you got it “off kilter” a bit, move it with a pair of tweezers while the rhinestone is still hot.
My hot fix rhinestone tool
I repeated this process until I had all my rhinestones attached. Then I threaded a needle to sew on my pom pom.
Threading the needle for the pom pom
I turned my hat inside out a bit and ran the needle through the hat and the pom pom several times until I felt it was well-attached. I tied a knot, cut the thread off the needle and my hat was done!
Stitching on the pom pom
I made sure to add rhinestones to the front and the back of the hat to make it look finished.
The back of the YouTube beanie
While hot fixing rhinestones does take longer than gluing, it’s worth it if they will stay on longer. I can’t wait to try this on other fabric projects!
The completed hot fix rhinestone beanie
If you loved this article, we know you’ll love this one too: How to Make Satin Cord Ornaments
Carolyn J. Braden is the owner of Carolyn’s Blooming Creations is a regular contributor and editor for CBC. She has been featured in numerous media publications such as InStyle Magazine, on HGTV, on Bustle.com, and more. She is the author of the books Georgia McMasters in Amethyst Lake Cemetery, How To Be Yourself: 3 Ways To Help You Being You, and the illustrator for the children’s book Bridging Connections. She is a former classroom teacher that now dedicates her life to educating others on how to live their most healthy, creative and happy life. Learn more about her visiting our About Us page.


