




Carolyn J. Braden • 4 Minute Read
DIY Glitter Boo Bucket: Sparkly Halloween Pumpkin Pail
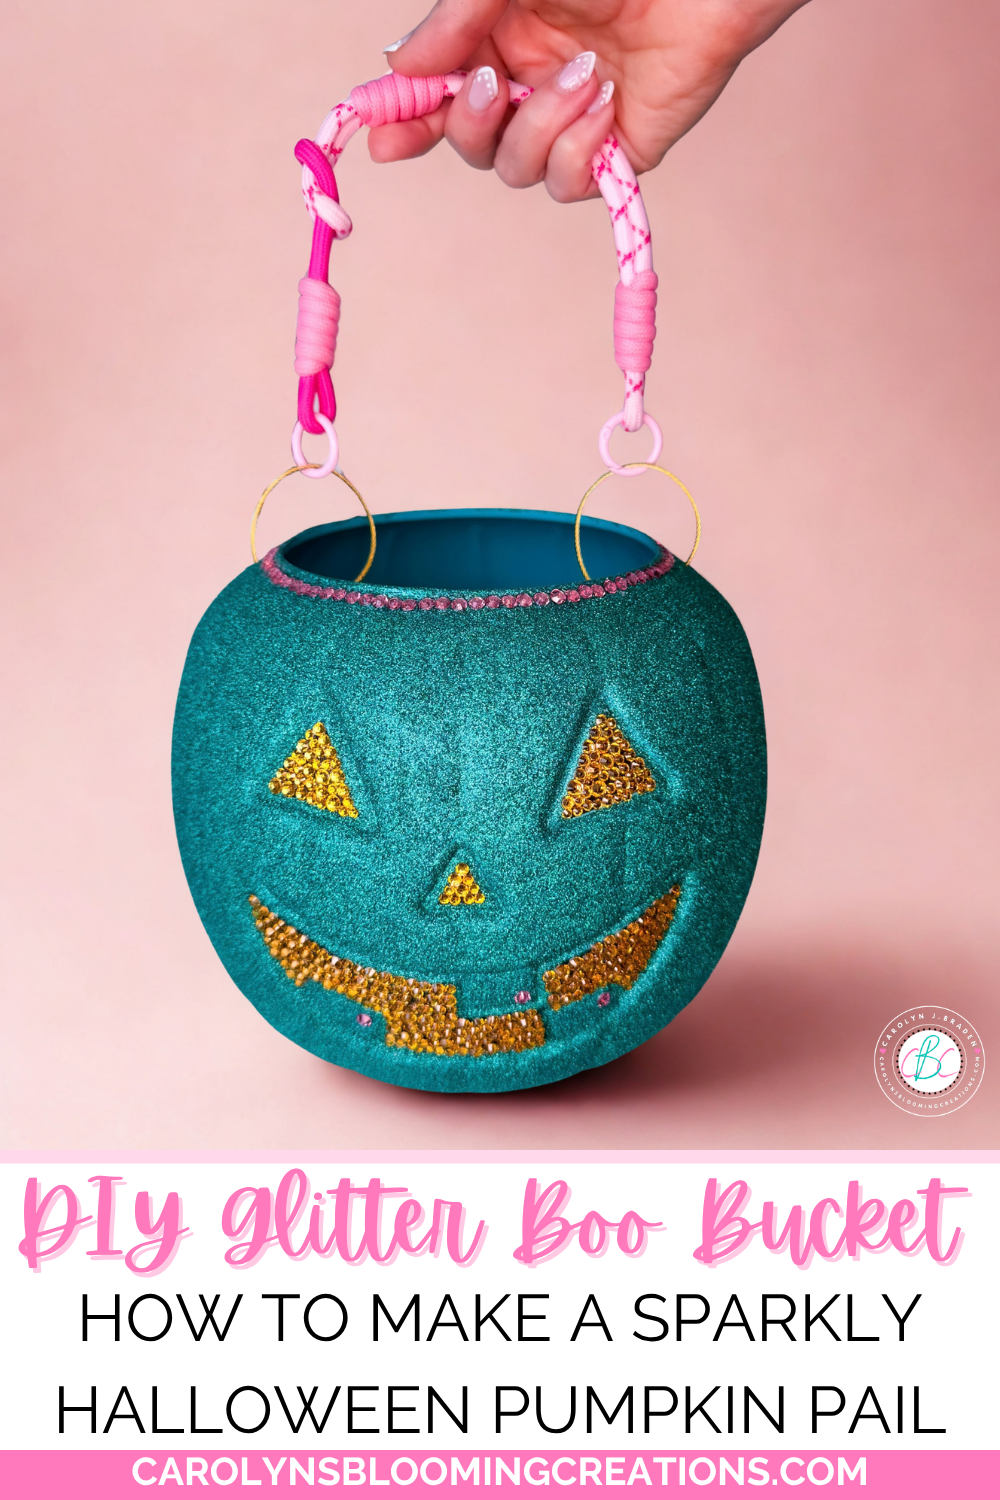
I spotted this $4 plastic pumpkin pail at CVS and immediately loved the teal color—but I knew I could make it even more fun!
Since teal and pink are part of my brand colors, I decided to turn this simple pumpkin into a SUPER CUTE glitter Boo Bucket using teal glitter, pink and gold rhinestones, and a touch of gold on the pumpkin face to really make it shine. I’ve seen versions of the project all over Pinterest, and decided to do my own take on this cute Halloween craft.
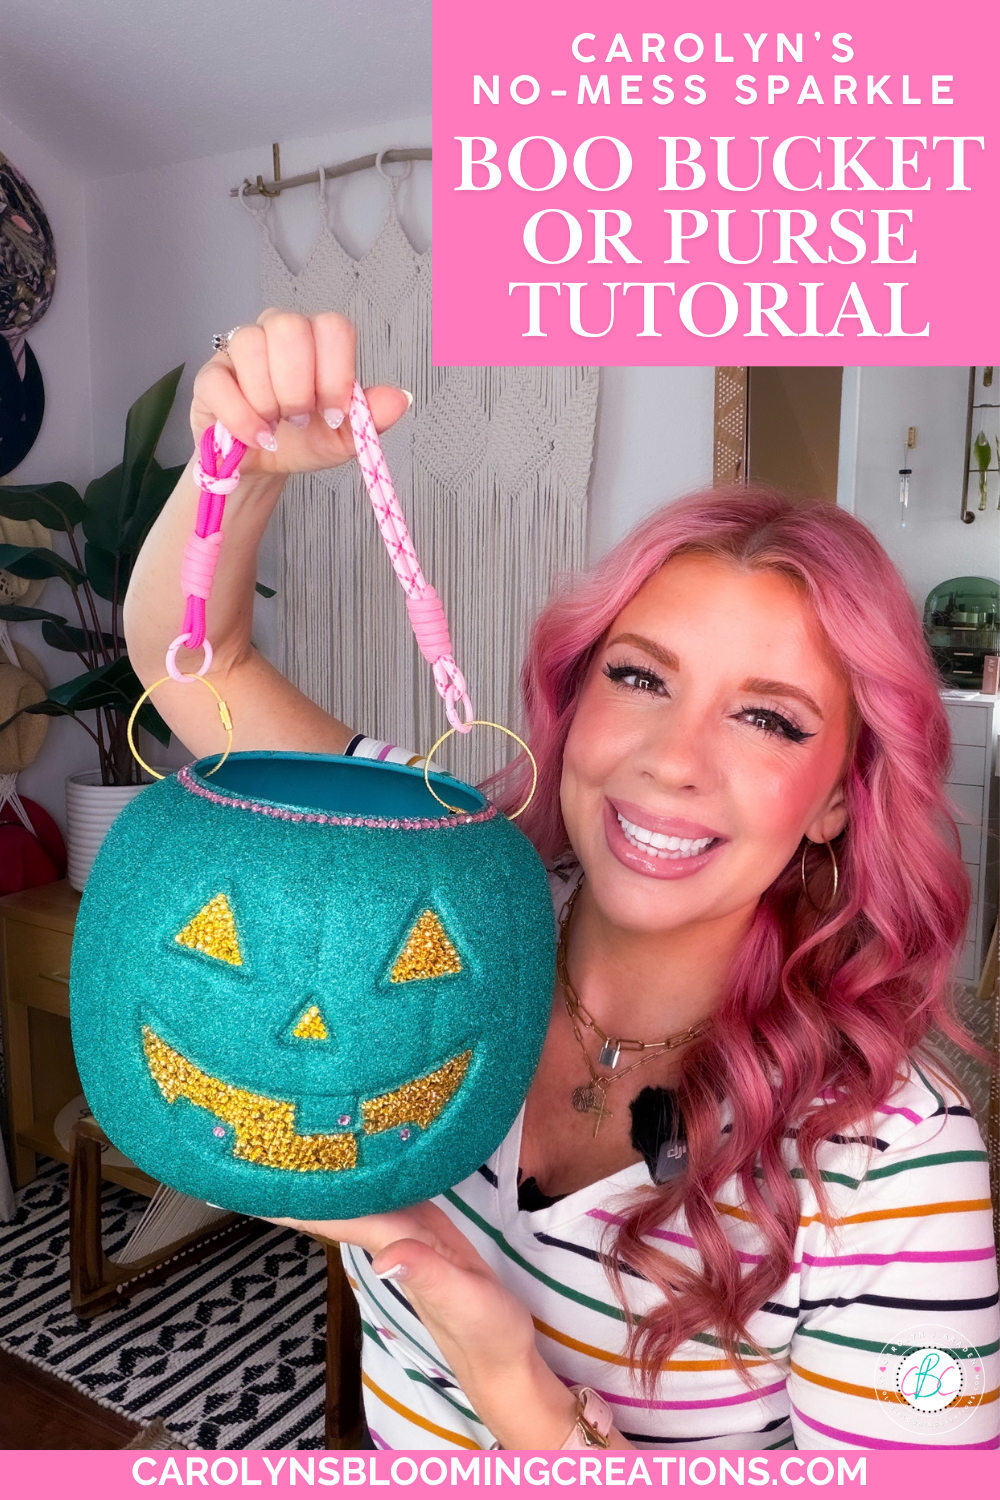
I love sparkles, and this is so glittery!
Of course, you can completely make this project your own! Choose traditional orange and black, purple and green, your favorite colors, or match your Halloween decor.
The best part? I used the same no-mess glitter technique I developed for my DIY Sparkle Champagne Bottle – Minus the Glitter Mess project, so the finished pumpkin has tons of sparkle without glitter constantly shedding everywhere.
🛍️Shop the Post
Support me as a creator and shop my links with no extra cost to you! See my creations come together via my Amazon Shop plus get buying links at affordable prices!
We also love shopping CVS ❤️ (the ExtraCare card savings stack helping you to save!) and here are some of our CVS finds to stock up on (especially when you get that 40% off coupon!) and love Walmart (Walmart+ gets you free shipping and delivery on many items) and Sam’s Club for extra savings on beauty, fashion and we love their furniture too!
🛠️We also love Lowe’s (see our Lowe’s storefront here) for all our home improvement, home organization, DIY projects and gardening loves (and animal lover loves too!).
📕Bookmark or pin this one by clicking the Pinterest SAVE button on the images in this article for creative magic in an instant
👉More Product Loves❤️
You can also get the products I’ve featured and more of my product loves via my Target shop here or my CVS Store here (use your ExtraCare card to double up on savings!) or via my shop my store here or below:
🔗Links in this article go out to either the brand website, Amazon, CVS, Walmart, Sam’s Club, Target, or Lowe’s where we source our supplies based on discounts, budget and pricing.
How Can You Use a Glitter Boo Bucket?
There are so many ways to use this little pumpkin!
🎃 Halloween candy bucket
🎃 Cute mini purse or trick-or-treat bag
🎃 Halloween party accessory
🎃 Halloween home decor
🎃 Gift basket or gift container
🎃 Fun accessory for an adult Halloween outfit or kid’s costume
🎃 Cute centerpiece for a Halloween party
And because the glitter is sealed, you don't have to worry about leaving a trail of glitter everywhere you go.
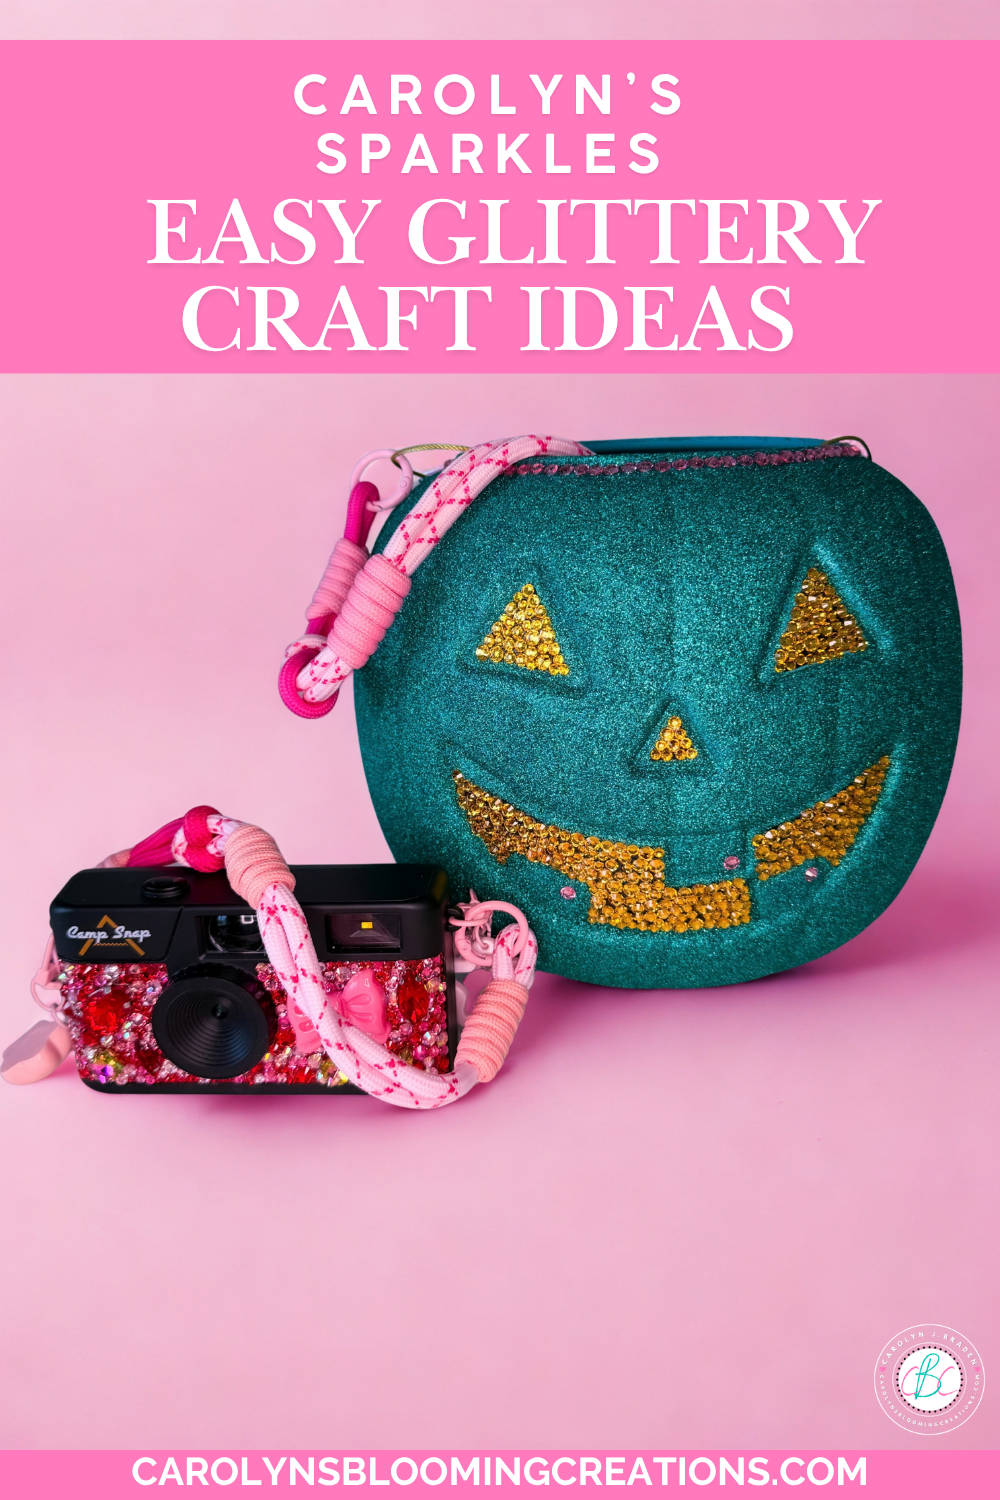
Make a Sparkly DIY Boo Bucket With Glitter
Make It Your Own!
The fun thing about this DIY is that you don't have to use my colors. I chose teal, pink and gold because they coordinate with my brand colors, but you could make this pumpkin orange and black, purple and green, pink and black, or any combination you love. I’ve seen so many versions of this project, so think beyond my idea to Mod Podge napkin overlays, full on rhinestones, paint and more!
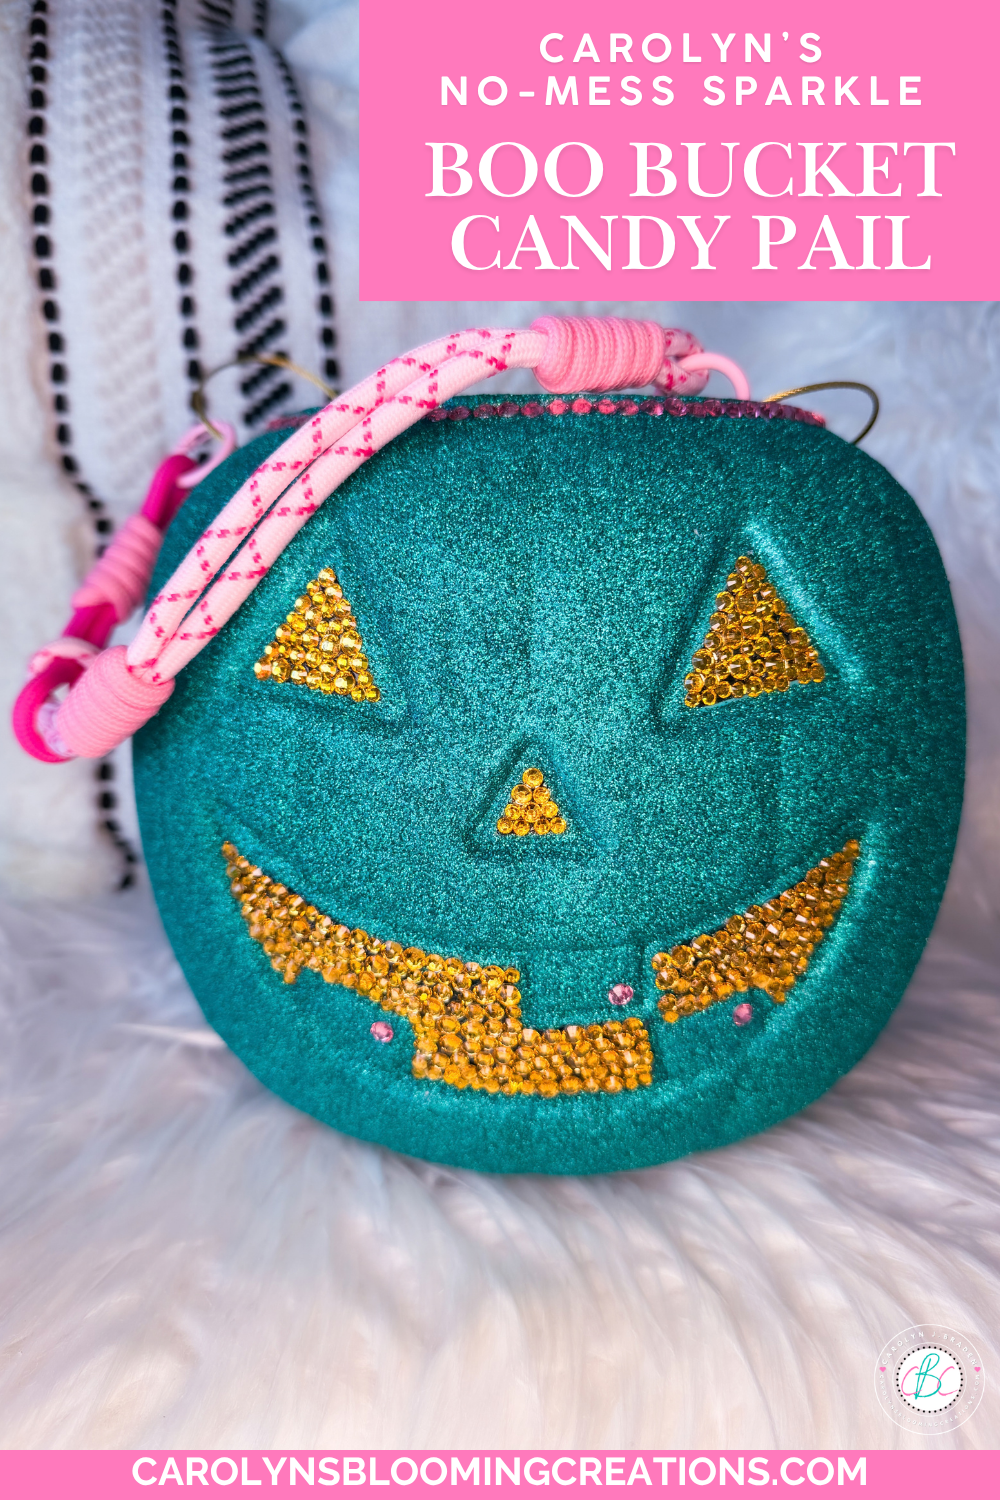
It truly is mess-free after sealing!
You could also change up the rhinestones, add a big bow, attach a different strap, or personalize the pumpkin with a name or monogram.
A simple plastic pumpkin pail can become something that looks completely custom—and you can make it for just a few dollars!
The next time you see an inexpensive plastic pumpkin, don't just see a trick-or-treat bucket. See the sparkle potential like I did! ✨🎃
👀Check out my 1-minute or less 📹 video tutorial for this project on my TikTok now or via my YouTube channel @carolynjbraden!
Get some of my favorite crafting supplies in my ShopMy below:
Supplies
Plastic pumpkin pail (I got mine at CVS under $4!)
Baby wipes for cleaning the surface (Sam’s Club has my current favorites)
Paper towels
Rhinestones — I used this rhinestone kit from Amazon
Scissors
Some of the links above are affiliate links, which means I may earn a small commission at no additional cost to you.
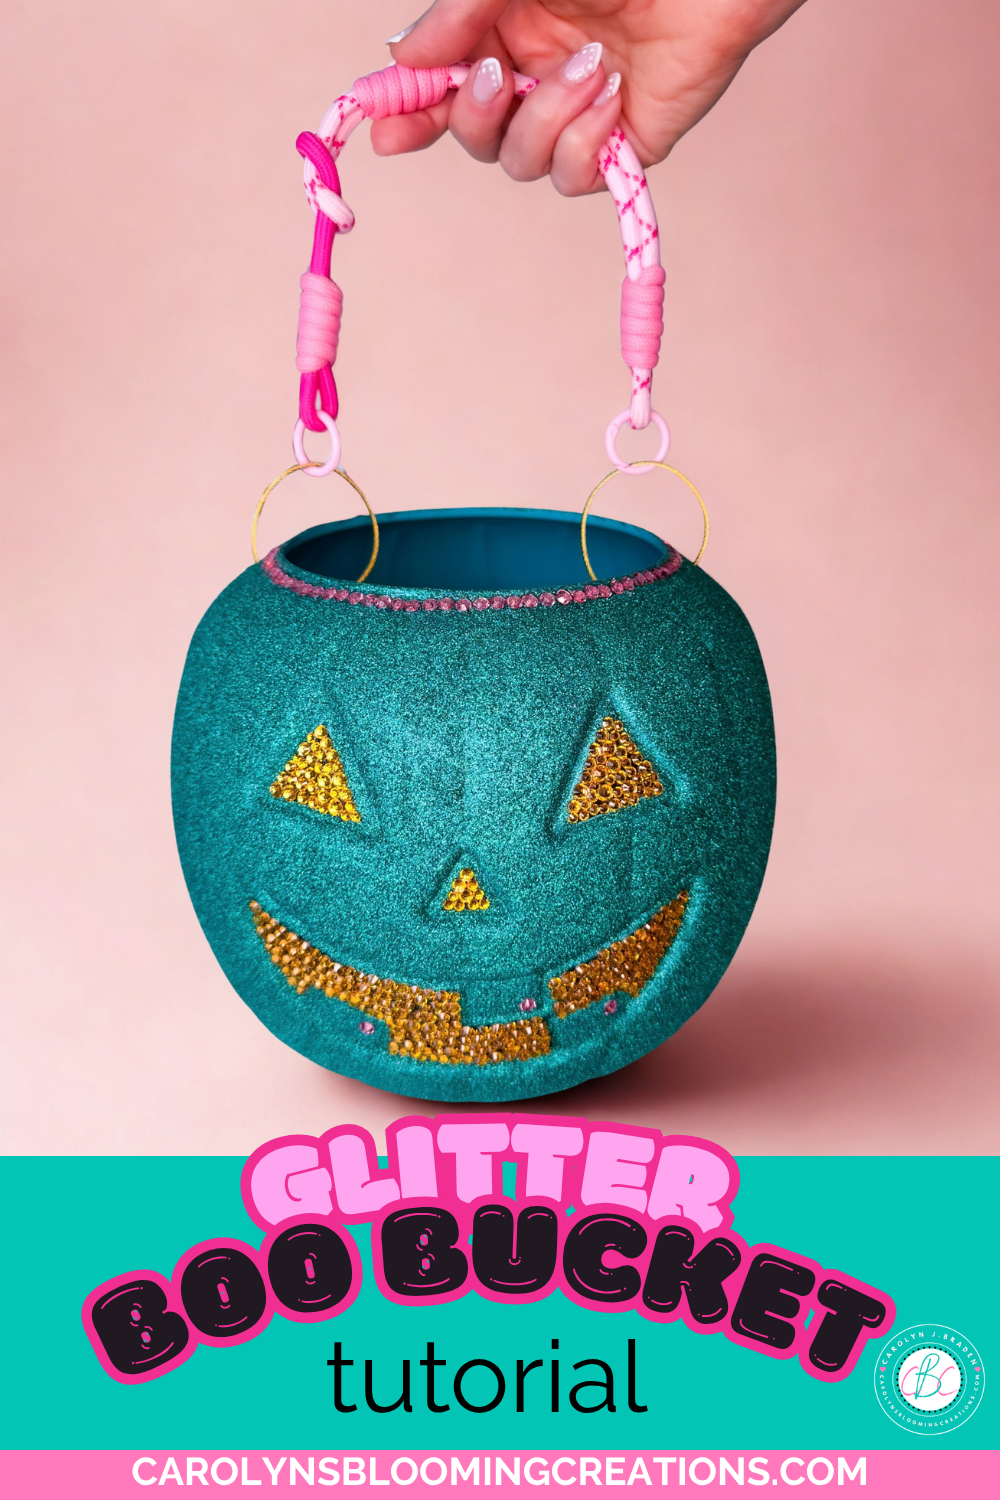
DIY Rhinestone Glitter Pumpkin for Halloween
How to Make a Glitter Boo Bucket
1. Prep the pumpkin
I started by removing the original handle with scissors.
Before applying any glitter, clean the pumpkin really well. I used baby wipes to remove dirt and hand oils from the plastic. This step is important because oils from your hands can interfere with the Mod Podge and glitter adhering properly.
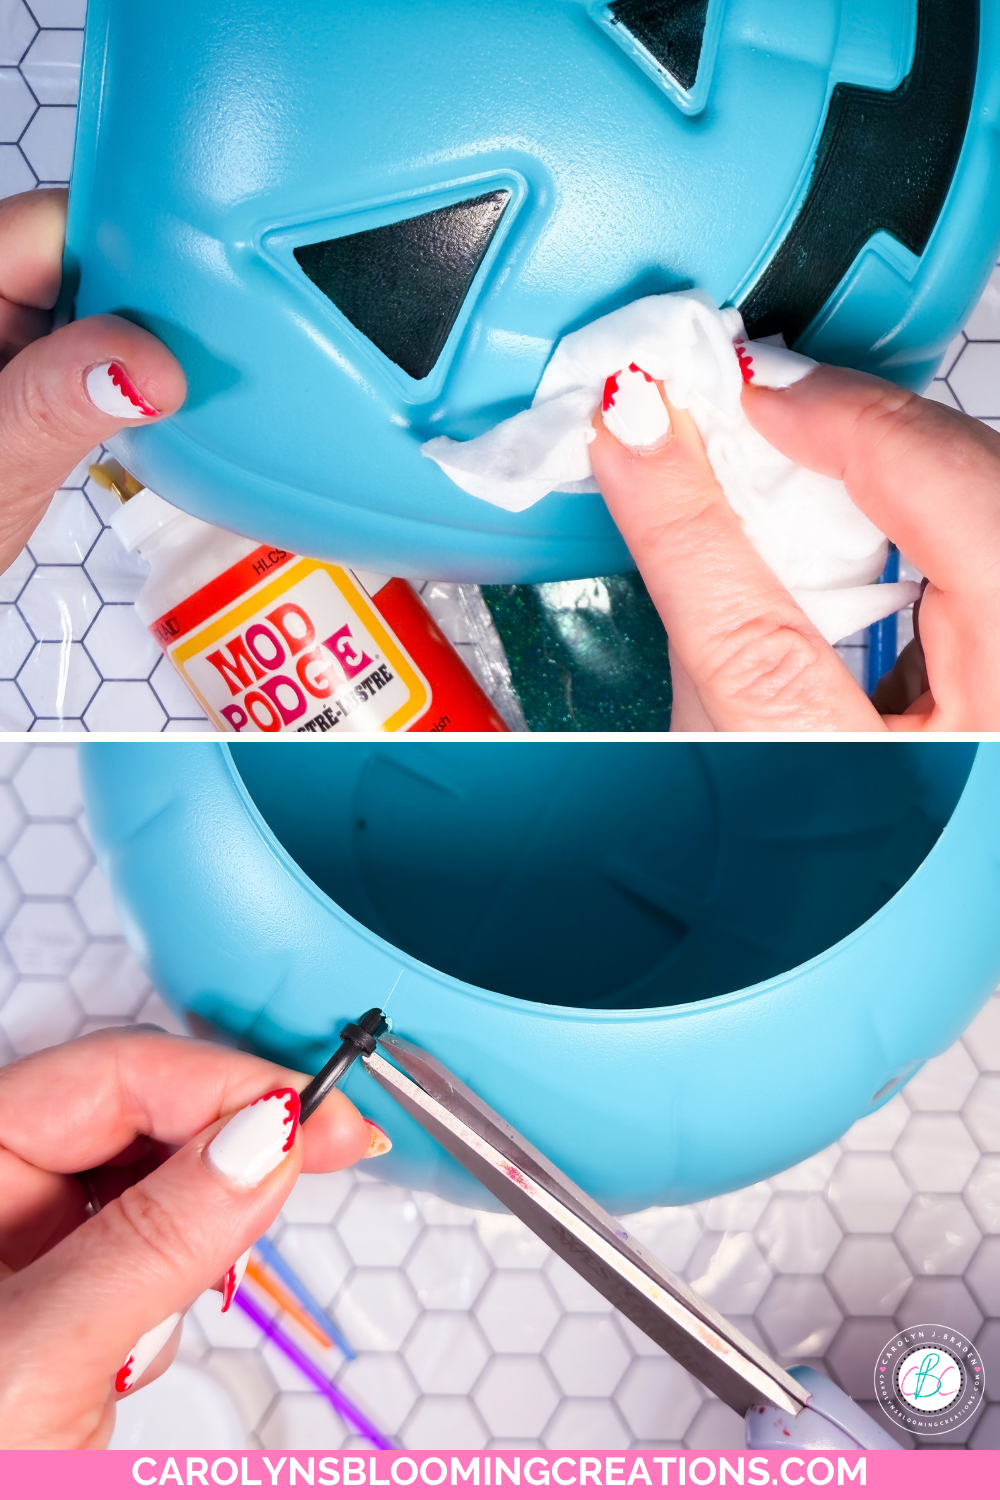
Prepping is important
Tip: I used alcohol when making my original sparkle champagne bottle, but for this plastic pumpkin, I recommend baby wipes because alcohol may damage some plastics or paint on them.
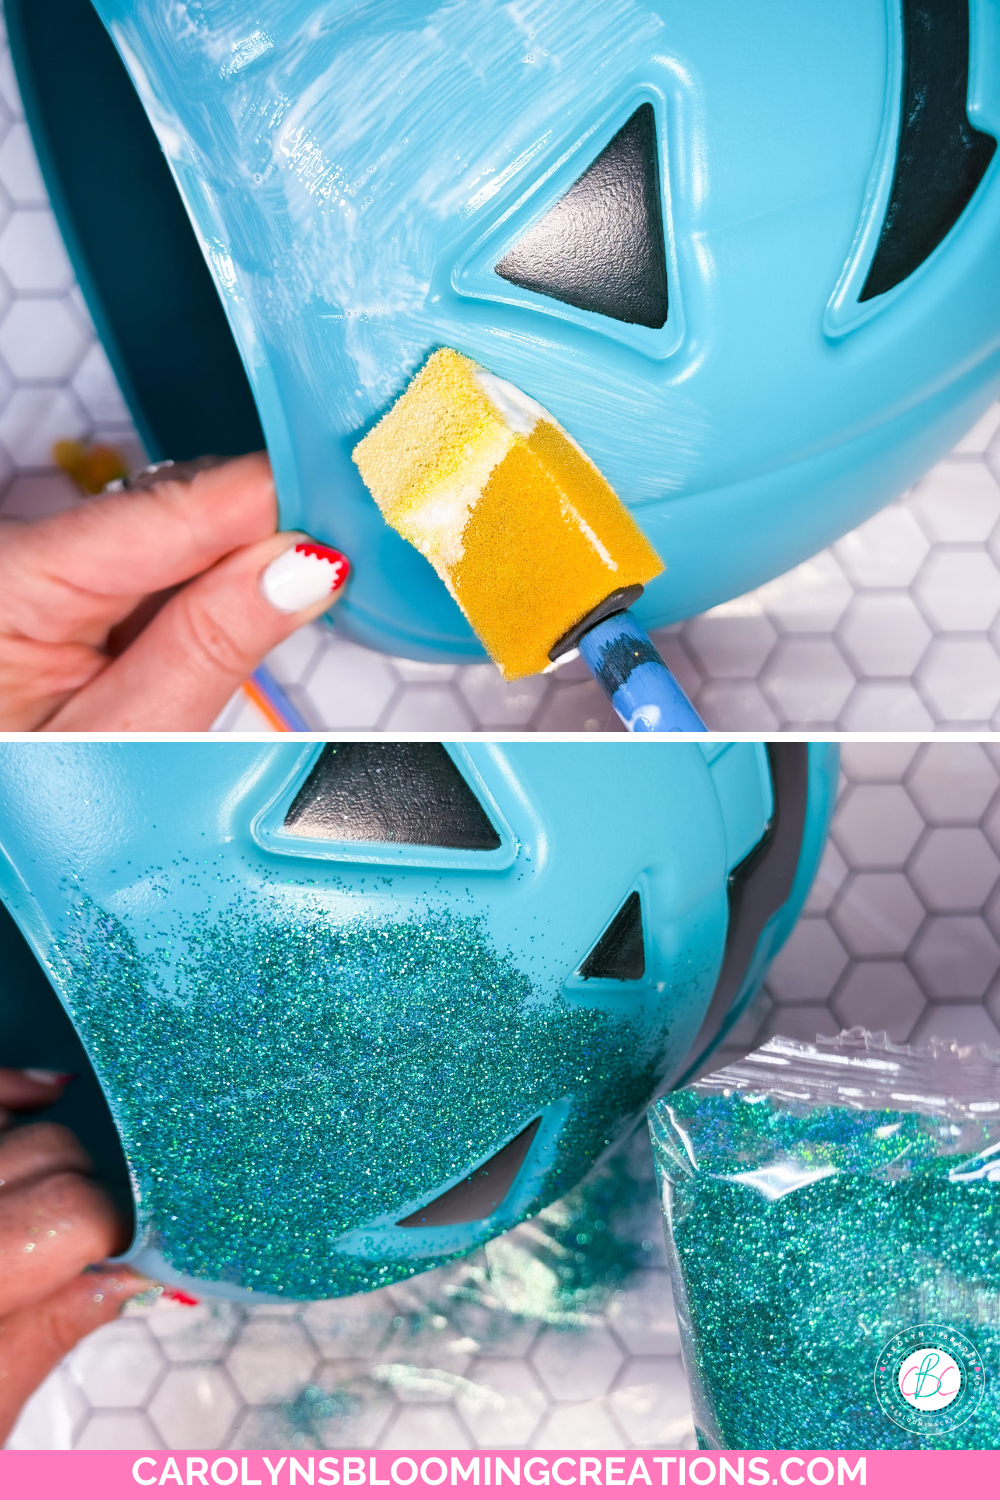
Adding the glitter
2. Add the glitter
Protect your work surface with paper towels. Working in small sections, use a sponge craft brush to apply a thin layer of Mod Podge to the front of the pumpkin, carefully avoiding the face.
While the Mod Podge is still wet, sprinkle on a generous layer of extra-fine glitter. I did this over a garbage bag to help keep the mess from going everywhere and for easy clean up.
Repeat the process on the back and bottom of the pumpkin.
Working in small sections makes it much easier to get an even, solid coating before the Mod Podge begins to dry.
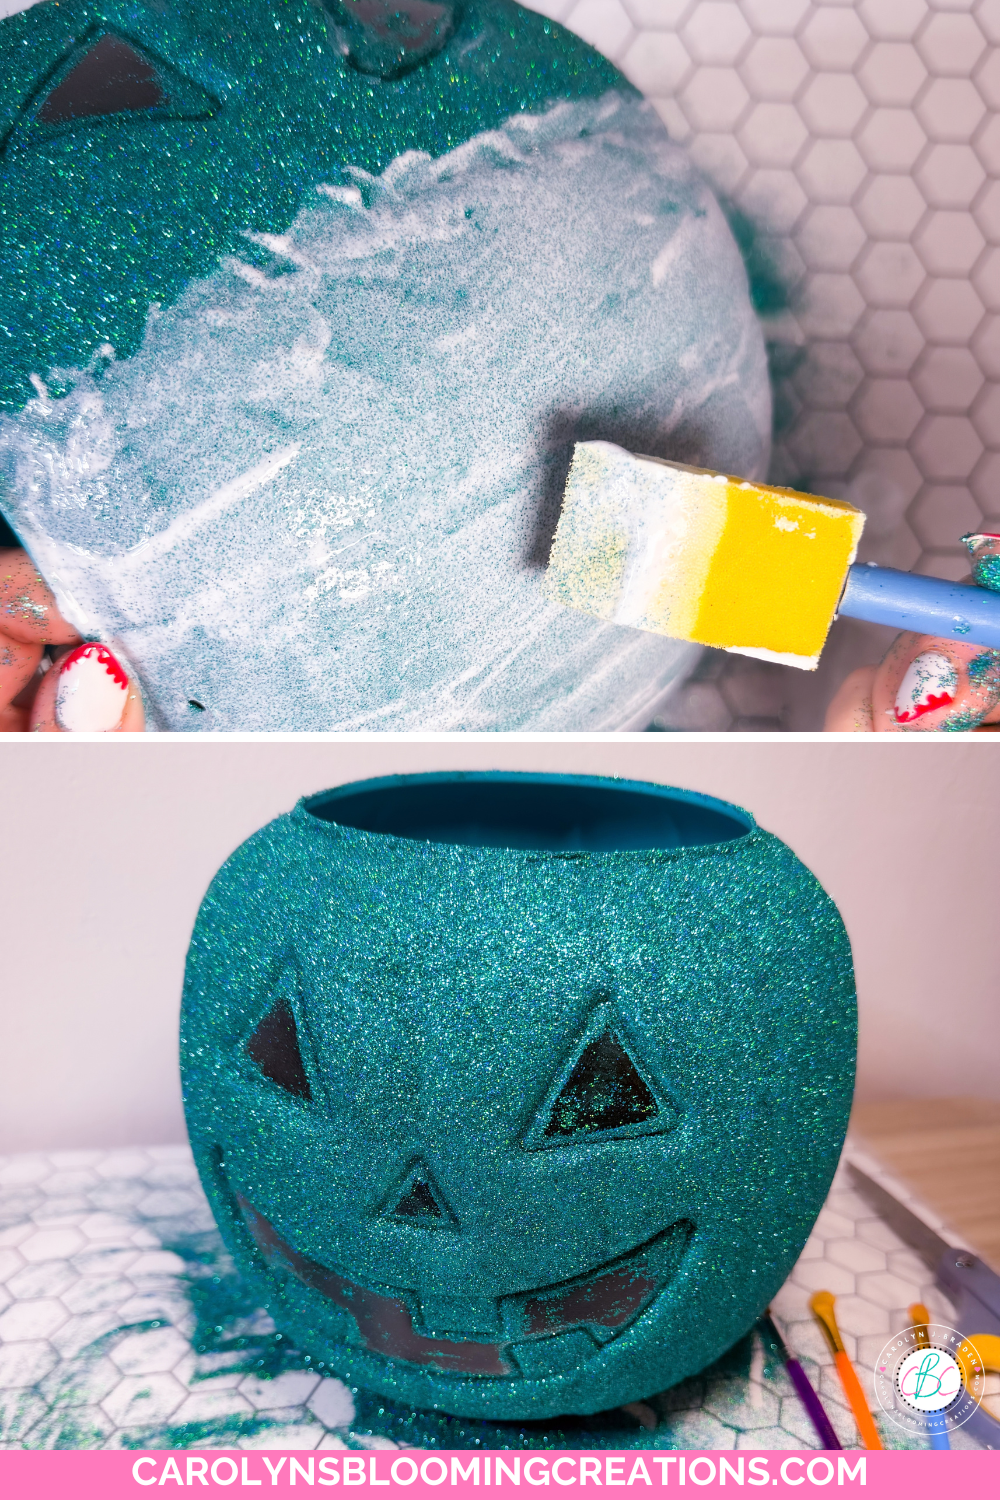
2 layers of glitter looks best, but one could work for you
3. Add a second layer
Let the first glitter layer dry for about 30 minutes.
Use a fluffy craft brush to gently brush away the loose glitter. Don't throw that glitter away—you can reuse it!
Then apply a second thin coat of Mod Podge and add more glitter. This second layer helps create that really rich, solid glitter finish.
Let it dry for another 30 minutes to overnight and gently brush or tap away any loose glitter.
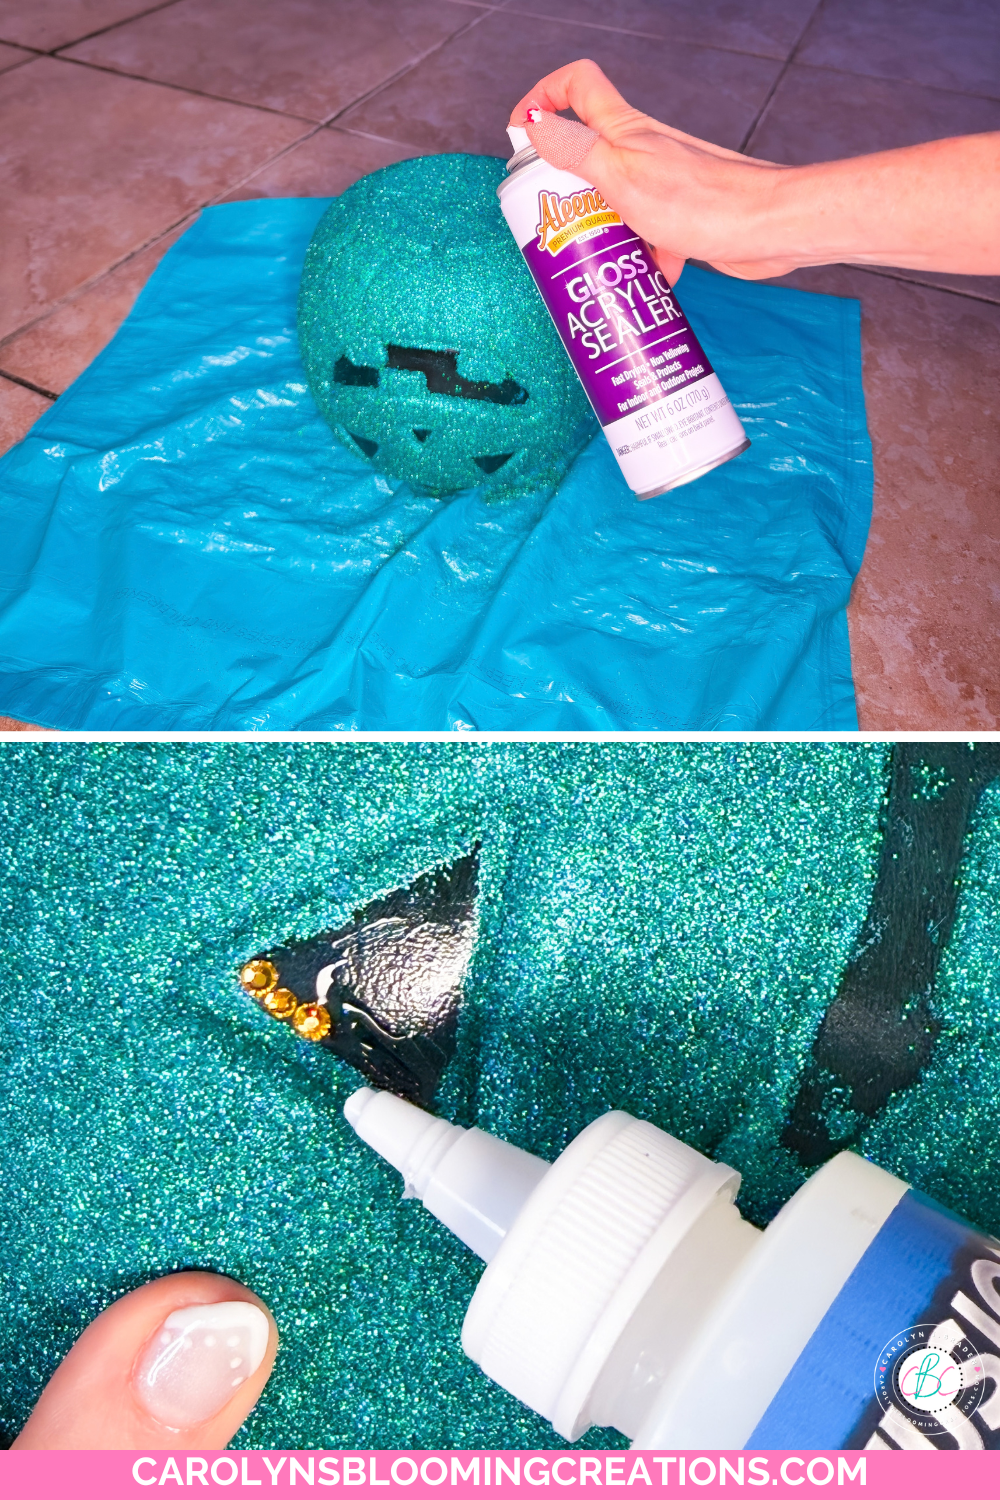
Sealing and adding rhinestones
4. Seal the glitter
This is the step that makes this glitter technique so much better for everyday use.
Take the pumpkin outside, place it on a garbage bag or another protected surface, and spray it with a thin, even coat of Aleene's Acrylic Sealer in Super Gloss Finish.
Allow it to dry overnight.
This seals in the glitter and gives the pumpkin a nice finish that keeps the glitter looking fab while helping prevent the glitter from shedding everywhere.
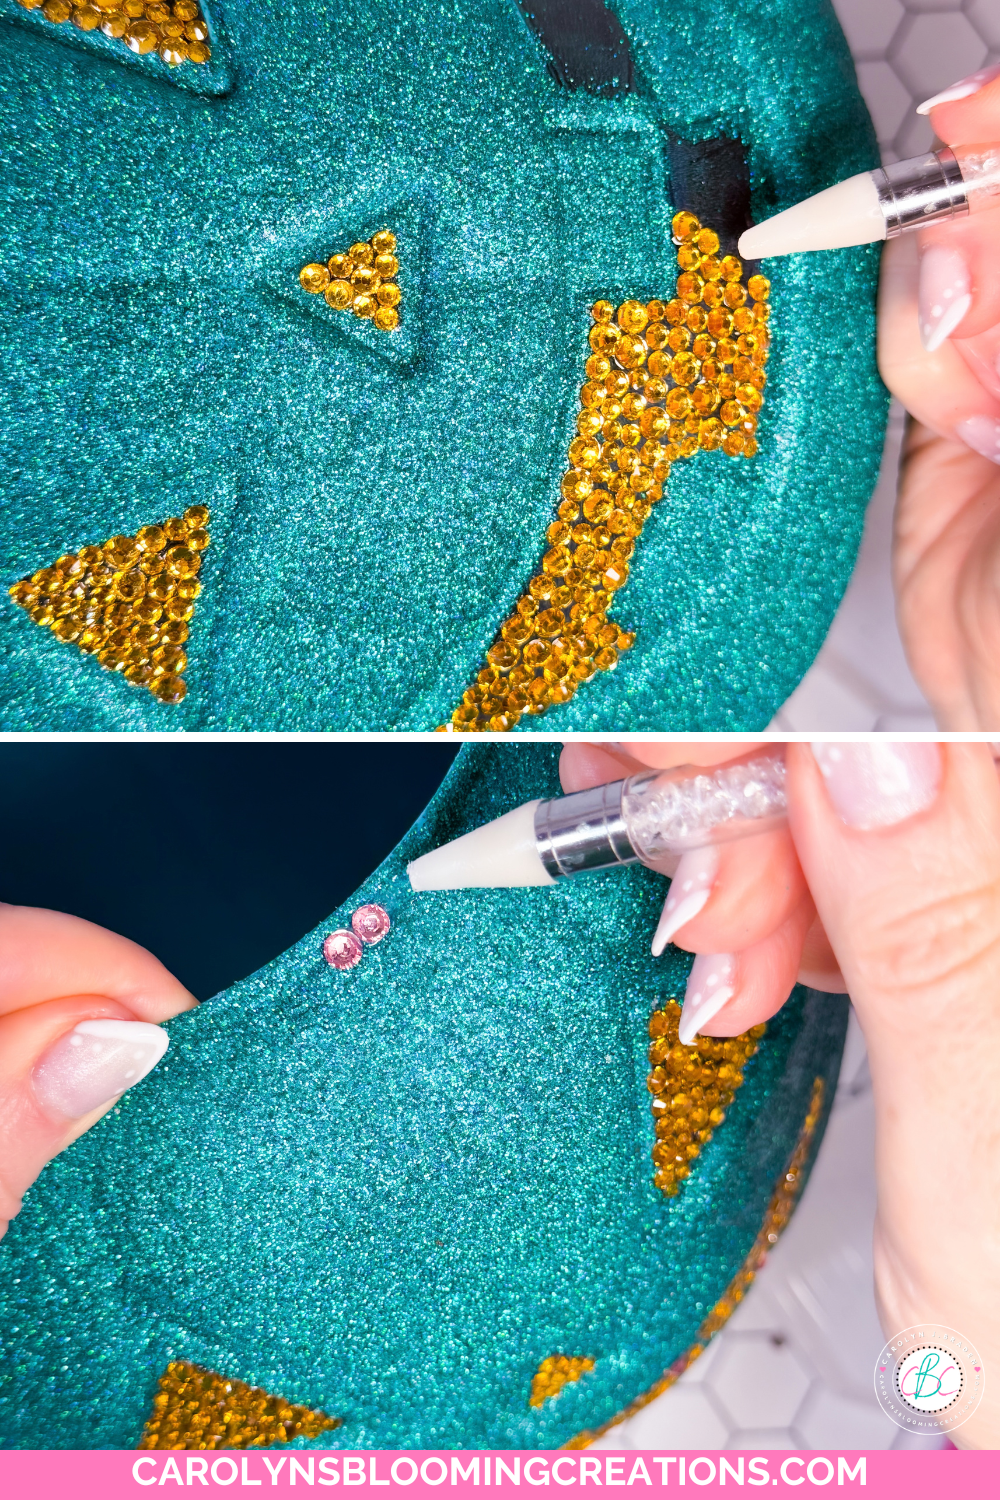
Adding my rhinestones with a wax pencil
5. Add the rhinestones
Now for my favorite part—the BLING!
I added Liquid Fusion glue around the top of the pumpkin and on the face, then used a wax tip pencil to pick up and place the rhinestones.
I used pink and gold rhinestones to complement the teal glitter, with gold accents on the face for even more sparkle.
Let the glue dry overnight.
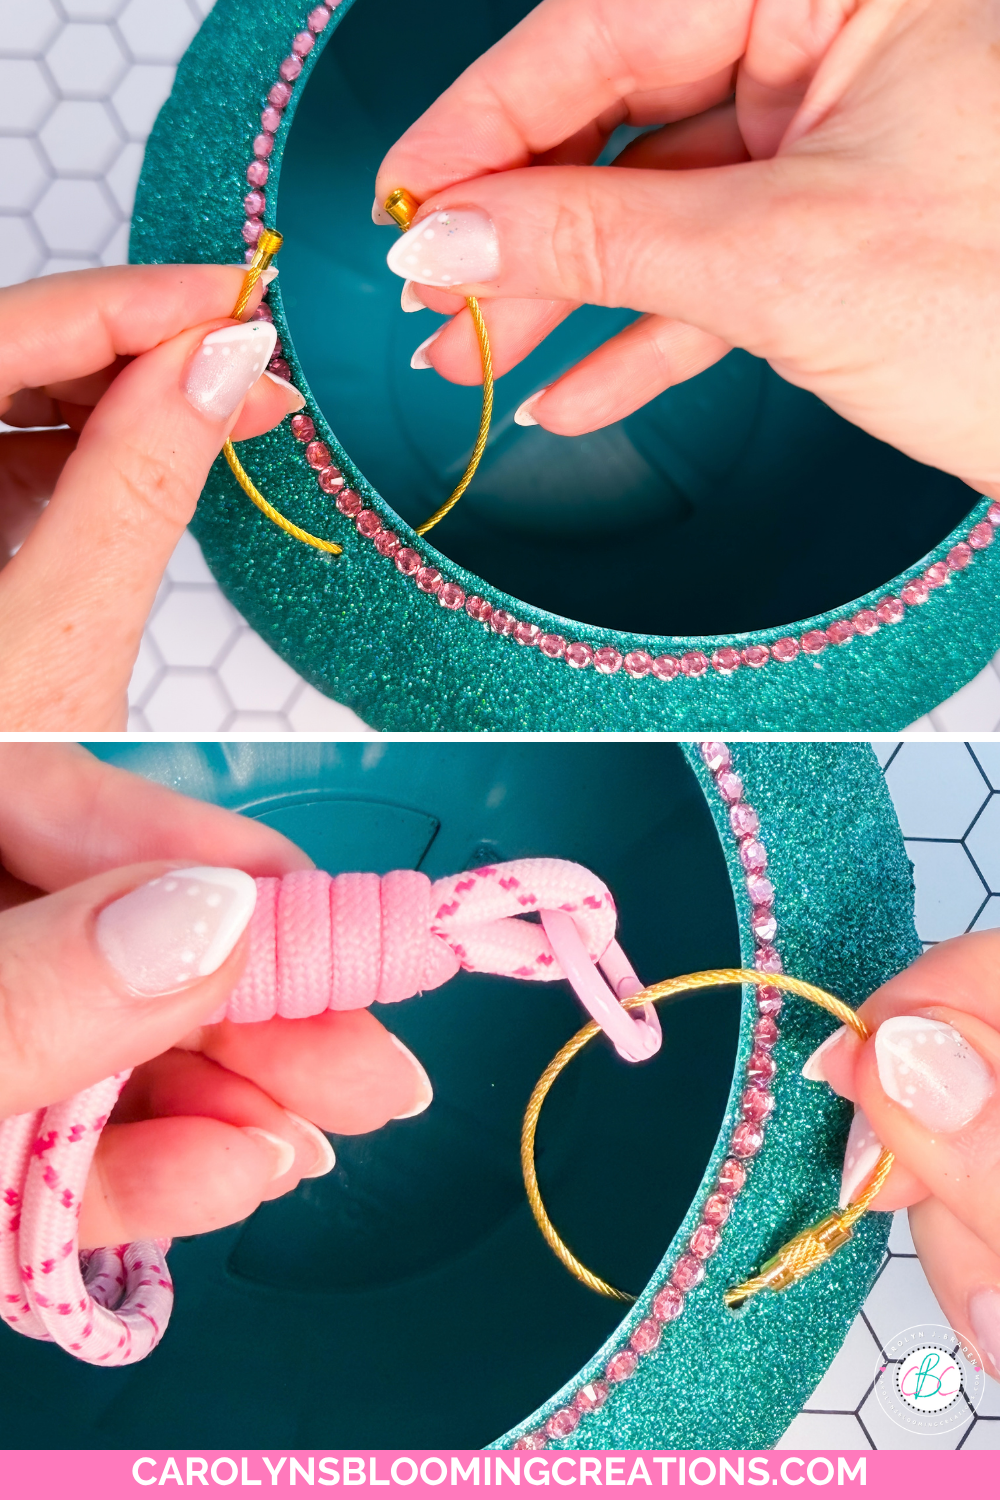
Adding the new handles
6. Make the new handle
Instead of putting the original handle back on, I used thin gold wire keyrings through the existing handle holes.
Then I attached a friendship-style phone strap.
And just like that, my basic $4 CVS pumpkin pail became a sparkly, rhinestone-covered Boo Bucket!
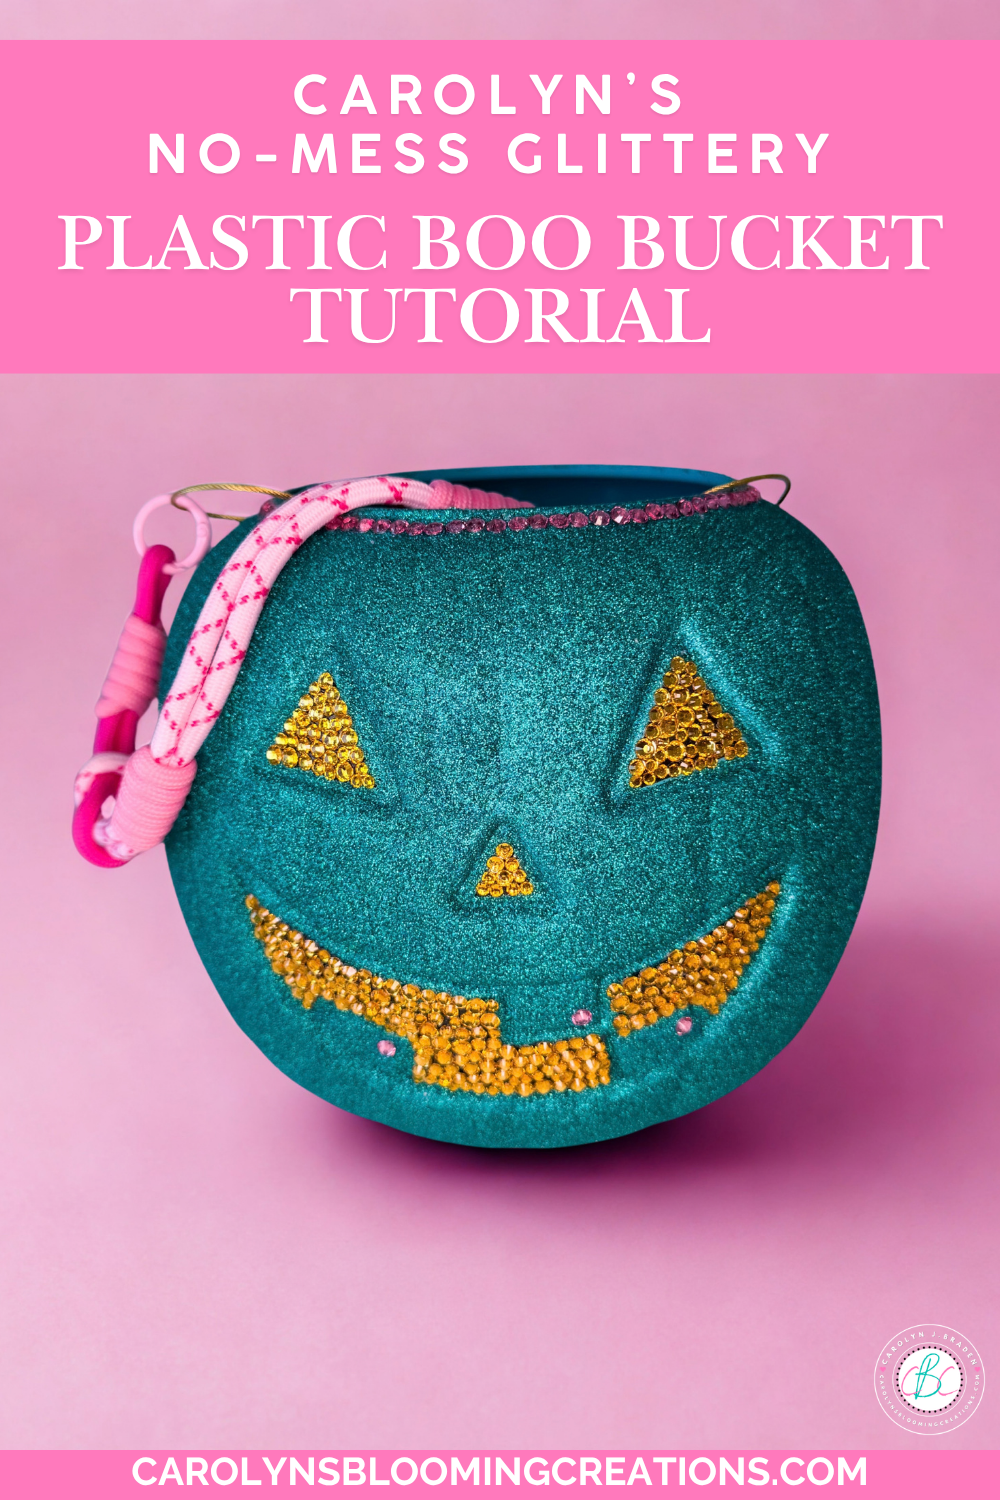
Budget-Friendly DIY Halloween Boo Bucket by Carolyn Braden
🎬Take Action
If you try any of my ideas, let me know how it turned out—or tag me when you try them because I LOVE seeing your posts💖 If you tag me using @carolynsbloomingcreations or @carolynjbraden, I’ll see it! Or tell me about it in the comments below.
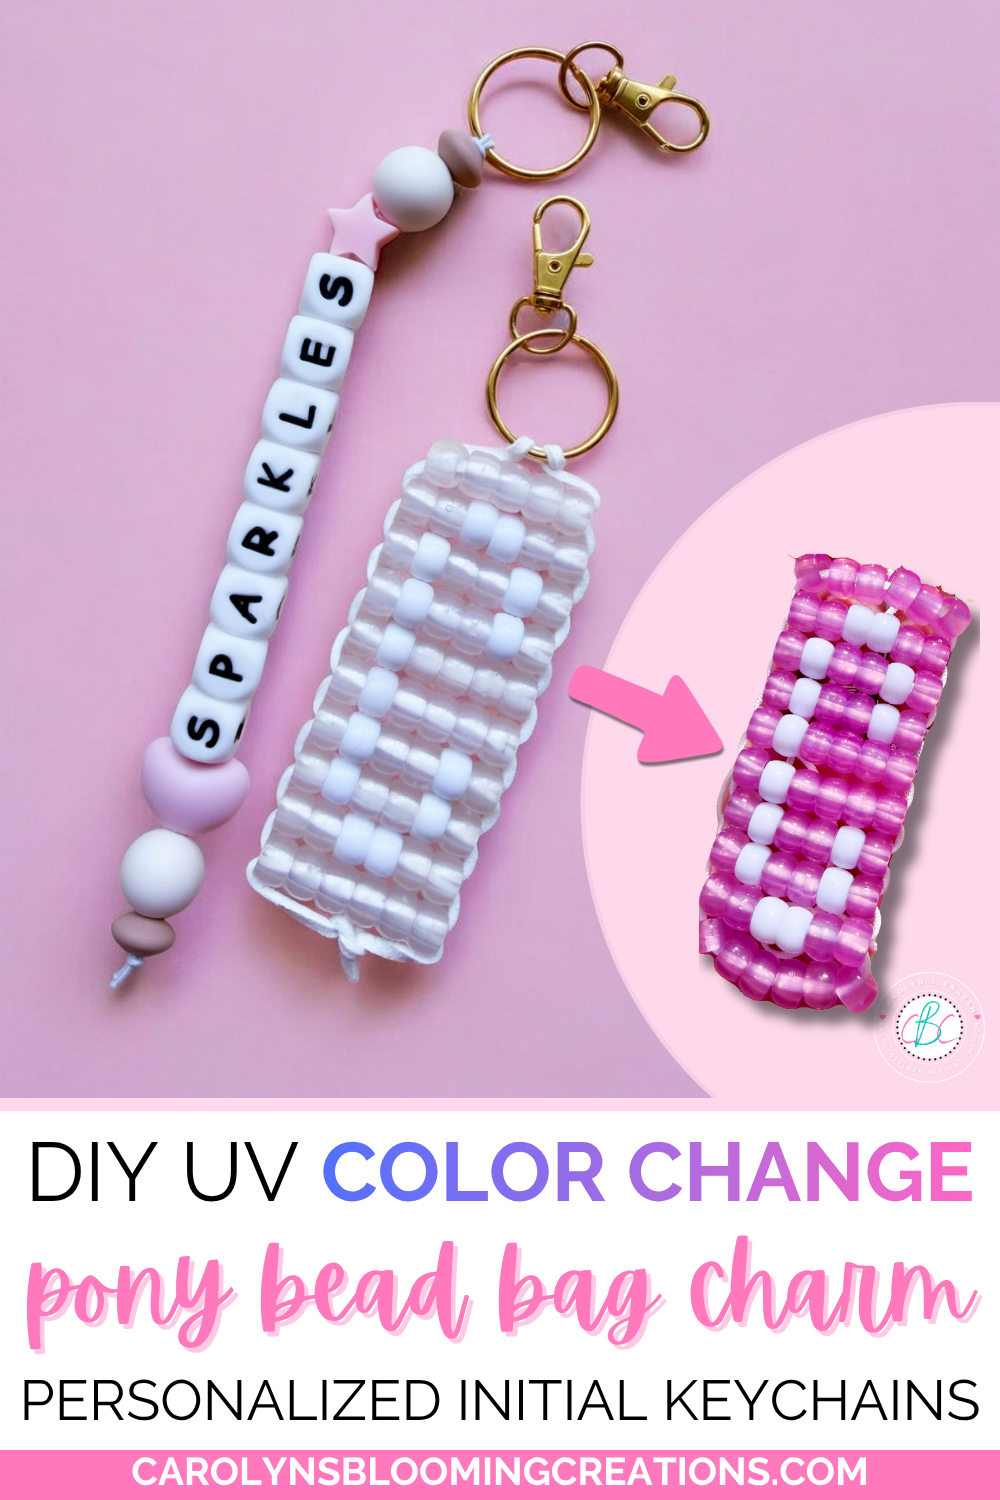
If you loved this article, we know you’ll love this one too: DIY Color Change UV Pony Bead Bag Charm or Keychain Tutorial
Carolyn J. Braden is the owner of Carolyn’s Blooming Creations is a regular contributor and editor for CBC. She has been featured in numerous media publications such as InStyle Magazine, on HGTV, on Bustle.com, and more. She is the author of the books Georgia McMasters in Amethyst Lake Cemetery, How To Be Yourself: 3 Ways To Help You Being You, and the illustrator for the children’s book Bridging Connections. She is a former classroom teacher that now dedicates her life to educating others on how to live their most healthy, creative and happy life. Learn more about her visiting our About Us page.