Carolyn J. Braden • 3 Minute Read
How to Make Muscle Relax-ahhh Fizzy Bath Soak
Some of our best ideas come from failures and life problems you need to solve. I tried to re-create a bath bomb recipe I made many, many years ago and after waiting 24 hours for the bath bombs to dry, I remember exactly why I abandoned the project then. I remember most of them cracking and turning into powdery messes if I barely touched them. I had no idea what was wrong with the recipe then, but as a seasoned artist and creator now, I know what happened.
My big bath bomb fail, caught on camera
The Failure:
The original recipe came from an article in Martha Stewart magazine (now it’s online on her website here) from the early 2000’s. I LOVE the Martha Stewart brand, but I have to say, this bath bomb recipe was a fail for me and I’m sure it has been for others too.
Maybe adding more pressure to my mixture could have made it stick together more, but since I’ve made these twice now and had failures each time, I knew it wasn’t me as I always figure out what I did wrong when I try something once and it fails. It’s gotta be the recipe or the explanation of it. As a former teacher, I know that sometimes notes and explanations can make a huge difference in successes versus failures.
I liked to the labels I made and how I made them in the recipe TOOLS section
The Research to Help Solve My Failure:
In this recent attempt to make my own version of the Martha Stewart bath bomb by adding some cocoa butter to make them more moisturizing, each fell apart the next day. I realized I needed A LOT more oil. Basically, the thing I now know is that WATER EVAPORATES and her recipe has you using very little oil and water. I did some research over at Lush Cosmetics, and they always seem to have an oil binder in their bath bombs. The small amount of oil in the Martha Stewart recipe just isn’t enough to make them hold together and not crack.
I love the mini wooden spoons, but you don’t have to use them
Another bath related recipe that is really quick…make my lemon sugar body scrub in 5 minutes or less! Recipe on the one minute video below or via my YouTube channel @carolynjbraden:
The Solution:
So, I’ll attempt making bath bombs another time using what I’ve learned, but because I had all these destroyed bath bombs, I had an idea to turn them into a fizzy bath soak instead. It may take me some time, but I always try to turn lemons into lemonade. Read on to learn how to make something I call Muscle Relax-ahhh Fizzy Bath Soak. It really fizzes and it really does relax your muscles as my sore muscles tested it out!
The Problem My Product Solved:
After living in “flat Florida” for 4 years, my legs aren’t used to big inclines. I walk every day for exercise, but not on an incline, so after a day of wearing heels and going up and down stairs for a fashion photo shoot, I had a dilemma. My quad muscles, or quadriceps femoris, were killing me and it hurt to continue walking up and down stairs. It was even hard to sit down slowly (oh, the toilet seemed so much lower than usual!).
It happened to be the week I was testing my fizzy bath soak. Talk about perfect timing. My thighs hurt, so I put a big scoop of my fizzy bath soak, which is laced with Epsom salts, into a warm bath and it really, really helped. Epsom Salt, or magnesium sulfate, has always been my go-to solution for sore muscles. I have used it for years in a bath to help a sore body when sick or after a hard workout. Adding it to my failed bath bombs only made sense. The end product not only smells delicious, but it’s effective too.
This makes a great birthday or Mother’s Day gift
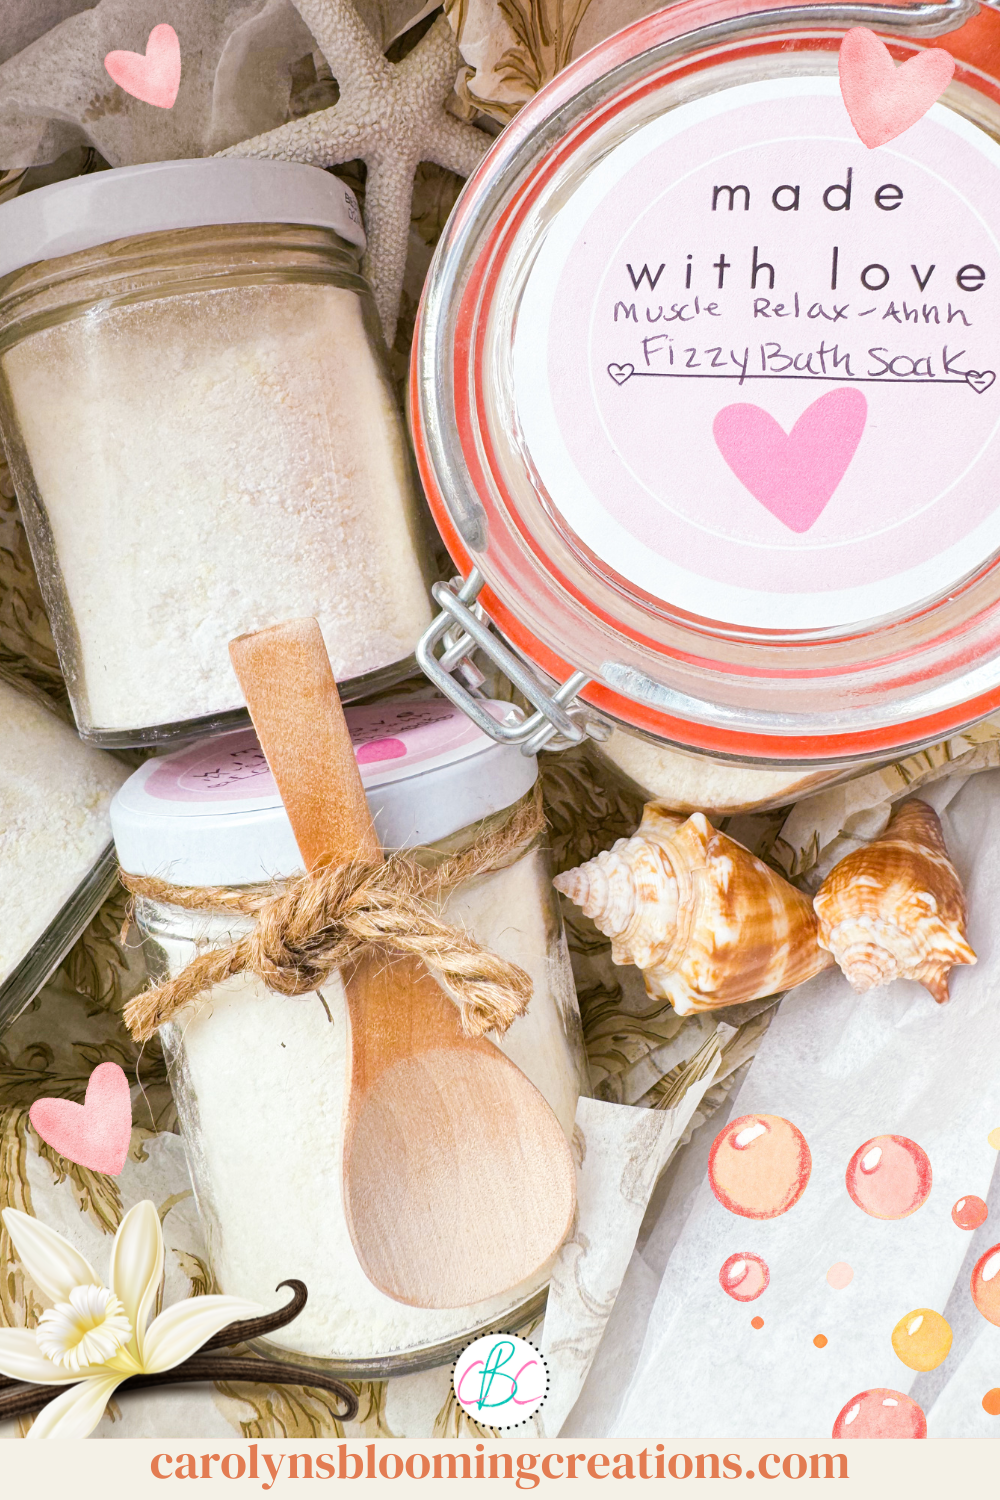
Make this fizzy bath soak for yourself, for Mother’s Day, or for any skincare lover in your life. It smells like vanilla and chocolate, which is a very pleasant and inviting scent (at least to me as I love sweet scents, and this satisfies that scent need in my life when I need to cut down on the sweets).
If you just simply don’t have the time to make your own fizzy bath soak or you have sensitive skin, we have tried Epsom salt bath soaks over the years and think you’d like cruelty free versions these too:
1—Dr. Teal’s Pure Epsom Salt: Epsom salt for your tub without any scent, which makes it great for sensitive skin.
2—Amazon Basic’s Lavender Scented Epsom Salt Soak Aid
3—If you like bubbles + Epson Salt, try Dr. Teal’s Foaming Bath with Pure Epsom Salt:
My flower unicorn cake is a project on my website too! Link at the bottom of this page!
Tools: Mixing bowl set, kitchen cheese grater, measuring cup set, kitchen 3 cup flour sifter, a spoon or spatula to mix the ingredients, spritz bottles, I store mine in an air tight canisters and glass yogurt containers (which I gift with cute little mini wooden spoons), if you want labels, I use Avery 5294 round labels and design images for them using Canva (then I use the Avery website to print them at home), jute twine (if tying on a gift tag or mini wooden spoon)
Time: 45 minutes to make, 24 hours to dry if using water/colorant (recommended)
Amount: Each recipe makes about 64 oz. of product (enough for four 16 oz. containers if you are gifting this)
See a one-minute video tutorial of me making this fizzy bath soak below or via my YouTube channel @carolynjbraden:
Ingredients (all items link out to Amazon.com):
1 ¾ cup baking soda
1 cup citric acid (Quick story: the first time I made these in the early 2000’s, I had to get my citric acid from a compounding pharmacy! Oh, how I love what Amazon has done for my crafting!)
2 cups cornstarch
1 cup grated cocoa butter
5 tablespoons of water
Liquid food coloring (in the color of your choice, I used yellow)
30 drops vanilla essential oil (use more or less depending on how strong you want to scent yours, I added quite a bit to add to the cocoa butter scent)
4 cups Epsom salt
Directions:
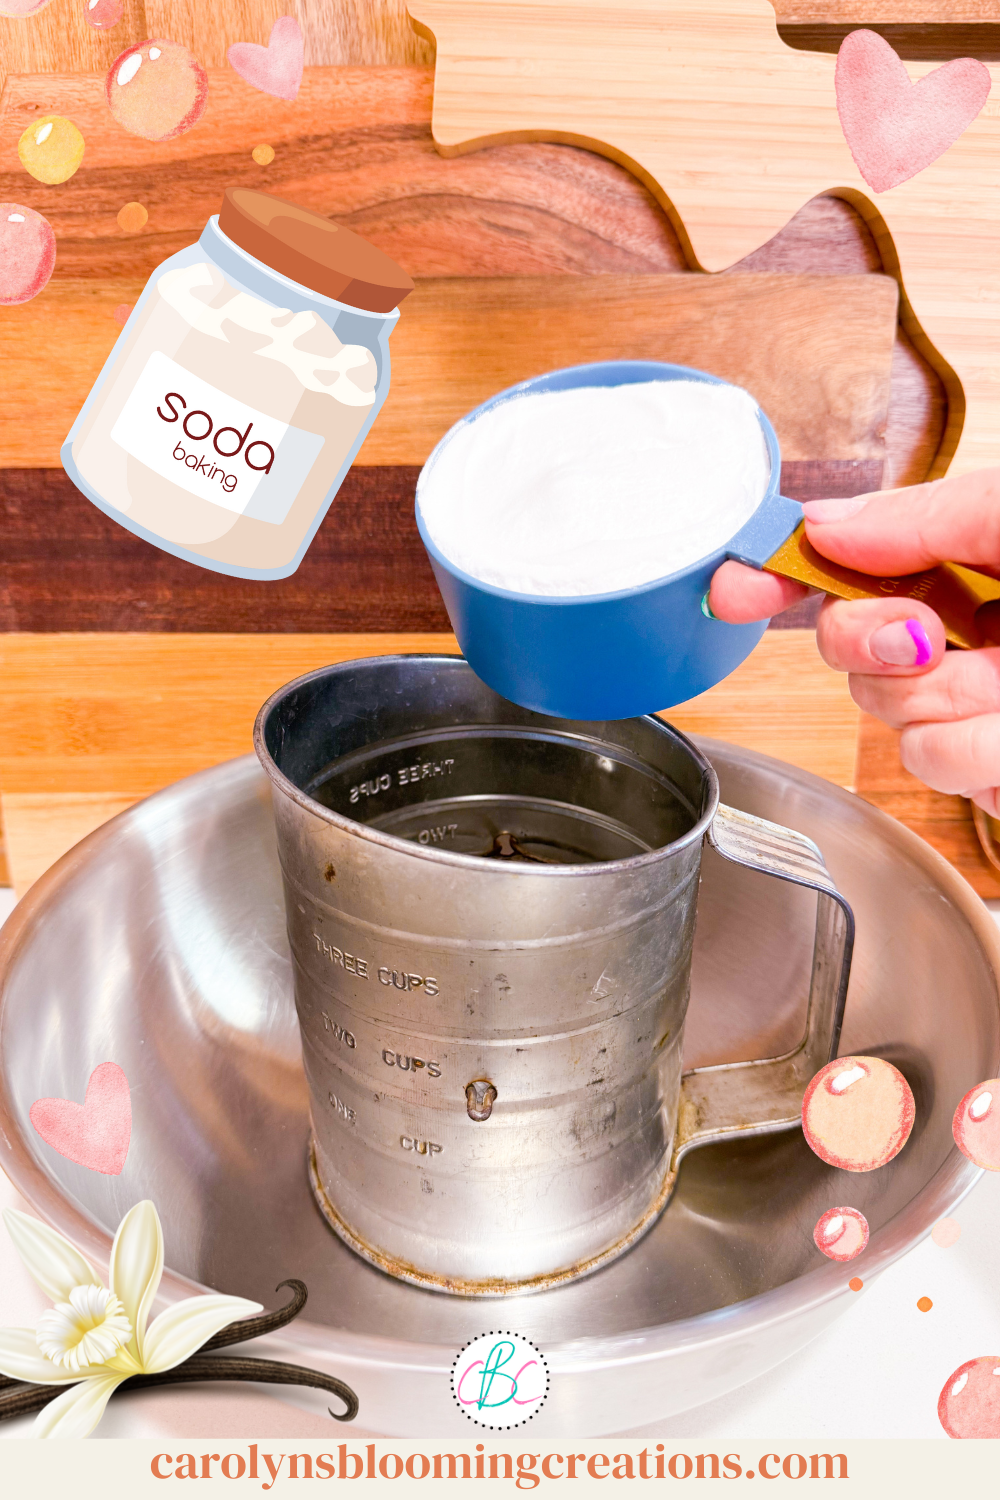
1—Put your sifter into a large bowl. Place the baking soda into the sifter.
Adding the baking soda
2—Place the citric acid into the sifter.
Citric Acid for bath bombs
3—Place the corn starch into the sifter and sift everything into the bowl. If it all fills the sifter up too much, just work in smaller batches. The goal is to make sure there aren’t big lumps, which can happen to these products as they sit on store shelves.
4—Place the water and a few drops of food coloring into your spritz bottle and very slowly, spray it onto the mixture while stirring at the same time. It may fizz a bit, which is okay, so just go slow and stir. You are only adding enough to give it a bit of color AND to help keep “dust” at bay, which is about 10-20 “spritzes and stirs”. Set aside.
Food color to color the fizzing bath soak
NOTE: You do not have to add water or coloring BUT in my experimenting, I found the water keeps the final product from being too “dusty”. What I mean by this is that it can off put some of the final product in the air as you pour it into the bath if you don’t water it down a bit (and this product in the air can make you sneeze!).
The grated cocoa butter smells delicious
4—In a separate bowl, grate your cocoa butter using a cheese grater until you have one cup. Cocoa butter can melt in your hands if they are warm, so keep this in mind as you grate.
I love the vanilla scent with the cocoa butter
5—Add the cocoa butter to the citric acid mixture, gently stir, then add in the drops of essential oil. Stir again.
6—I allowed this mixture to dry overnight.
Making a fizzy bath soak gift
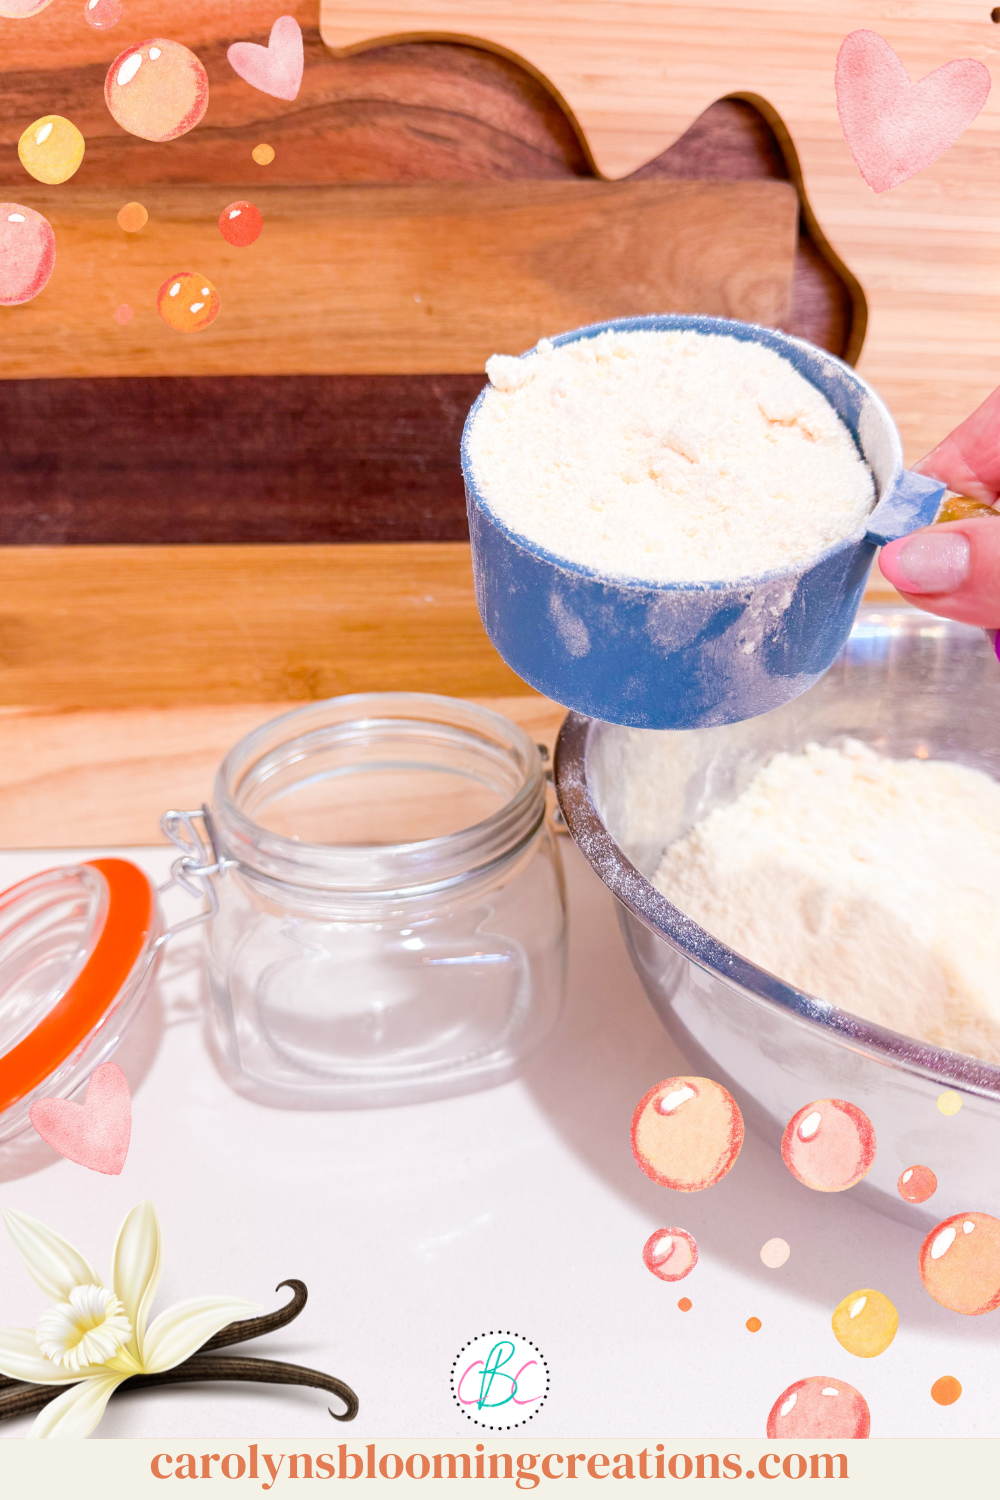
7—The next day, I added one cup of the mixture with one cup of Epsom salt into a bowl and gently stirred to combine. The I added the mixture to a gift container.
The epsom salt really helps sore muscles
8—I repeated adding one cup of the fizzy mixture with the Epsom salt and ended up with four 16-ounce containers of the final product. You can mix all the Epsom salt at once with the full bowl of fizzy mixture, but I worked in small amounts as I was trying to determine how many final product “gifts” I would have.
Gift this fizzy bath soak as a gift
9—Pour one cup (or more or less depending on the size of your bathtub) to a warm bath, watch it fizz, and enjoy! The cocoa butter will dissolve in very warm water, making your bath moisturizing and relaxing from the Epsom salt. The fizz is for fun and it gives your bath a little air, which to me, makes the water feel even better.
I packaged up my fizzy bath soak to give as gifts
Recipe Notes and Safety Tips:
Again, you do not HAVE to add water or coloring BUT in my experimenting, I found the water keeps the final product from being too “dusty”. What I mean by this is that it can off put some of the final product in the air as you pour it into the bath if you don’t water it down a bit (and this product in the air can make you sneeze!).
Omit the cocoa butter if you want, but it really does add some great moisturizing benefits.
The baking soda and cornstarch softens the water a bit, making your bath a bit more comfortable.
This product will keep for several months, but because I did not add a preservative, it’s shelf life isn’t as long as products you buy at the store.
If you loved this article, we know you’ll love this one too: How to Make a Unicorn Kisses Flower Cake
Carolyn J. (C.J.) Braden is the owner of Carolyn’s Blooming Creations is a regular contributor and editor for CBC. She has been featured in numerous media publications such as InStyle Magazine, on HGTV, on Bustle.com, and more. She is the author of the books Georgia McMasters in Amethyst Lake Cemetery, How To Be Yourself: 3 Ways To Help You Being You, and the illustrator for the children’s book Bridging Connections. She is a former classroom teacher that now dedicates her life to educating others on how to live their most healthy, creative and happy life. Learn more about her visiting our About Us page.


