Make great use of every square inch in your home!
Renovations are never easy. They seem almost impossible BUT something I’ve learned in the last 12 years of my life: NOTHING IS IMPOSSIBLE.
While we’ve been moving out of our urban 1800’s home (and into a new home in a new state), I started looking at many of our “before” photos and realized that we did A LOT over the last 12 years. It was simply terrible before. It wasn’t clean, it wasn’t loved. It was a sad foreclosure in desperate need of some love. And we gave it just that.
There wasn’t a room we didn’t completely rip out and start over on. My husband loves This Old House (the magazine and show), so he studied everything carefully before making decisions on what to rip out and what to keep. Anything that was salvageable was either reused somewhere in the home or donated to local charity organizations. Very little was deemed “junk” as we try to live by the phrase “reduce, reuse and recycle”.
Here is how we created our Closet (AKA “Getting Ready Room)
There were technically six bedrooms in our house, but one of them was incredibly small. While it could have made a great nursery, we didn’t have children (and had no plans of having any), we decided it would be a perfect large closet. My husband and I both love fashion, hair/beauty things, so a big closet was a great use of the space for us both.
Here’s how we did it:
Removed the drop ceilings (which adorned all the rooms in the house and we took them all out at the same time when we first moved in)
Replaced the replacement window. While some of the beautiful wavy glass windows remained in tact, this window had already been replaced at some point. The replacement window was not in great shape, so we had it removed and replaced by a professional.
Tore out the thin drywall (which was layered over wood paneling and the crumbling plaster walls), then re-drywalled over the crumbling plaster walls
Tore out the wall around the window and insulated it. Thankfully we found the original trim for the window behind all the wood paneling and my husband shined it up with some shellac and added it around the new window.
Removed the carpet and refinished the original floors (this was HUGE task as the floors had been painted over and had several layers of old gummy paint)
Replaced the one ceiling light with three new ceiling lights (with the help of an electrician)
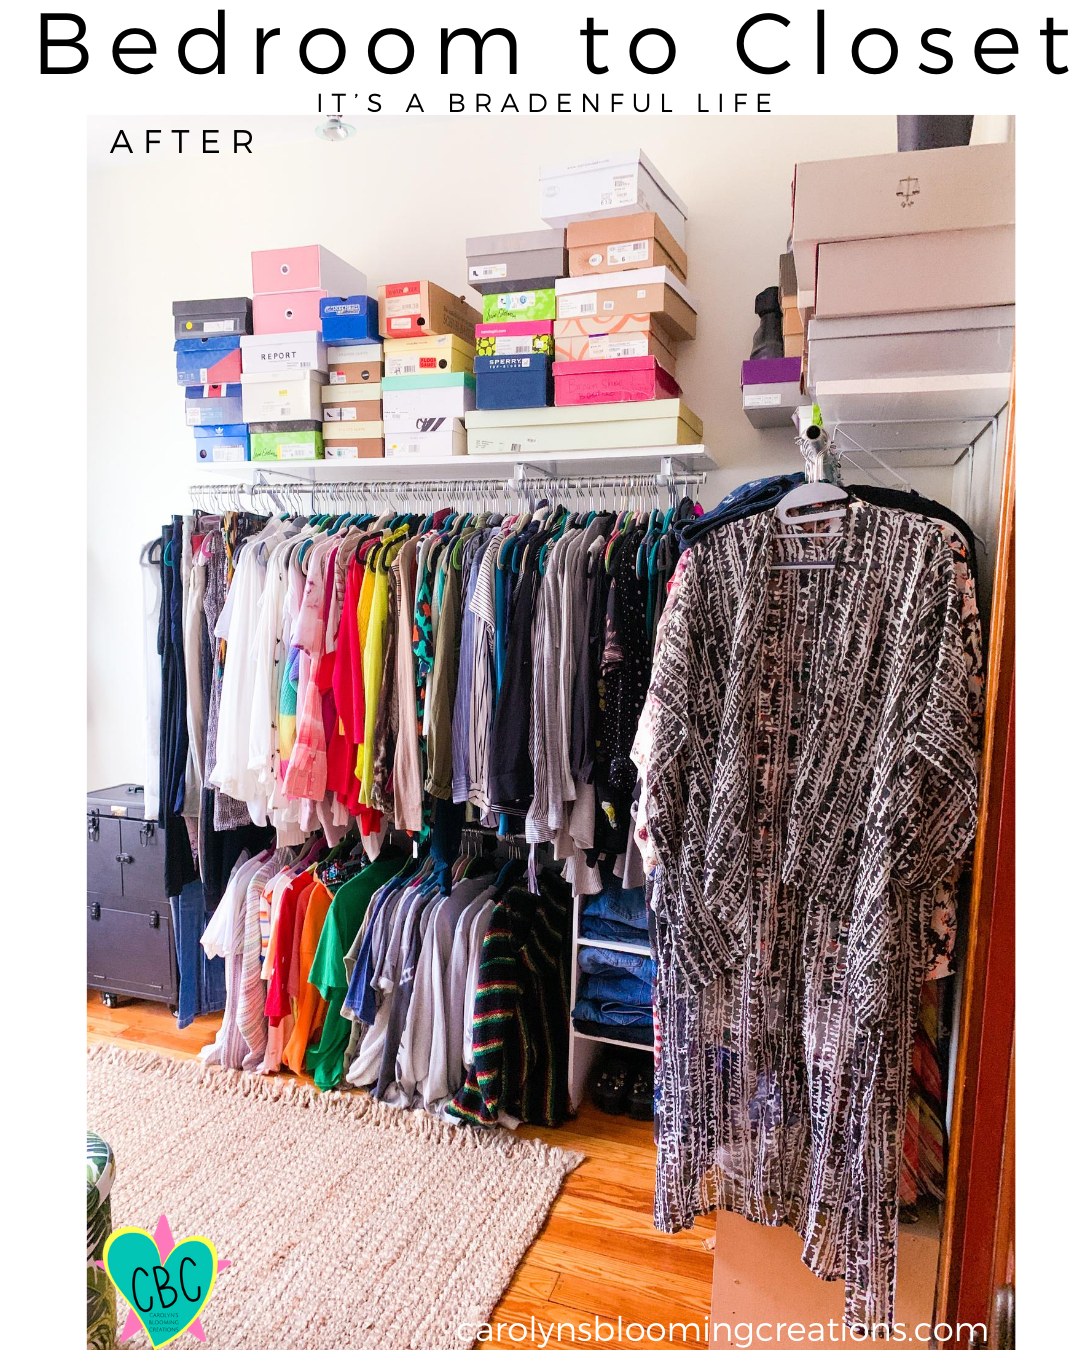
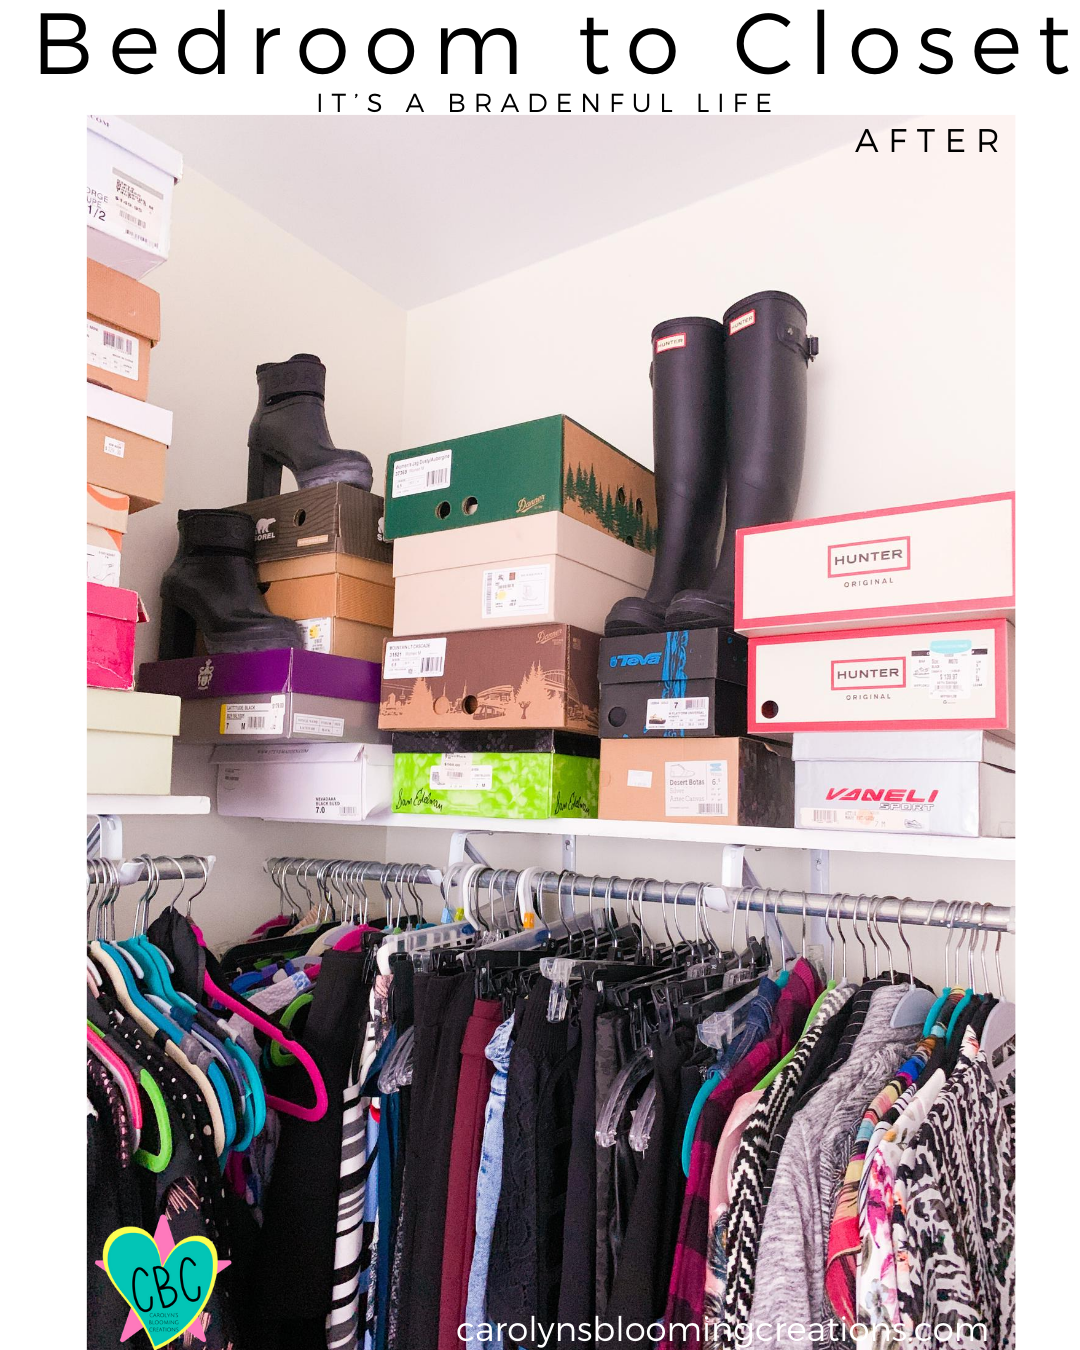
Added brackets and poles for the clothing racks, as well as shelves above them for extra shoe storage
Added some organizational closet storage shelves for daily shoe storage as well as clothes that needed to be folded (like sweaters)
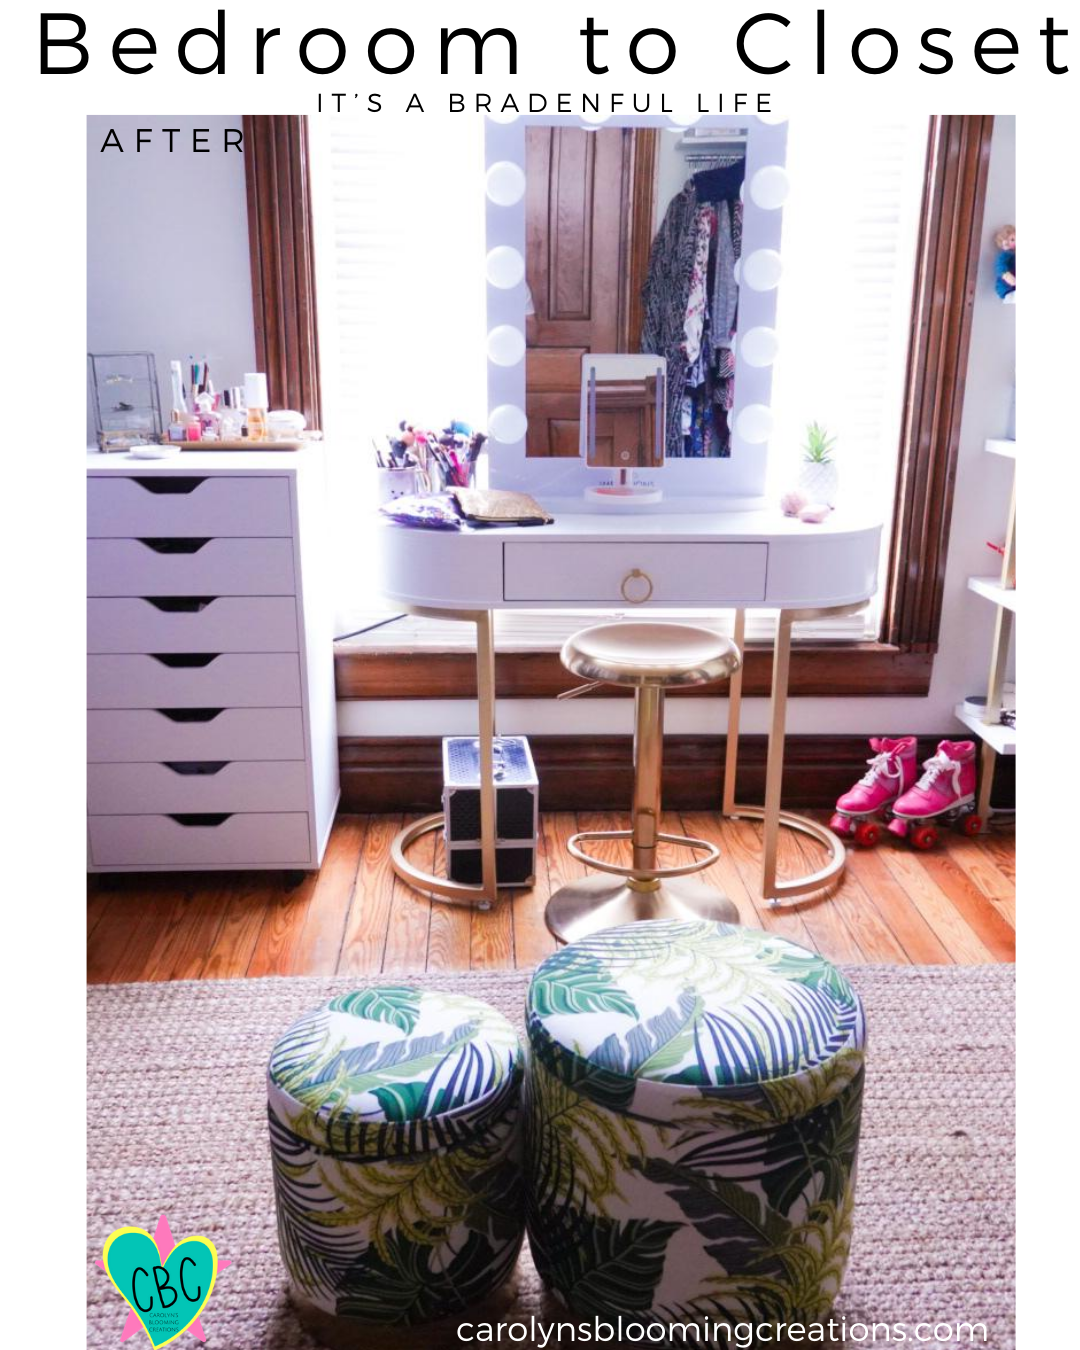
Added a rolling drawer storage tower, storage ottomans (for my my hair products/makeup) and a dresser (which was placed inside the closet within the room, not pictured)
Added a desk, gold stool and vanity mirror
I truly love this space now! It’s highly functional and makes use of all the square footage in the home in a smart way. I feel it’s more of a “getting ready room” instead of just a closet and who couldn’t totally use a getting ready room?!
I’m sure the new family that purchased our home will love it as much as I do!
See all the before and after photos below!
More of our DIY’s can be found on our YouTube channel, “Carolyn Braden”.
If you have any questions for us, visit our Contact Us page and send us a note! We love helping other DIYer’s out there!
All designs and creations by Tommy and Carolyn Braden
Pin me! carolynsbloomingcreations.com
Here is the vanity desk I purchased via Amazon:
All designs and creations by Tommy and Carolyn Braden
Pin me! carolynsbloomingcreations.com
I adore all things glitter SO I love this bag set! I purchased it from Packed Party. My glass makeup brush holders are from Hobby Lobby and the cute gold and white mug with my dog photo on it is from Shutterfly. My lighted makeup mirror is from Impressions Vanity BUT similar ones can be found on Amazon.
All designs and creations by Tommy and Carolyn Braden
Pin me! carolynsbloomingcreations.com
All designs and creations by Tommy and Carolyn Braden
Pin me! carolynsbloomingcreations.com
Here is the gold stool I purchased via Amazon:
All designs and creations by Tommy and Carolyn Braden
Pin me! carolynsbloomingcreations.com
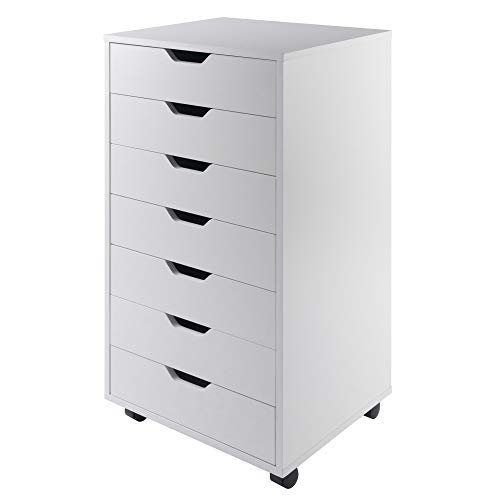
Here is the 7 drawer storage set I purchased via Amazon:
All designs and creations by Tommy and Carolyn Braden
Pin me! carolynsbloomingcreations.com
Here is the jewelry storage set I purchased via Amazon:
All designs and creations by Tommy and Carolyn Braden
Pin me! carolynsbloomingcreations.com
All designs and creations by Tommy and Carolyn Braden
Pin me! carolynsbloomingcreations.com
All designs and creations by Tommy and Carolyn Braden
Pin me! carolynsbloomingcreations.com
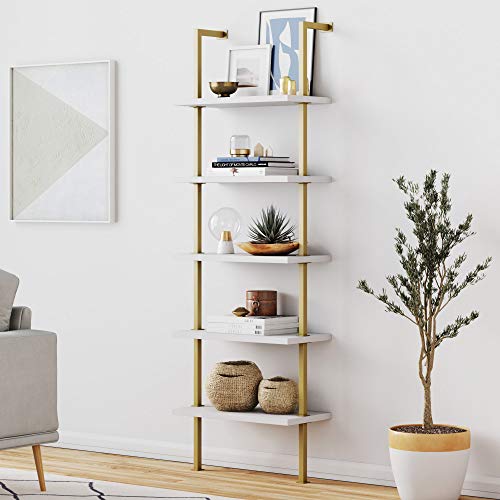
Here is the shelf set I purchased via Amazon:
All designs and creations by Tommy and Carolyn Braden
Pin me! carolynsbloomingcreations.com
All designs and creations by Tommy and Carolyn Braden
Pin me! carolynsbloomingcreations.com
Here is a similar storage ottoman set (like the one I purchased on Amazon):
All designs and creations by Tommy and Carolyn Braden
Pin me! carolynsbloomingcreations.com
All designs and creations by Tommy and Carolyn Braden
Pin me! carolynsbloomingcreations.com
All designs and creations by Tommy and Carolyn Braden
Pin me! carolynsbloomingcreations.com


